
Use these steps to work with NozomuNoto PDF planners, notebooks, stickers, covers, and template pages in StarNote. The official links below are for downloads, updates, and current help pages.
Before you start
- Make page changes on a working copy, then test links before writing a lot.
- If the file is a ZIP, extract it before importing the PDF, PNG sticker, cover, or other app-supported file.
- After the first step, test one Index link, one writing mark, and one page action before setting up the whole planner.
Reference links
Use these for current app or device help, downloads, updates, vendor support, and manual references.
Manage pages in StarNote
- Open the planner or notebook.
- Tap the Document overview icon on the top toolbar.
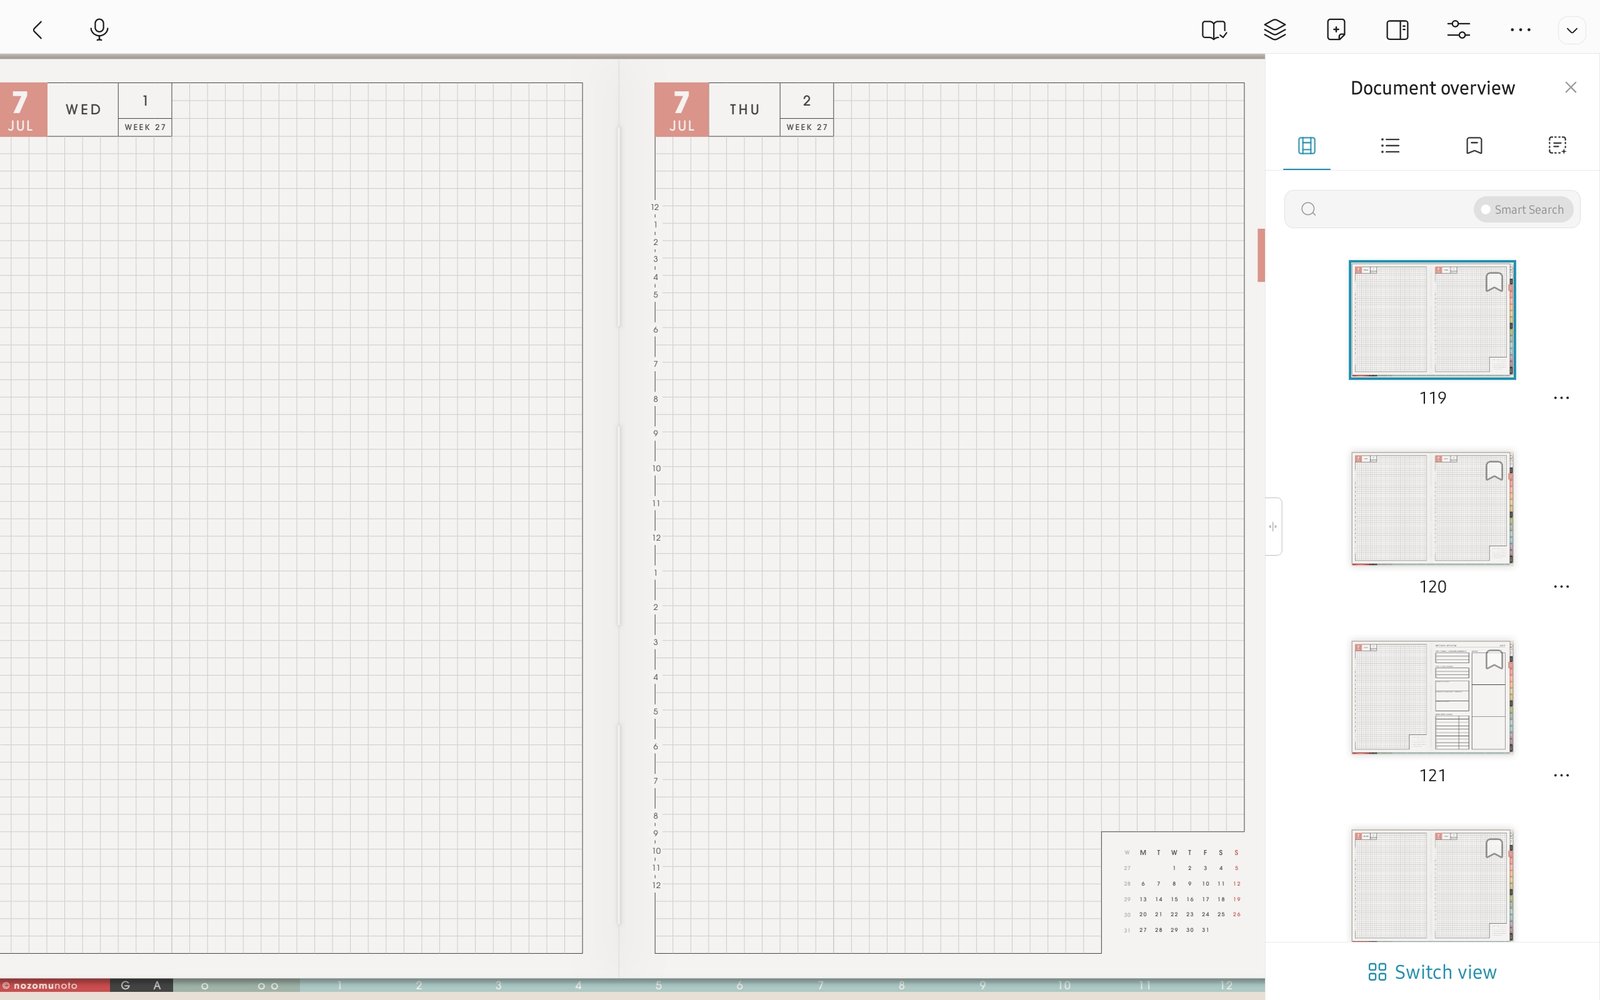
Document overviewDocument overview is the main place to manage pages by thumbnail. Product shown: Yume Techo Academic 26-27 Landscape. - Find the page thumbnail you want to manage.
- Tap the three-dot menu on that thumbnail.
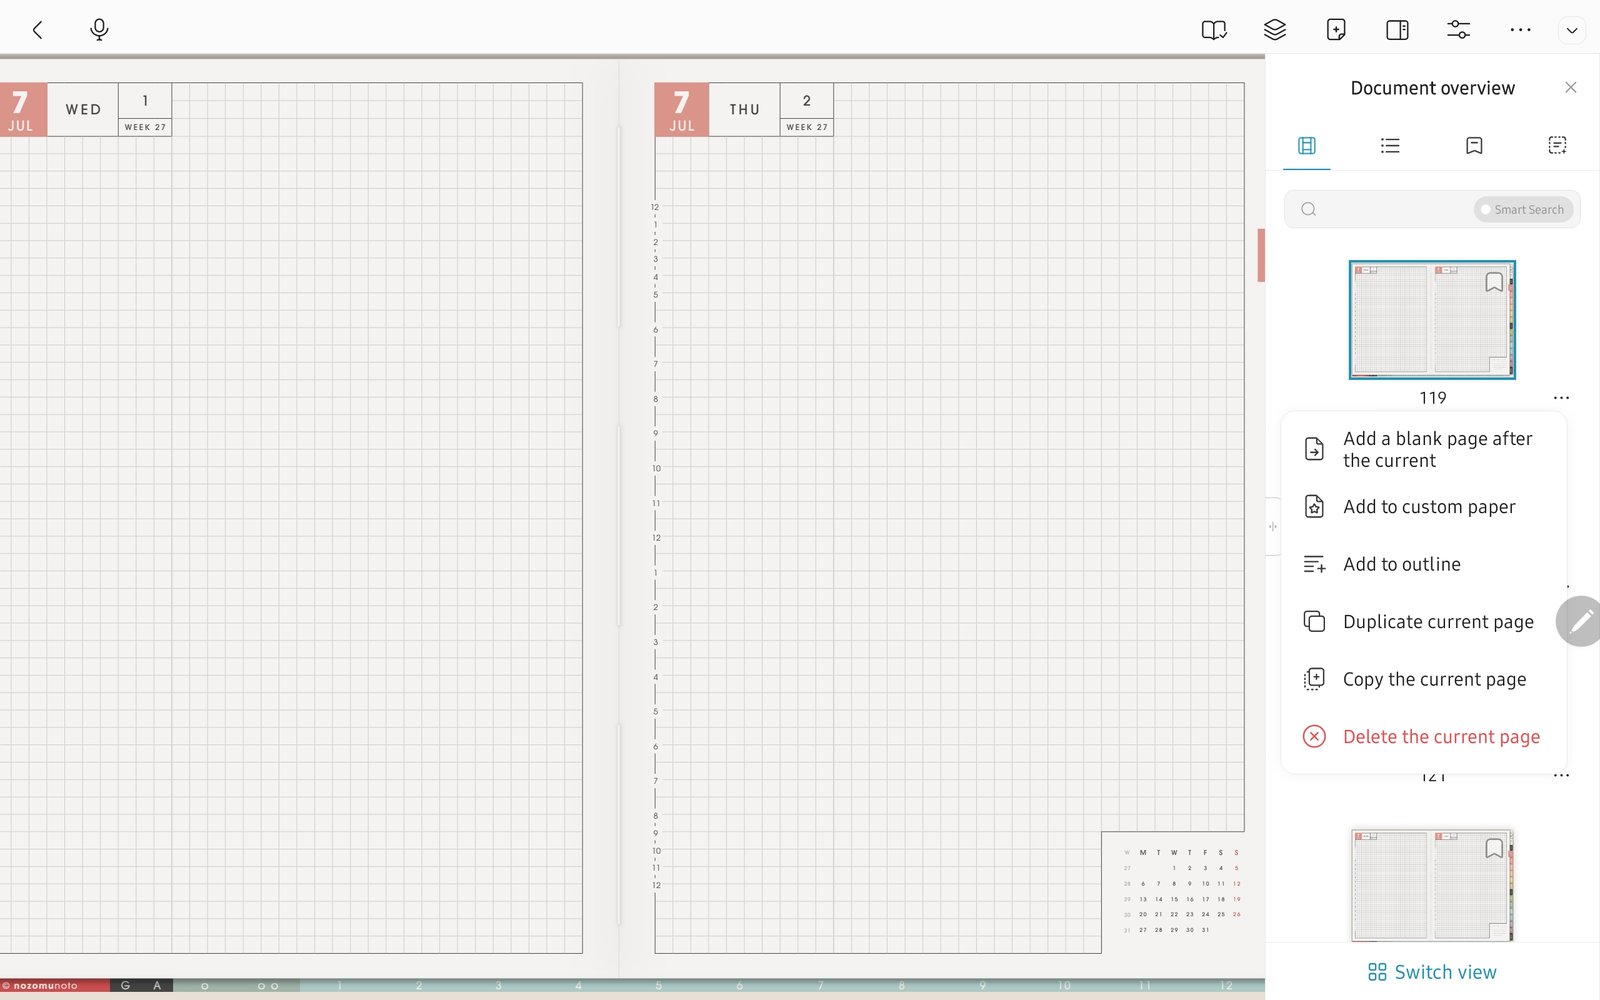
Page action menuThe page menu shows Add blank page, Add to custom paper, Add to outline, Duplicate, Copy, and Delete. Product shown: Yume Techo Academic 26-27 Landscape. - Use Add a blank page after the current, Add to custom paper, Add to outline, Duplicate current page, Copy the current page, or Delete the current page as needed.
- For reusable planner templates, duplicate one clean template page first instead of editing the original.
- After duplicating, copying, or deleting pages, test the Index and a few main tabs again before writing more.
Page action note
StarNote gives useful page actions from the Document overview menu. If you only need another copy of a planner page, Duplicate current page is usually the clearest option.