
The Finance pages in Yume Techo are for making money details easier to see: yearly income and expenses, bills that repeat, money moving in and out, and online orders that can disappear across emails and apps. This article shows how to use the whole Finance section as one practical system, so everyone can choose what matters now without turning Weekly into a crowded money notebook.
How to get to these pages
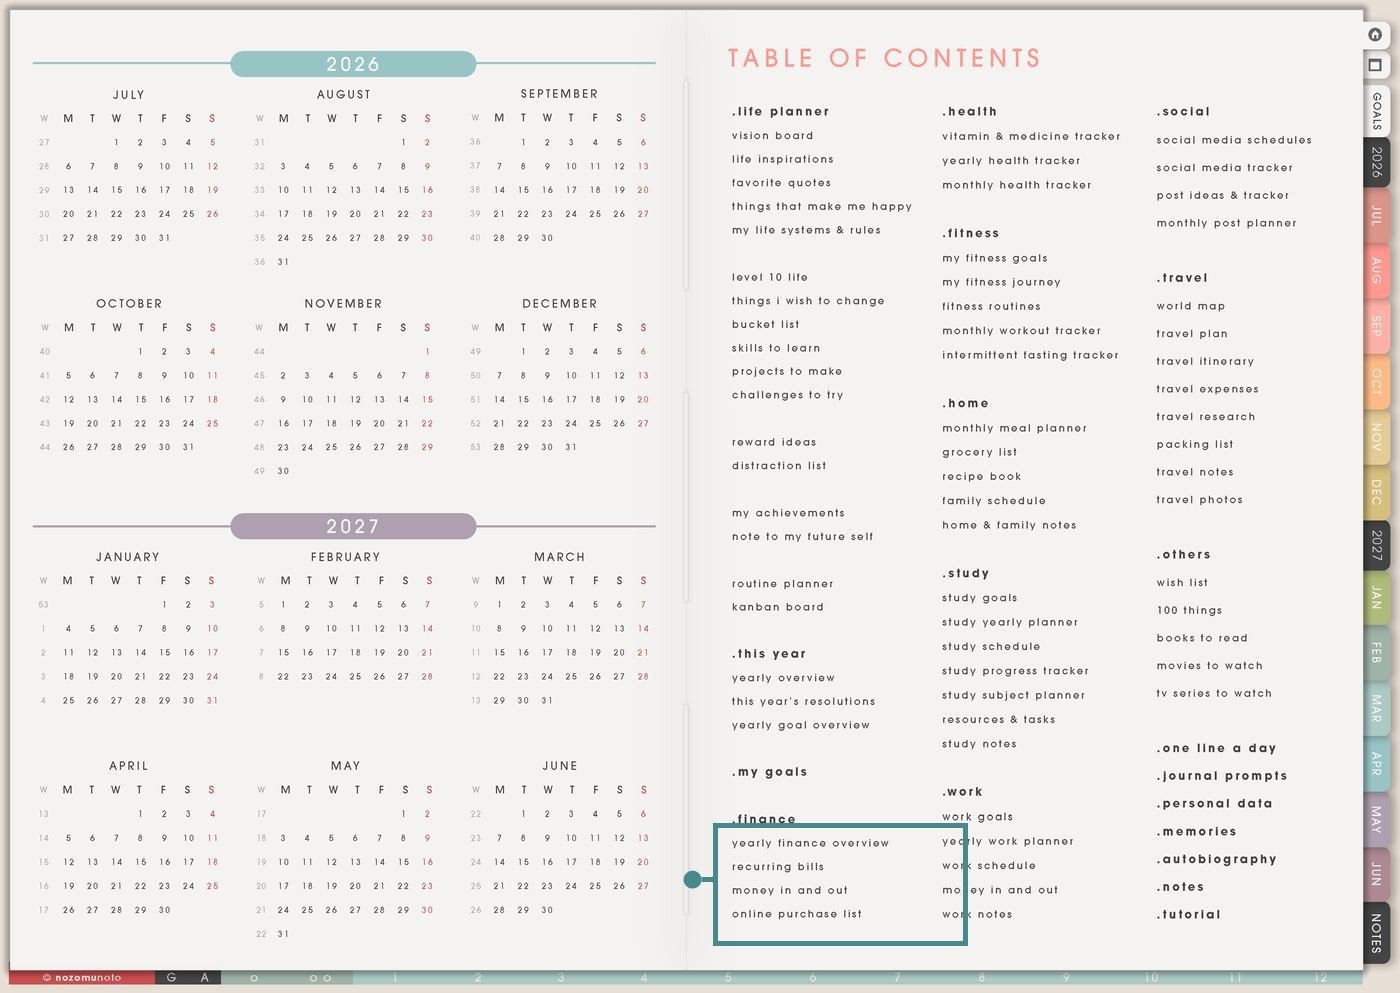
- Open the main Index / Table of Contents. The Finance section is near the lower left of the Table of Contents page.
- Tap the Finance page you need. The section includes Yearly Finance Overview, Recurring Bills, Money In And Out, and Online Purchase List.
- Write directly if one page is enough. These are regular Planner Pages, so the linked pages work as they are.
- Duplicate when the page needs a separate job. Make another copy for a second shop, a family budget, a school year, tax prep, holiday gifts, or a no-spend month.
Pages included in Finance
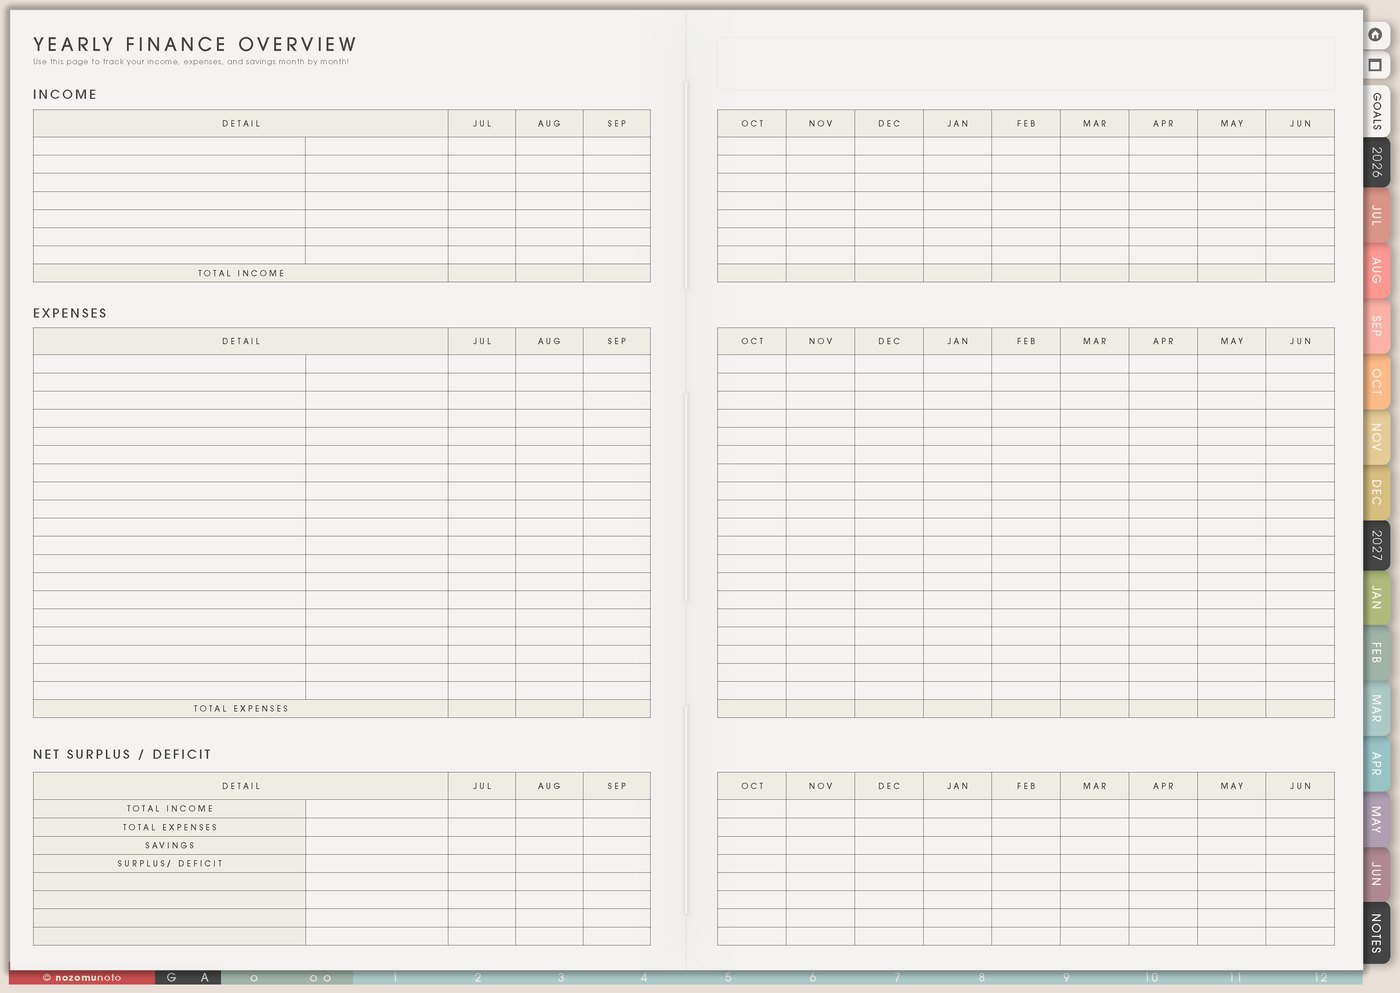
- Yearly Finance Overview: the big money map for income, expenses, savings, and surplus/deficit across the year.
- Recurring Bills / Subscriptions: the page for bills, renewals, trial endings, subscriptions, due dates, and payment methods.
- Money In And Out: the page for payday checks, transfers, refunds, side income, cash movement, and simple spending notes.
- Online Purchase List: the page for orders, shipping, returns, refunds, receipts, product links, and gifts.
Ways to use the Finance pages
1. Use Yearly Finance Overview for the money year
Use Yearly Finance Overview when the important question is not “what did I spend today?” but “what keeps happening across the year?” This page is useful for seeing expensive months before they arrive.
- Income: write paydays, shop income, freelance payments, family payments, savings deposits, refunds, or any income stream that changes by month.
- Expenses: write rent, utilities, school costs, planner supplies, software, app renewals, taxes, insurance, gifts, holidays, and yearly purchases.
- Savings: track sinking funds for birthdays, Christmas, school, taxes, device upgrades, courses, product supplies, or emergency money.
- Surplus / deficit: use the bottom area as a quick monthly reality check. If April is heavy, the page can show that before April becomes a surprise.
A simple way to start is to fill only fixed expenses first. Then add variable things later, after the page already feels useful. The page does not need every tiny purchase to help.
2. Use Recurring Bills / Subscriptions before renewals surprise you
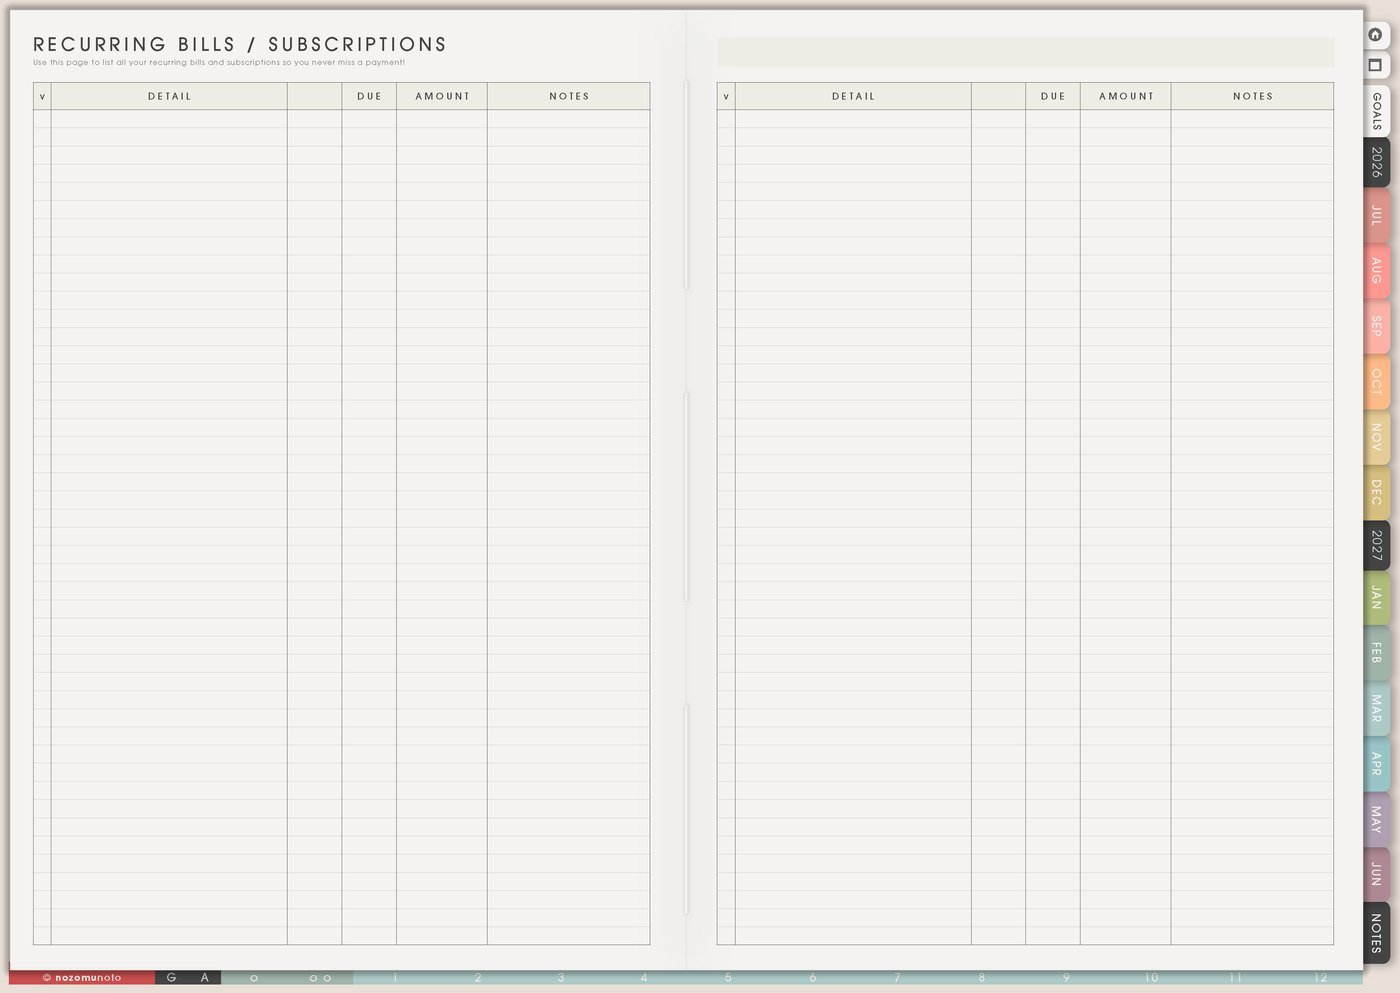
Use Recurring Bills / Subscriptions for anything that repeats without asking for your attention. This page is especially helpful for annual payments and free trials, because those are easy to forget until the charge appears.
- Fixed bills: rent, electricity, water, internet, phone, insurance, school fees, website hosting, storage, or recurring household costs.
- Digital subscriptions: note apps, drawing apps, cloud storage, Canva, website plugins, email tools, streaming, classes, or marketplaces.
- Trial endings: write the cancel-by date, not only the billing date. The useful date is the last day you can decide.
- Payment method: add a short note such as card, PayPal, bank, Etsy, Apple, Google, or website account so you know where to change it.
For a weekly rhythm, check this page once a week and move only the next money action into Weekly: cancel trial, update card, download receipt, check bill, or pause subscription.
3. Use Money In And Out for simple money movement
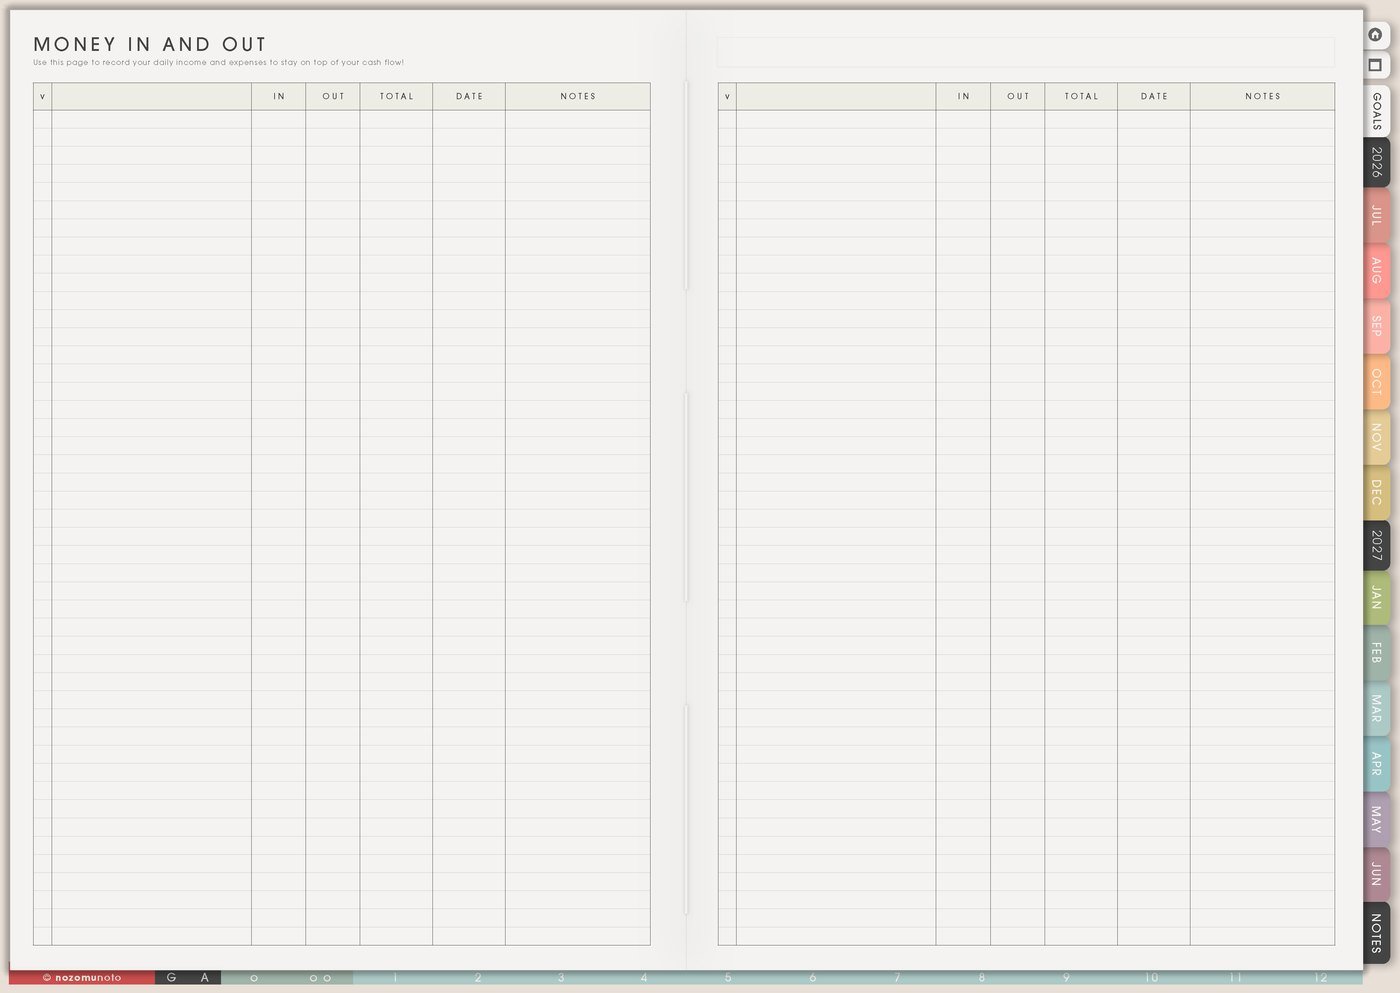
Use Money In And Out when the month feels fuzzy and you need a quick log of what moved. This page does not have to replace a bank app or spreadsheet. It can simply be the page where money stops being invisible.
- Payday check: write what came in, what must leave soon, and what needs to be moved before spending starts.
- Refunds and returns: note refund amount, date requested, expected date, and whether it arrived.
- Transfers: track money moved between bank, cash, savings, debt, business, household, or school categories.
- Side income: record Etsy payouts, website sales, small freelance jobs, cash gifts, affiliate payments, or resale income in one visible place.
If numbers feel heavy, use the page for decisions instead of perfect math. A useful line can be short: “payout arrived,” “refund pending,” “move to tax savings,” or “wait until bill clears.”
4. Use Online Purchase List when orders scatter everywhere
Use Online Purchase List for anything ordered online: digital products, Etsy purchases, planner tools, gifts, supplies, household items, school materials, or preorders. This page is for remembering what was bought, where it is, and what still needs follow-up.
- Shipping: write shop, item, order date, expected date, tracking note, and received checkmark.
- Digital files: note where the file lives: Etsy purchases, email, Google Drive, NozomuNoto Library, Downloads, Files app, or cloud storage.
- Returns: add return deadline, reason, refund amount, label status, and whether the refund arrived.
- Gifts: use one copy for birthday, Mother’s Day, Christmas, teacher gifts, care packages, or family presents so nothing gets ordered twice.
This page is also useful after buying a digital planner. Write where you bought it, where the files were saved, what app you imported into, and whether setup is finished.
5. Use the Finance pages together once a week
The whole Finance section works best when each page has a different job. Yearly Finance Overview shows the year, Recurring Bills shows repeats, Money In And Out shows movement, and Online Purchase List shows orders. Weekly should only hold the next action.
- Check this week: look at bills due soon, orders waiting, refunds pending, and money that moved.
- Choose one to three actions: pay, cancel, check, return, download, update, transfer, save, or ask.
- Move those actions to Weekly: keep the details on the Finance pages and the action on the current week.
- Review at month end: update the Yearly Finance Overview only with the numbers or notes that matter later.
For privacy, keep passwords, full card numbers, full bank account numbers, tax documents, and private login details in a secure finance app or password manager. In the planner, write only the reminder, payment method hint, or place to check.
What I usually use it for and how I use it
Tips for using the Finance pages
- Start with one money job only. Track recurring bills this week, or track online orders only. Let the yearly overview wait until there is a real reason to update it.
- Write the decision date before the payment date. Add a cancel-by date or decide-by date in Recurring Bills, then move that date to Monthly or Weekly as a real action.
- Add an action word beside money notes. Pay, check, save, cancel, return, download, transfer, or ask makes the page useful.
- Use Online Purchase List for the whole order path. Write shop, product, download place, saved place, app imported into, and done checkbox.
- Keep the yearly page for patterns. Use Yearly Finance Overview for totals, important bills, savings goals, debt notes, and expensive months. Put daily details on Money In And Out or a separate copied tracker only if needed.
When you need setup help
If the planning idea is clear but the app step is the problem, open the NozomuNoto Help Center. It is better for importing Yume Techo, using hyperlinks, duplicating pages, bookmarking active pages, saving files, and finding app-specific buttons.
Tips for using this page
- Choose the one part of this page that helps the current week instead of trying to fill everything at once.
- Move one small next action to Weekly or Daily so the page changes what happens next.
- Keep the page easy to return to by linking it from Index, favorites, bookmarks, or the related planner section.
Final thought
Finance pages are useful when they turn scattered money details into one small next action. I hope this section helps you start with the page that solves today's real problem, keep the details there, and move only the next action into Weekly!