
This digital creative project planner setup is for craft ideas, supplies, unfinished projects, handmade gifts, skill practice, project stages, tutorials, photos, and realistic making time. I use Yume Techo to keep ideas safe without making every idea active: Projects To Make holds the idea shelf, Wish List holds supplies, Kanban shows what is moving, and Weekly carries one small making step.
The goal is to give creative work a place to wait, move, pause, and become finished. This article shows how I plan sewing ideas, illustration practice, handmade gifts, sticker ideas, repairs, supplies, and tiny making blocks without turning every hobby into another task list.
Use case ideas for a creative projects planner
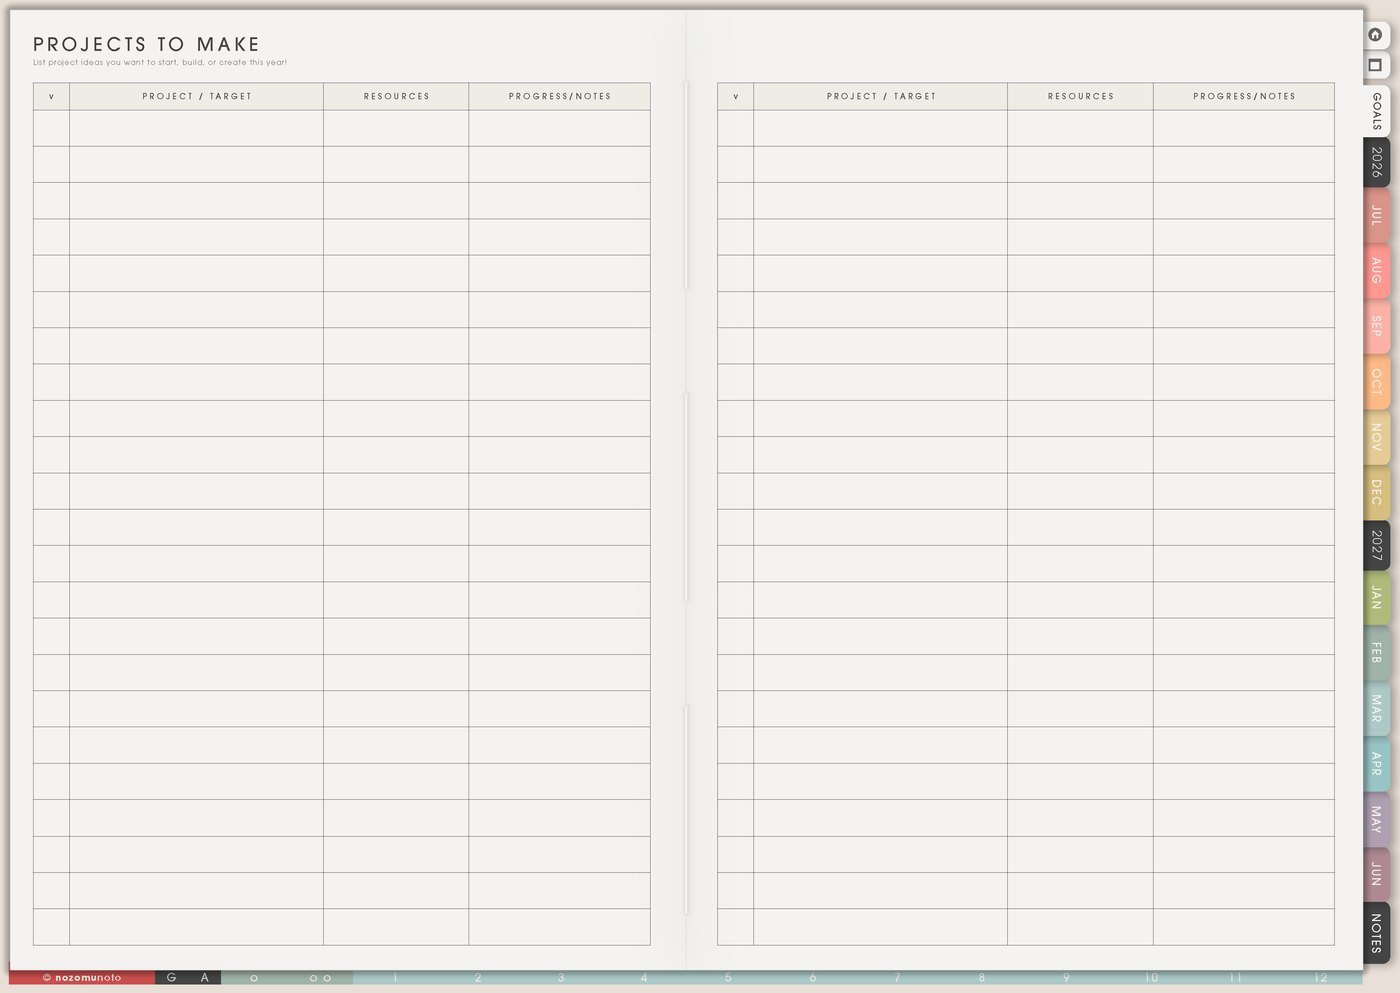
1. Use Projects To Make for idea capture
Use Projects To Make as the safe place for project ideas, patterns, repairs, gifts, seasonal crafts, supplies needed, color ideas, skill experiments, and who the project is for. This page is allowed to be messy because creative ideas often arrive messy.
Write enough context that the idea still makes sense later: crochet flower bookmark for Mother’s Day, repair blue bag strap, test forest color palette, make planner sticker sheet, embroider tiny stars on pouch, sew gift bag, paint label stickers, or make a birthday card set.
A named idea is easier to return to than an unclear idea. Add the reason, the person, the season, or the first tiny step if you already know it. For page-specific examples, open Projects To Make page ideas.
2. Use Wish List for supplies without shopping forever
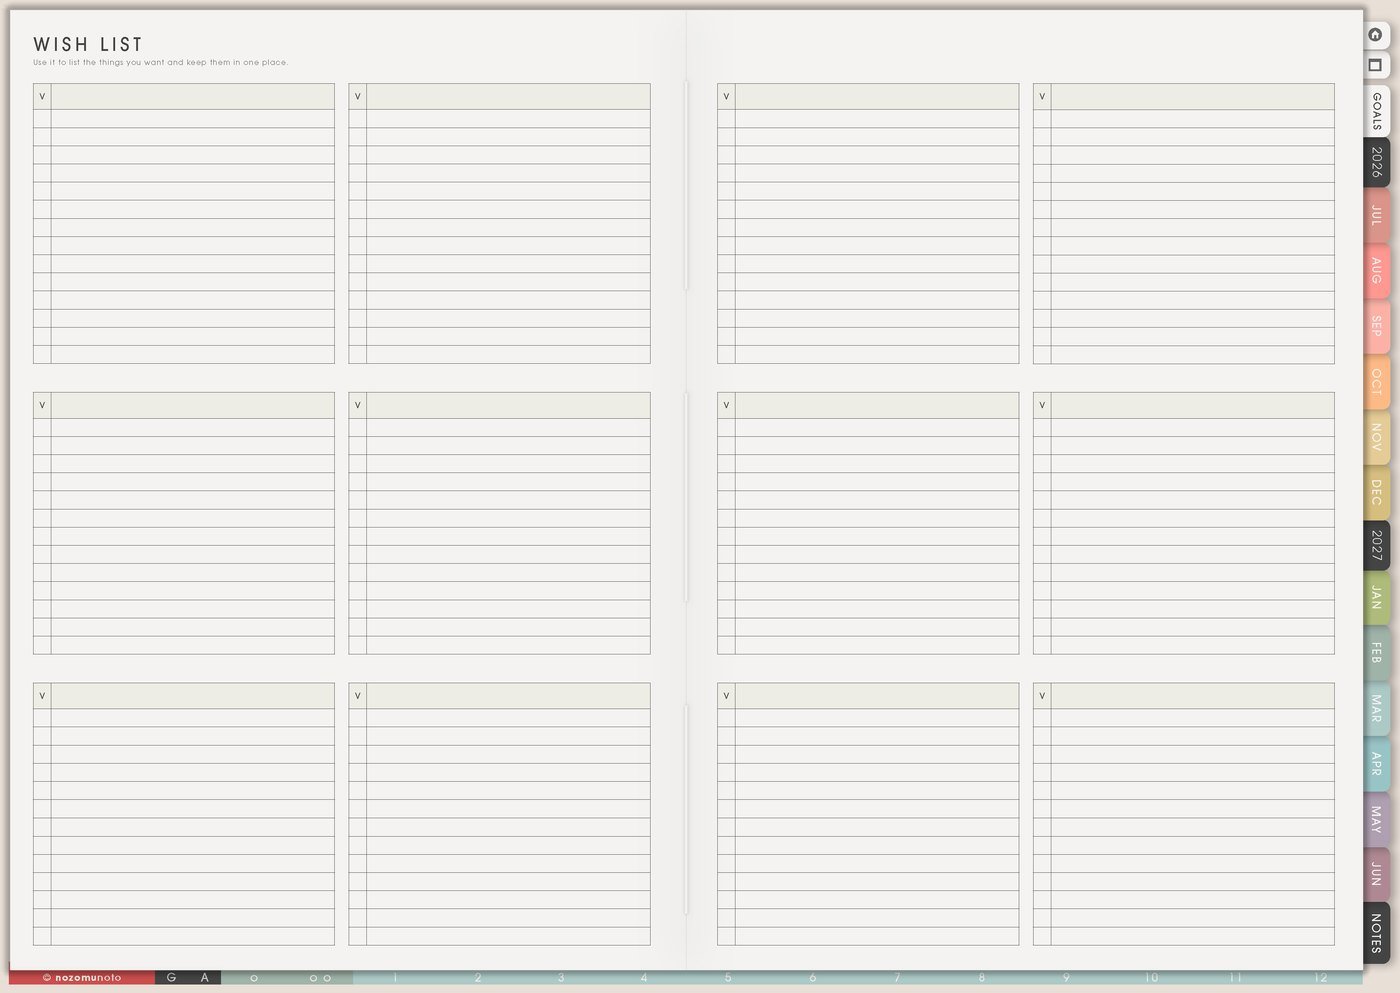
Use Wish List for tools, yarn, paper, stickers, fabric, paint, storage, pattern links, printer paper, cutting mats, replacement blades, thread colors, beads, and price notes. Add the project name beside the supply so the list explains why you wanted it.
This keeps shopping from becoming the whole craft session. Supplies are lovely, but they should help the making, not replace it. A waiting rule helps: buy when the project is active, the missing supply blocks the next step, or the item helps several planned projects. The matching article is Wish List page ideas.
- Wish: floral washi tape.
- For: Mother’s Day card set and planner gift wrap.
- Buy when: card project moves to This Week or current tape runs out.
3. Use Kanban Board for active project stages
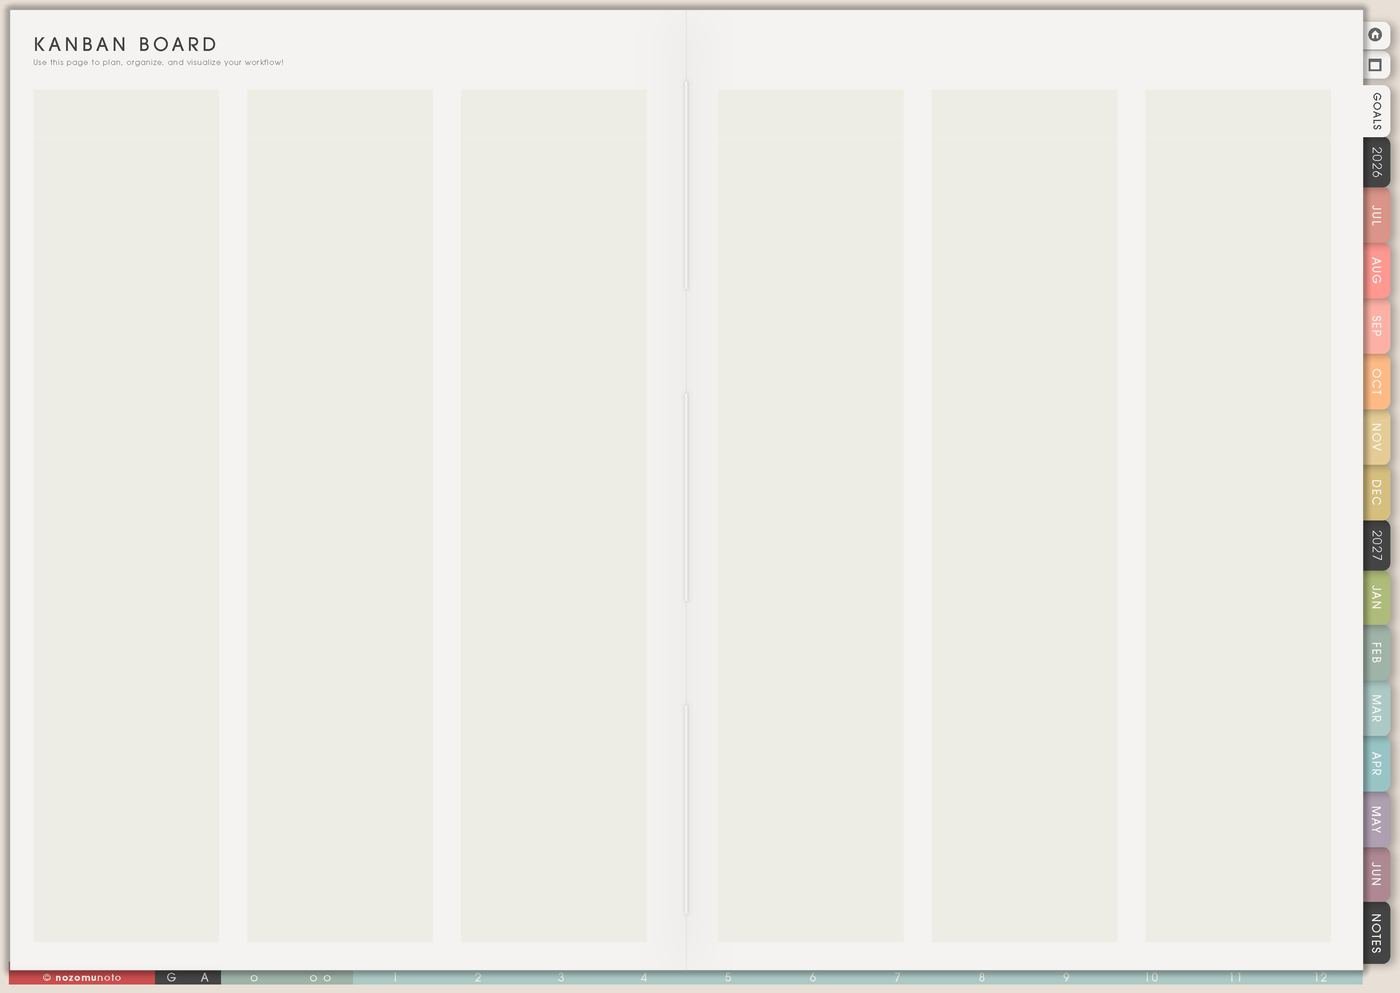
Use Kanban Board when creative projects get stuck in different stages. Try columns like Ideas, Supplies Ready, In Progress, Waiting, Finishing, Finished. A craft project might move through pattern chosen, supplies ready, first test, main making, finishing, photo, gift, or storage.
This is especially helpful for unfinished projects. Waiting can mean waiting for buttons, glue to dry, a measurement, a quiet afternoon, a tutorial, feedback, or courage to cut the expensive paper. Waiting is real information!
Keep only a few active projects on Kanban. Projects To Make can hold the rest safely until their turn. For more board examples, use Kanban Board ideas.
4. Use Skills To Learn for creative practice direction

Use Skills To Learn for techniques you want to practice: lettering, color palettes, crochet tension, sewing zippers, photo styling, sticker cutting, watercolor washes, pattern reading, digital drawing, product mockups, or using a planner app better.
This page keeps practice from becoming random. Instead of learn painting, write mix three greens. Instead of improve crochet, write practice even tension for ten rows. A small skill is easier to practice and easier to notice improving.
Choose one active skill for the season. The rest can stay on the page without demanding this week’s energy. The detailed guide is Skills To Learn page ideas.
5. Use 30 Day Challenge Tracker for tiny making
Use 30 Day Challenge Tracker for tiny creative practice: sketch one flower, crochet one row, cut paper for ten minutes, test one color palette, mend one item, letter one word, draw one icon, photograph one finished piece, or clean one small tool area.
Add a fallback action before starting. Full action might be paint for twenty minutes. Fallback might be wash brush and choose one color. This keeps the creative habit alive on tired days without pretending every day has the same energy.
6. Use Weekly and Daily to protect making time
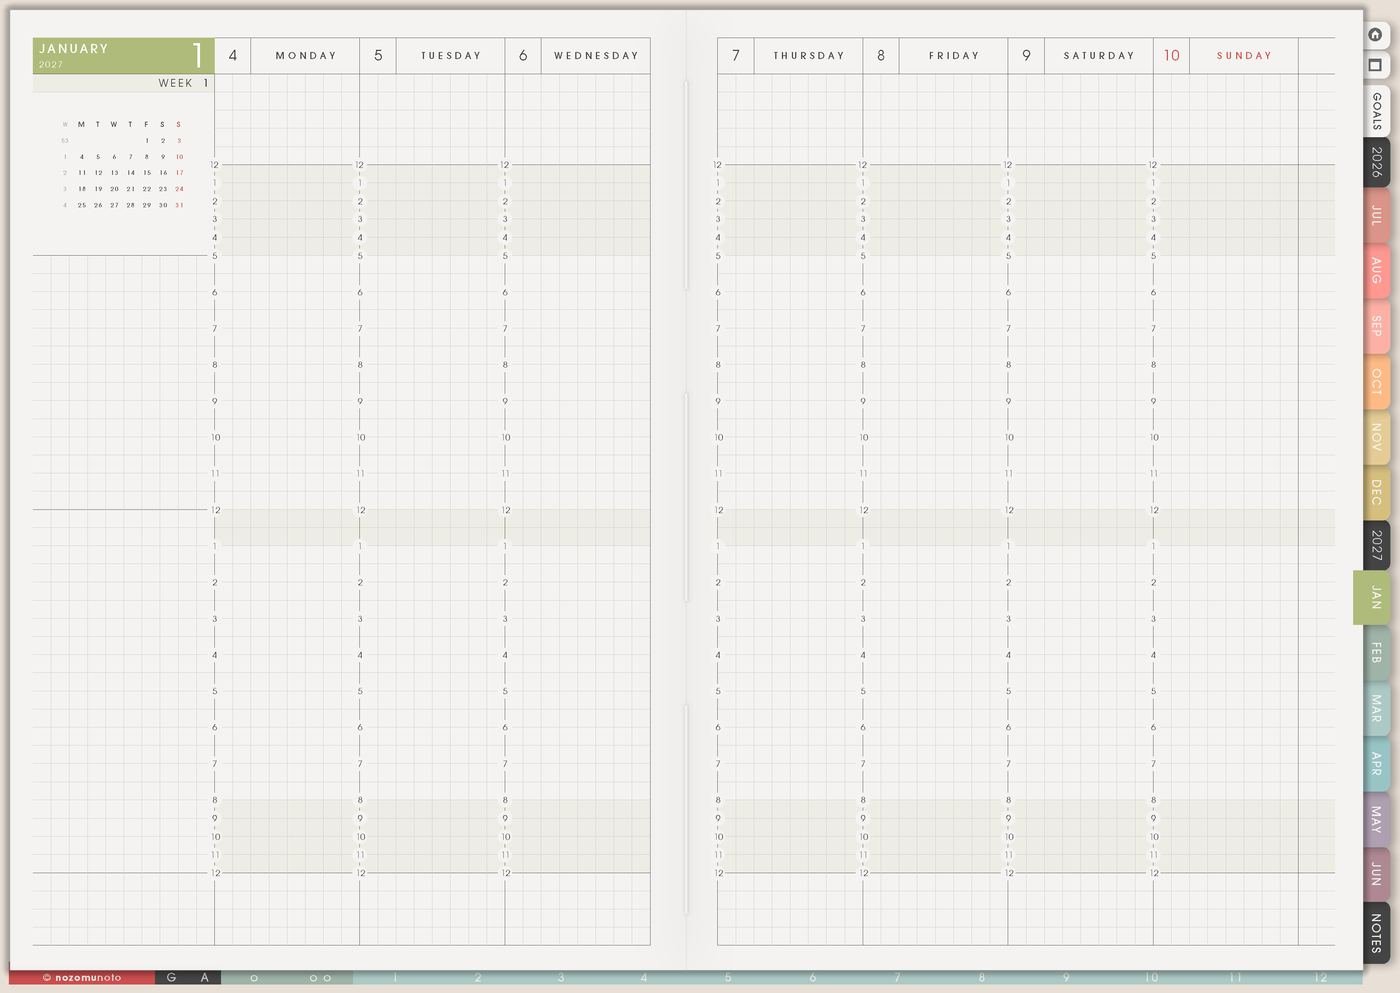
Use Weekly to choose one active project and one realistic making block. Use Daily for the tiny next move: thread needle, cut pattern, print page, choose palette, glue one piece, test pen, take progress photo, mend strap, pack project bag, or open the tutorial.
Creative work often gets stuck at the transition from idea to first motion. A tiny physical action makes the project easier to start, especially when the project feels meaningful, expensive, messy, or emotionally important.
If the week is crowded, the making block can be short. Ten minutes of progress still keeps the project warm.
7. Use Memory Photos for finished pieces and proof
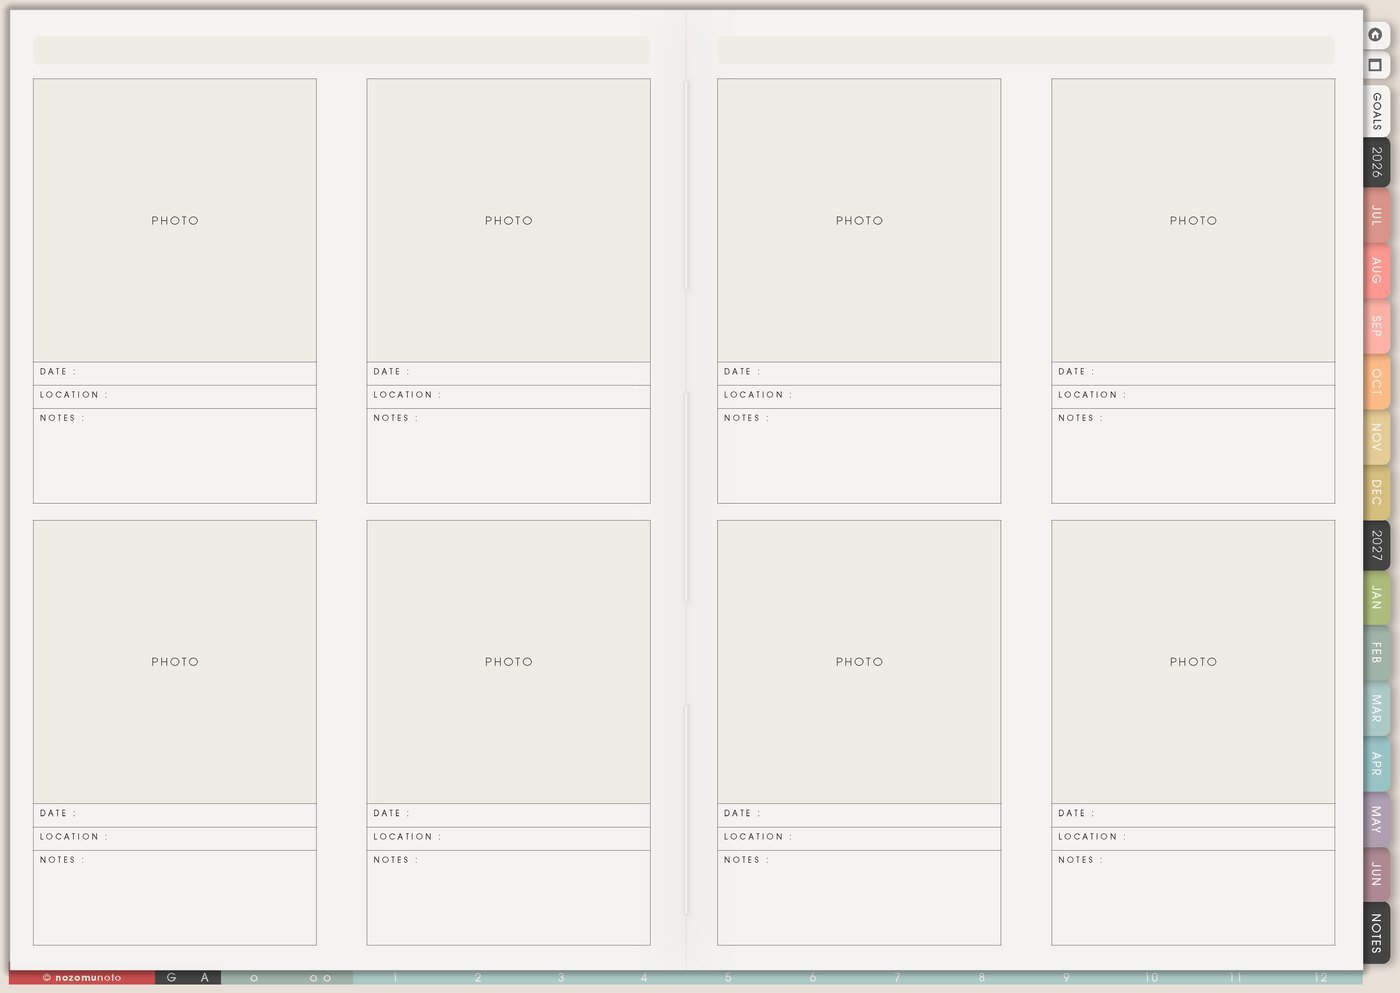
Use Memory Photos for finished projects, works in progress, gift photos, before-and-after repairs, color tests, favorite supplies, booth or table setups, sketchbook pages, and tiny creative wins. Add the date, materials, what you learned, and whether to make it again.
This turns the planner into a creative archive, not just a task list. Finished-piece photos are especially helpful when you feel like you never finish anything. The proof is right there.
For gifts, add who received it and what made it personal. For products, add what to change next time.
Set it up in ten minutes
- List ten project ideas. Keep them messy but named enough to remember later.
- Choose one active project. Everything else can stay safely on Projects To Make.
- Add supplies to Wish List. Write the project reason beside each supply.
- Make a tiny Kanban board. Ideas, Active, Waiting, Finishing, Finished is enough.
- Pick one skill to practice. Make it small, like test one palette or practice one stitch.
- Put one making block on Weekly. Keep it realistic for the season.
- Write today’s first physical action. Cut, open, test, thread, glue, print, wash, choose, or photograph.
What I usually use it for and how I use it
Tips for keeping a creative project planner usable
- Let Wish List wait before buying. Write the project name, supply, reason, and next making action before adding a new tool or material to the shopping plan.
- Keep Projects To Make as storage. Let the idea list be generous, then move only one active project, one waiting project, and one tiny practice idea into the current week.
- Name why a project is paused. Waiting for buttons, glue, a decision, courage to cut expensive paper, or a better season is information. Write the reason instead of treating the project as failed.
- Make a practice version first. Use scrap paper, a test swatch, a tiny sample, or a five-minute sketch before using special materials.
- Choose one tutorial and one action. Save the rest in Resources / Tasks. The skill grows when one small attempt happens.
- Protect one making block. Put it on Weekly before the week fills up. It can be short; the point is to keep the project alive.
- Photograph finished work quickly. Add one photo, date, material note, and lesson to Memory Photos or My Achievements so finished pieces are easier to remember.
When you need setup help
For the craft and creative workflow, use Projects To Make for the idea shelf, Wish List for supplies, Kanban Board for active stages, Skills To Learn for practice, Weekly for making time, and Memory Photos for finished proof. If the technical part gets in the way, such as importing Yume Techo, copying a project page, adding photos, or using hyperlinks, use the NozomuNoto Help Center for app-specific steps.
Final thought
Creative ideas need a place to wait without becoming urgent. Let Yume Techo hold supplies, stages, practice, and proof of progress so the making itself has more room. I hope this setup helps one active project feel possible while the rest of your beautiful ideas stay safe for later!