
Use these steps to work with NozomuNoto PDF planners, notebooks, stickers, covers, and template pages in StarNote. The official links below are for downloads, updates, and current help pages.
Reference links
Use these for current app or device help, downloads, updates, vendor support, and manual references.
Install and use stickers in StarNote
- Extract the NozomuNoto sticker ZIP so the PNG files are visible.
- Open the planner page where you want to place the sticker or image.
- Tap the image / picture icon on the StarNote toolbar.
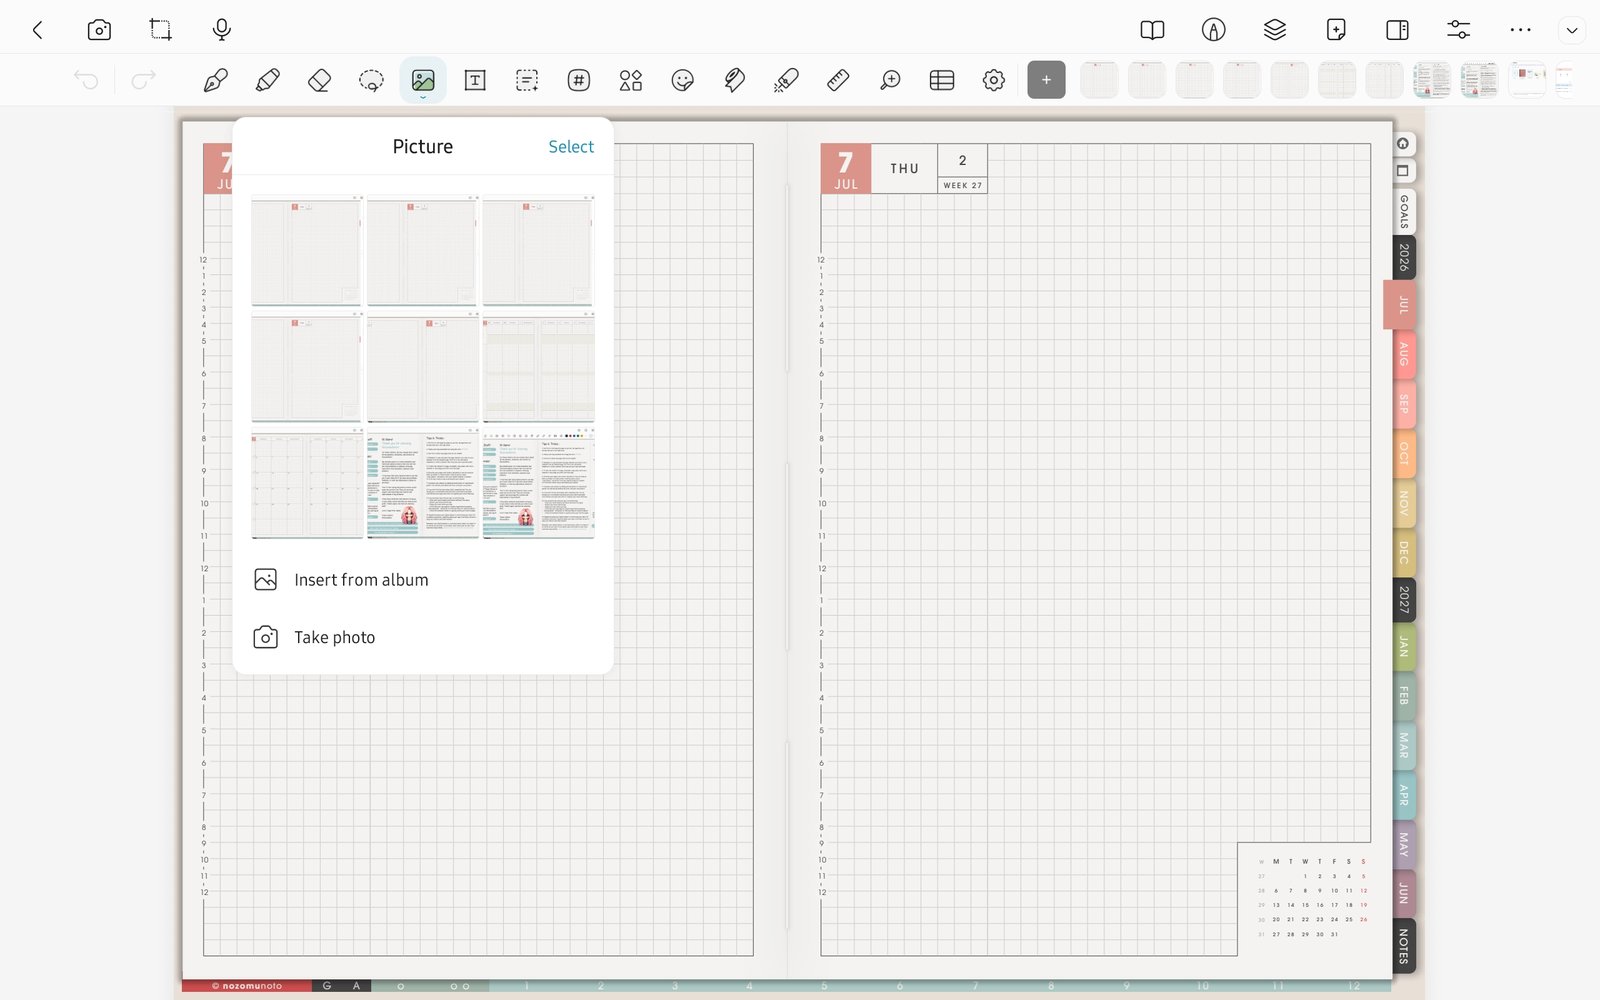
Import imageUse the image tool, then Import image or Insert from album for PNG stickers. Product shown: Yume Techo Academic 26-27 Landscape. - Use Import image or Insert from album to choose a PNG sticker or image.
- Place one image first, resize it, then close and reopen the planner to confirm it stays on the page.
- After the test works, add the rest of the stickers slowly so the page does not become heavy.
Notes
- Sticker setup tip: Start with one sticker on one page. If it saves and exports correctly, then decorate more pages. This keeps troubleshooting small if Android storage or sync behaves differently.
- If stickers look blurry, reinsert the original PNG and keep it close to its original size.