
Use these steps to work with NozomuNoto PDF planners, notebooks, stickers, covers, and template pages in Flexcil. The official links below are for downloads, updates, and current help pages.
Reference links
Use these for current app or device help, downloads, updates, vendor support, and manual references.
Set up your first NozomuNoto planner in Flexcil
- Import the planner from Documents using the blue + button, Files, your PDF, and Select.
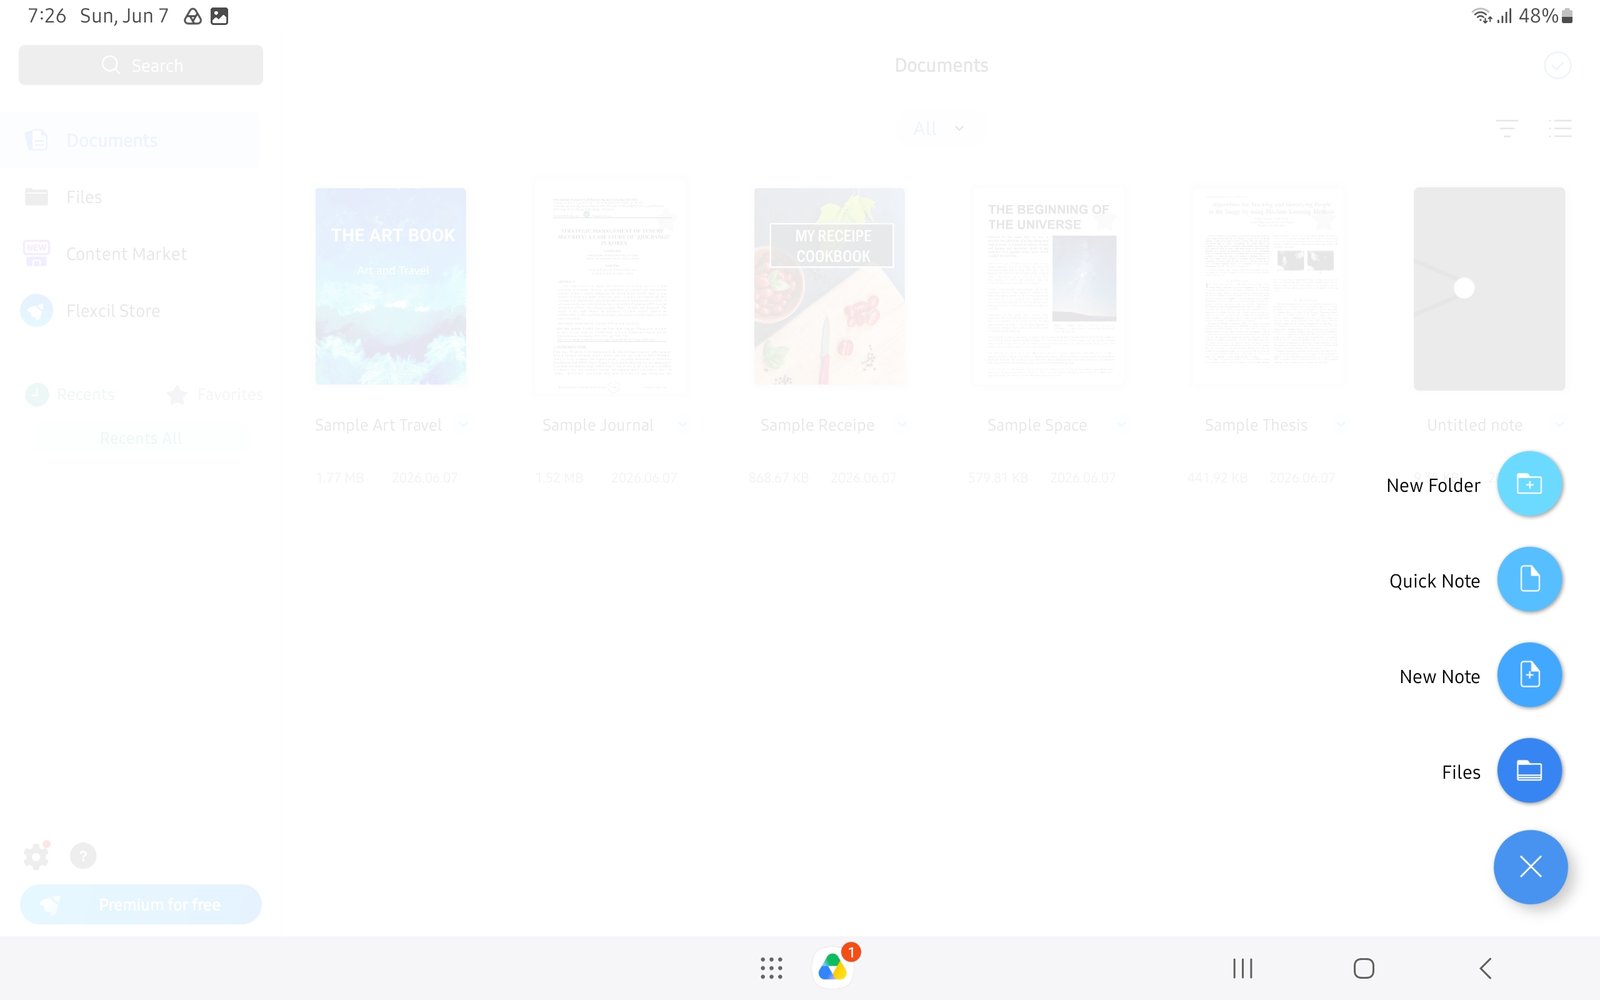
Import from FilesStart setup by choosing Files from the blue plus menu in Flexcil for Android. - Open the planner and switch to Gesture mode for the first link test.
- Tap the Index page, one month tab, and one weekly link to make sure navigation works.
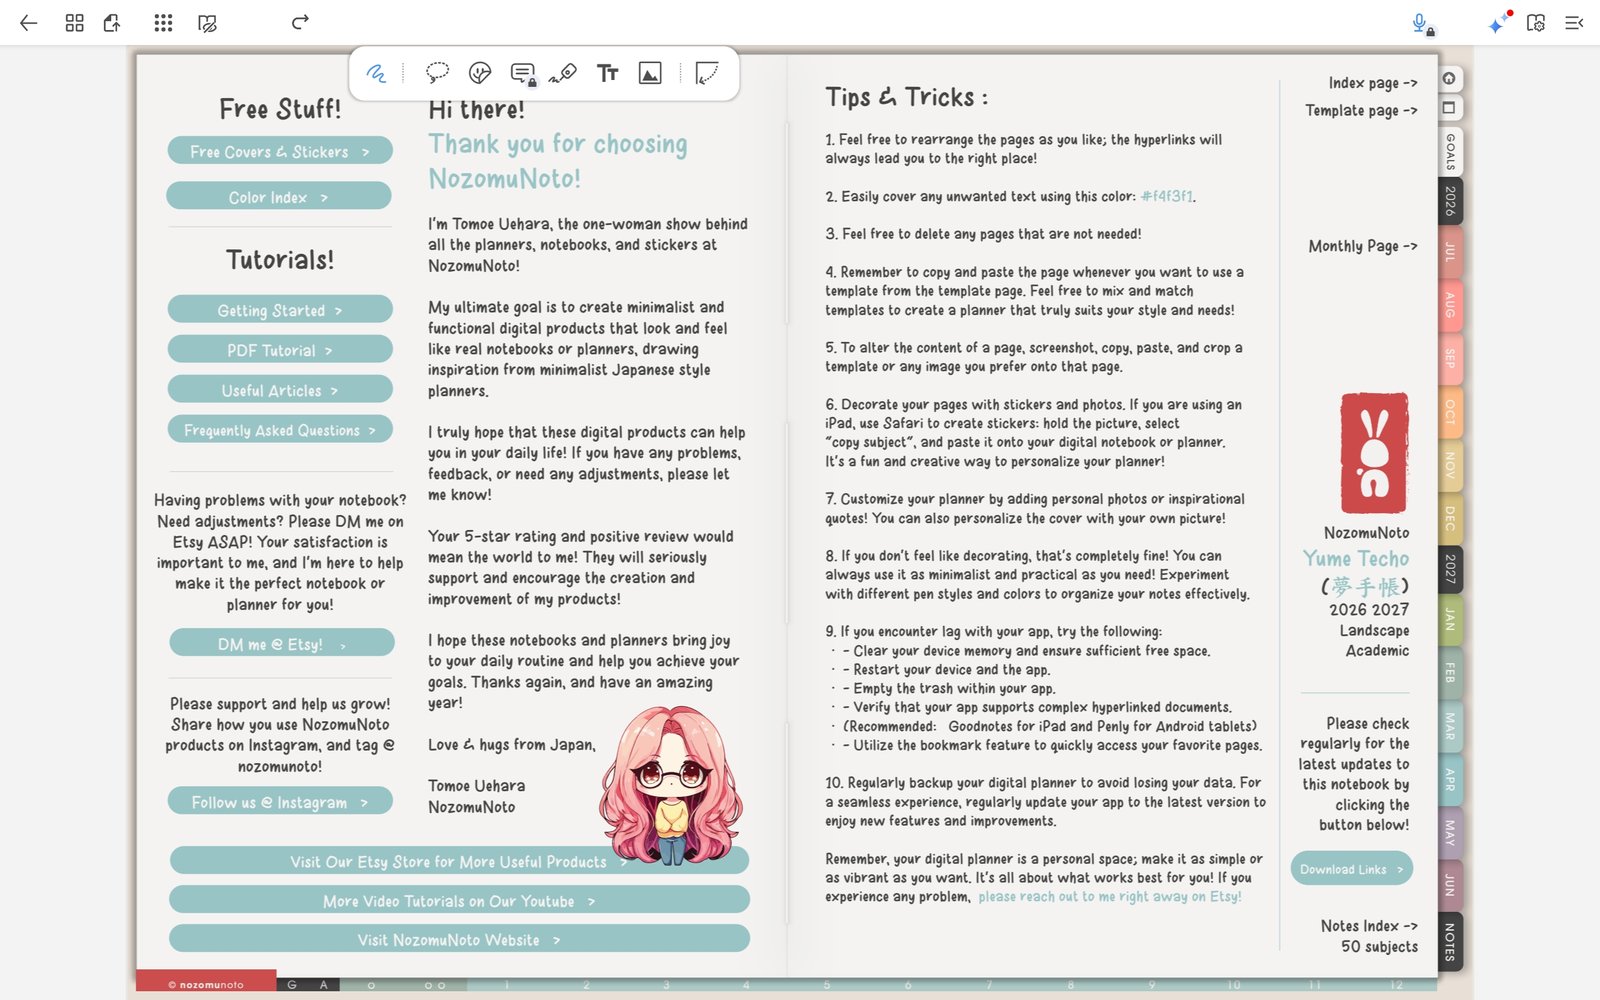
Test planner linksOpen Yume Techo Academic 26-27 Landscape and test index, month, and week links before writing. - Open Page Navigation and bookmark the pages you will actually use this week.
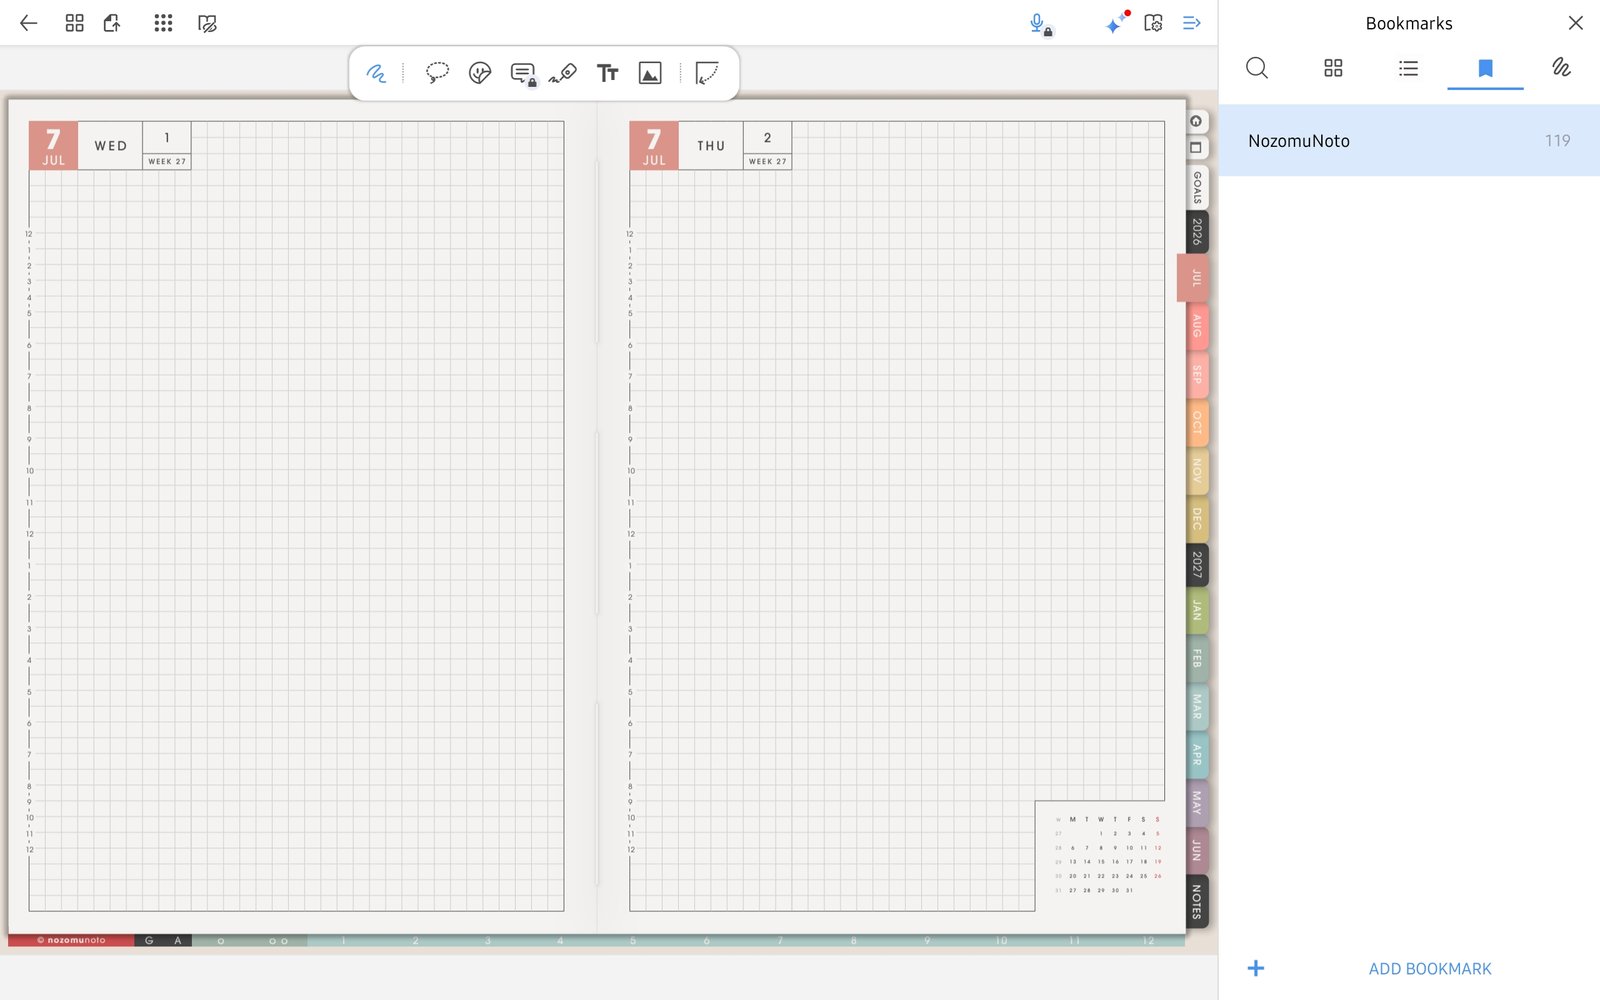
Bookmark important pagesFlexcil Bookmarks tab after saving a useful NozomuNoto page. - Duplicate one clean template page before writing on it.
- Use the image icon only after the planner basics work, then test one PNG sticker from Gallery or Files.
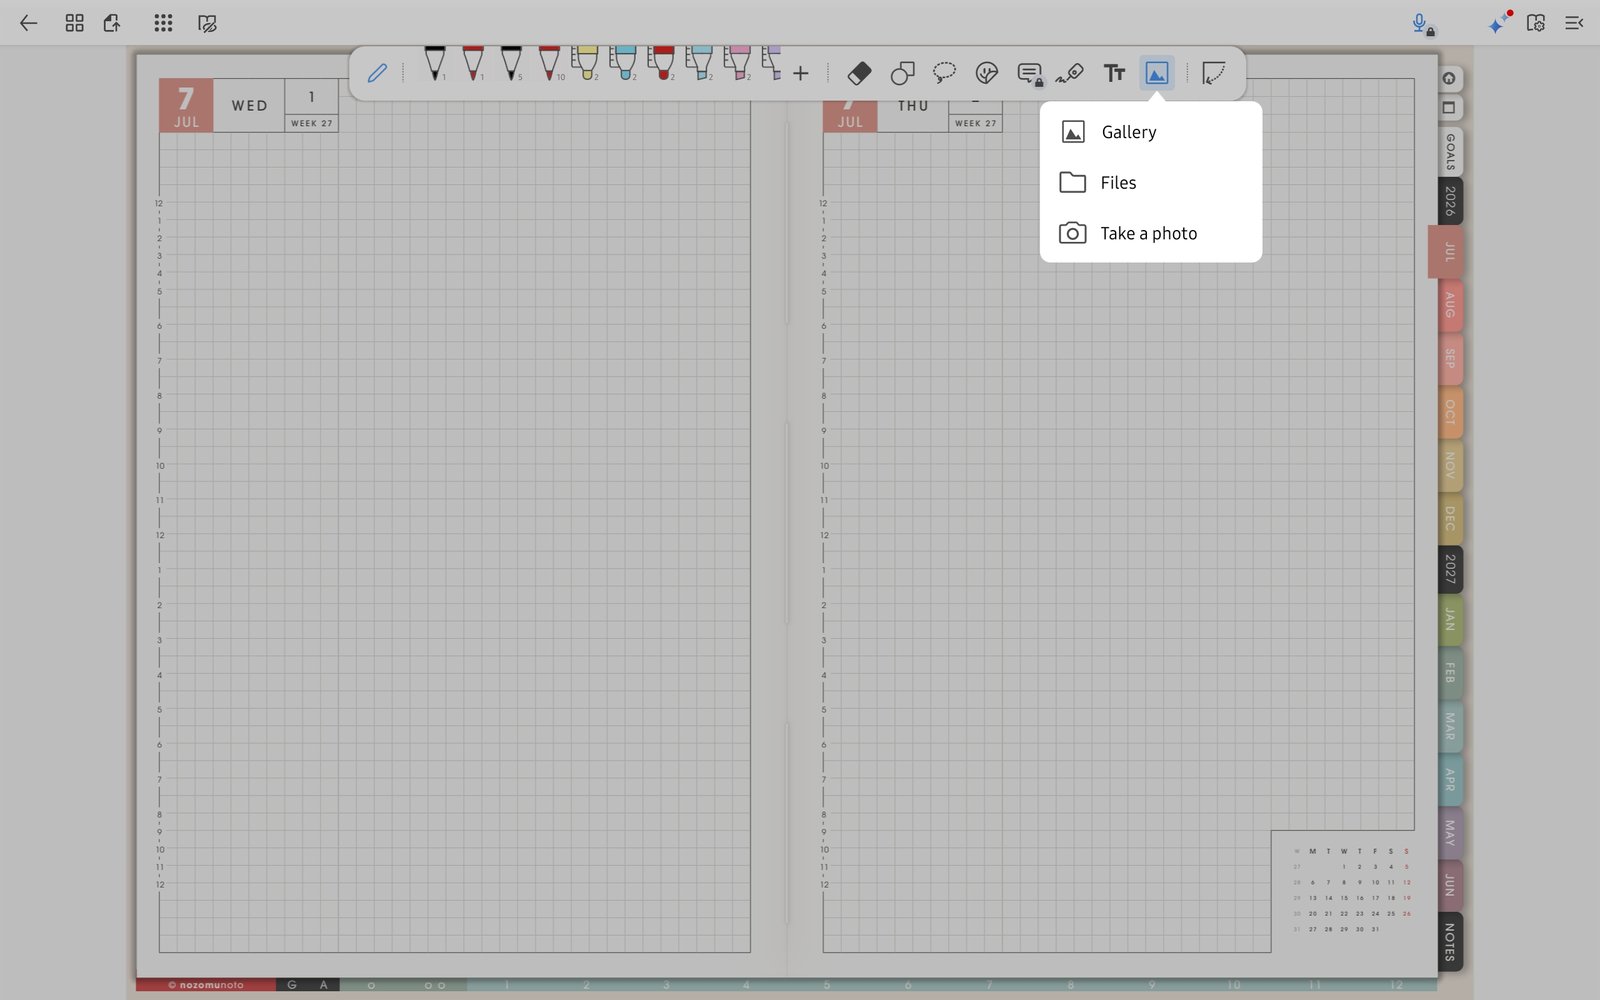
Test one imageUse the image tool for one sticker or image test after the planner basics work.