
Use these steps to add, move, resize, and reuse NozomuNoto digital stickers in Notability. The official links below are for app help, downloads, updates, vendor help, and current manual references.
Reference links
Use these for current app or device help, downloads, updates, vendor help, and manual references.
Choose your sticker method first
Before adding stickers to Notability, check what kind of sticker file you have.
- ZIP file: extract it first, then open the sticker folder.
- PNG stickers: use Add Media or Photos to place one individual PNG sticker on your planner or notebook page.
- Sticker book or sticker sheet: use it as a sheet or page. It may not split into separate sticker pieces automatically, so use the individual PNGs when you need movable pieces.
- Notability stickers: use this only for sticker content saved inside Notability, such as custom stickers made in the app.
Open the page where you want the sticker, add or paste one sticker, resize it a little at a time, move it into place, and keep your sticker files somewhere easy to find. If a sticker becomes blurry, insert the original PNG again and keep it closer to its original size.
Use stickers in Notability
- Extract the sticker ZIP first, then open the folder that contains the PNG stickers, sticker sheet, or sticker book.
- Choose the cleanest file for the job: use one PNG sticker for a movable image, or use a sticker sheet/book as a full sheet or page.
- Open the planner or notebook page where you want to place the sticker.
- Open Add Media, then choose Photos or the image option to place a NozomuNoto PNG sticker. Use Stickers only for sticker content saved inside Notability.
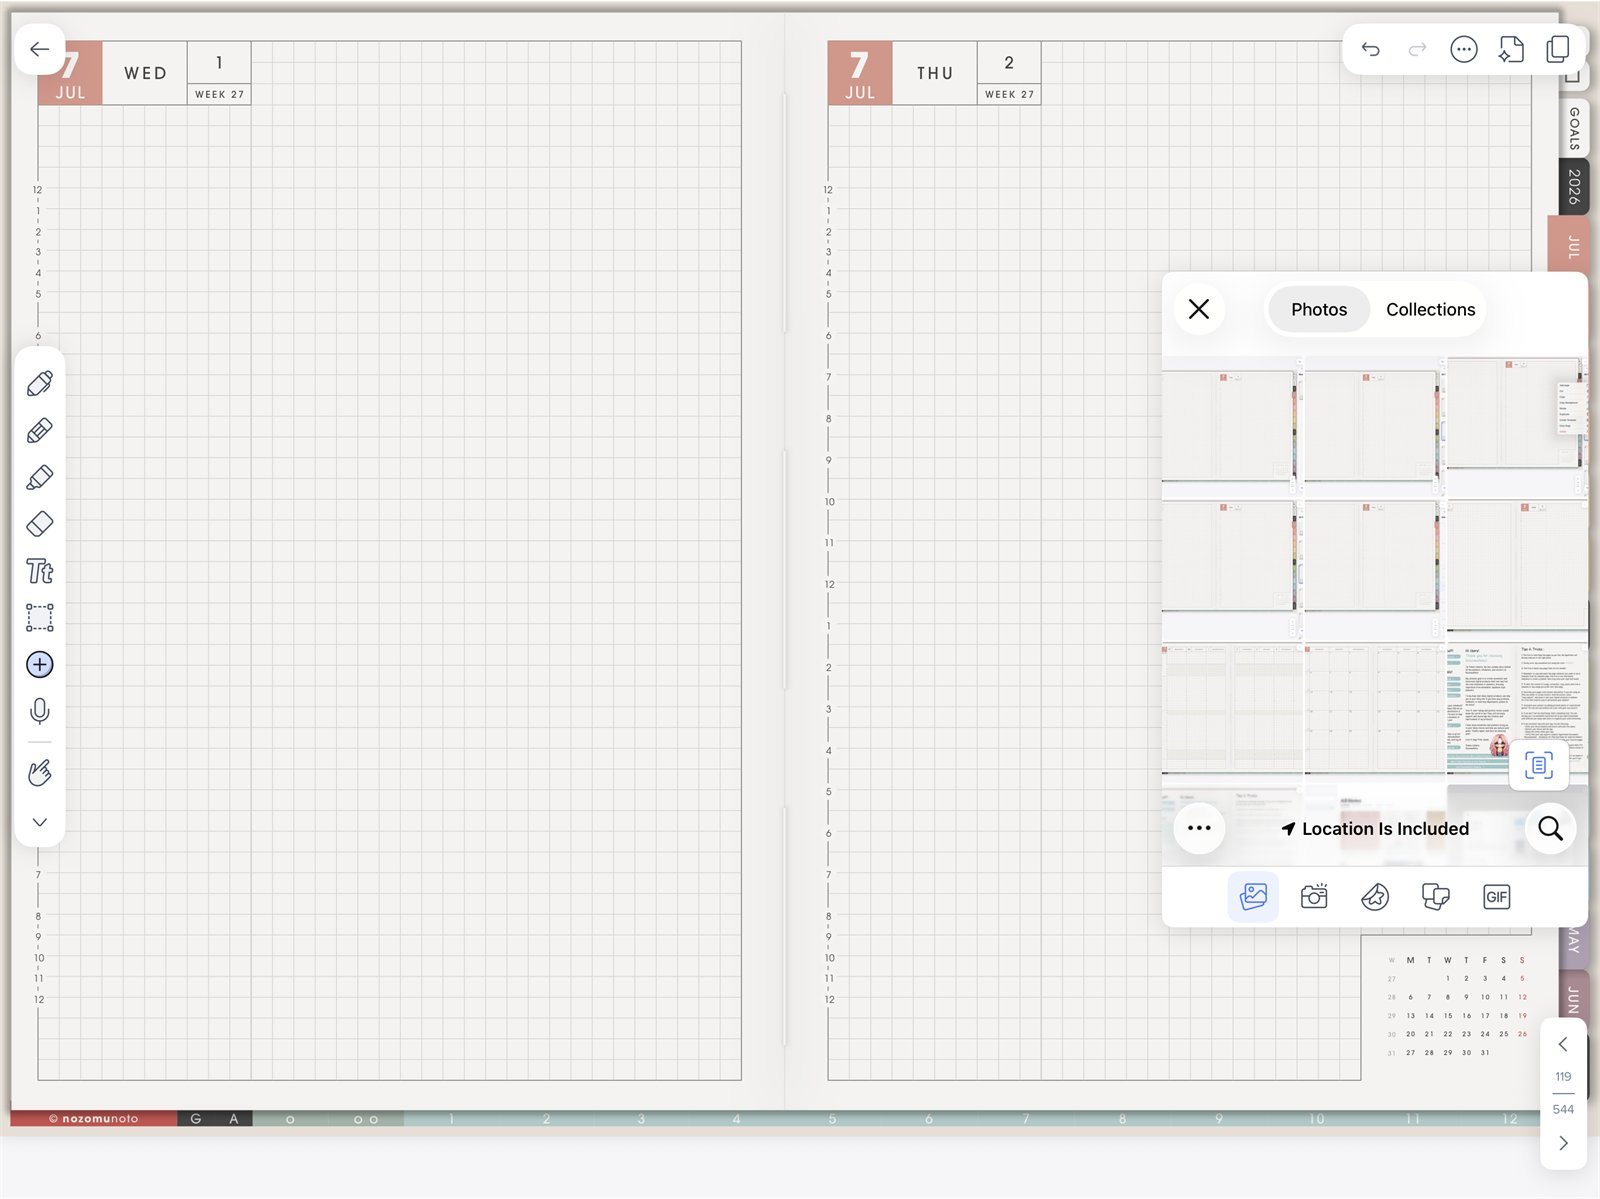
Media and PhotosNotability media picker on iPad. Use Photos or images to place NozomuNoto PNG stickers on Yume Techo Academic 26-27 Landscape. - Tap the placed image to crop, copy, duplicate, move, resize, or delete it when Notability shows those image controls.
- Resize a little at a time, move the sticker into place, then zoom in once to check that it still looks clear.
Notability sticker checks
1. PNG stickers are images
Use Add Media, Photos, or the image option for NozomuNoto PNG stickers. Keep the original PNG folder organized outside Notability so you can insert a clean copy again later.
2. Sticker books and sheets may stay as sheets
A sticker book or sticker sheet may import as one PDF page or one image sheet. Use the individual PNG files when you want separate movable sticker pieces.
3. Notability stickers are app objects
Use the Stickers option for sticker content saved inside Notability. Custom stickers made inside Notability are different from a NozomuNoto PNG sticker folder.
4. Test one sticker first
Place one sticker, resize it, and zoom in. If it looks blurry, delete it and insert the original PNG again without stretching it too far.
If stickers feel hard to manage
Keep a small favorite sticker folder in Files, iCloud Drive, or Photos. Add one sticker at a time instead of filling a page before you know the size and placement work well.