
Use these steps to work with NozomuNoto PDF planners, notebooks, stickers, covers, and template pages in Noteshelf. The official links below are for downloads, updates, and current help pages.
Reference links
Use these for current app or device help, downloads, updates, official guides, and manual references.
Choose your sticker file first
Before adding stickers to Noteshelf, check what type of sticker file you have.
- ZIP file: extract it first, then open the sticker folder.
- PNG stickers: add one individual PNG image to your planner or notebook page.
- Sticker book or sticker sheet: use it as a sheet or page, then use individual PNGs when you want separate movable sticker pieces.
- Noteshelf sticker groups: use the built-in sticker area only for stickers already saved inside Noteshelf.
Open the page where you want the sticker, add or paste one sticker, resize it a little at a time, move it into place, and keep your sticker files somewhere easy to find. If a sticker looks blurry, insert the original PNG again and keep it closer to its original size.
Use stickers in Noteshelf
- Extract the NozomuNoto sticker ZIP first if the stickers arrived inside a ZIP file.
- For individual PNG stickers, open the planner or notebook page where you want the sticker.
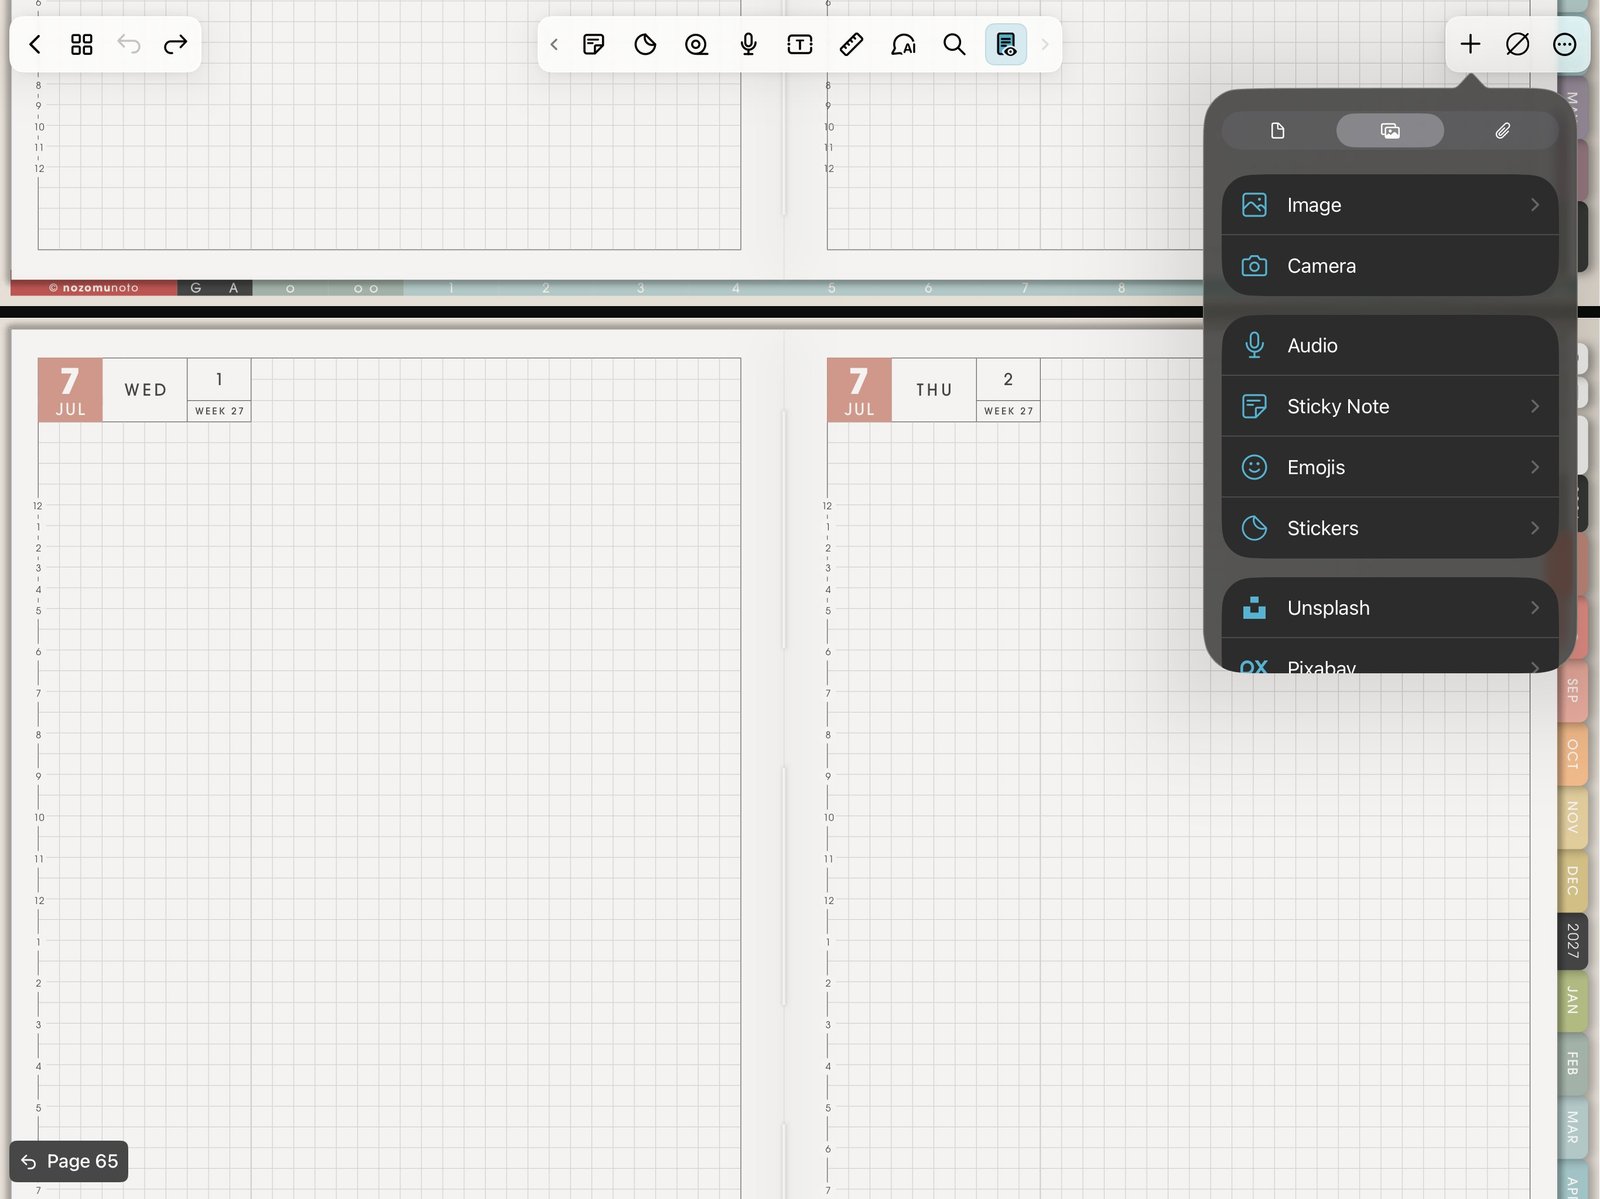
+ > ImageOpen the Add menu, then choose Image or Stickers for a test PNG. Product shown: Yume Techo Academic 26-27 Landscape. - Tap the Add menu, shown as the plus icon, then use the image or photo option to add one PNG sticker.
- For Noteshelf sticker groups, open Image Gallery, tap Stickers, then choose a sticker that is already saved inside Noteshelf.
- Resize the sticker a little at a time, move it into place, then close and reopen the planner to check that it stays clear.
Noteshelf sticker file choices
1. ZIP folder
Extract the ZIP first. Noteshelf needs the actual sticker file, such as a PNG image, not the unopened ZIP folder.
2. PNG stickers
Use PNG stickers when you want individual movable images. Keep the original PNG folder outside Noteshelf so you can insert a clean copy again later.
3. Sticker book or sticker sheet
A sticker book or sticker sheet may behave like one PDF page or one large image. Use individual PNG files when you want separate movable sticker pieces.
4. Noteshelf sticker groups
Noteshelf sticker groups are app objects saved inside Noteshelf. They are separate from a NozomuNoto PNG sticker folder until you add or save stickers there.
Keep the first sticker test small
Place one sticker on one low-risk page, resize it, close the planner, reopen it, and check that it still looks clear. After that works, add more stickers slowly.
If stickers look blurry
Delete the blurry sticker and insert the original PNG again. Keep the sticker closer to its original size instead of stretching a tiny icon across a large part of the page.