
Use these steps to set up your first NozomuNoto planner or notebook in Notability without trying to build the whole system on day one. The official links below are for app help, downloads, updates, vendor help, and current manual references.
Reference links
Use these for current app or device help, downloads, updates, vendor help, and manual references.
First-day setup
Keep your first setup small. Do this before decorating, organizing every section, copying every template, or setting up the whole planner.
- Save the original download as your clean backup.
- Import the actual planner or notebook PDF into Notability.
- Open the imported planner or notebook.
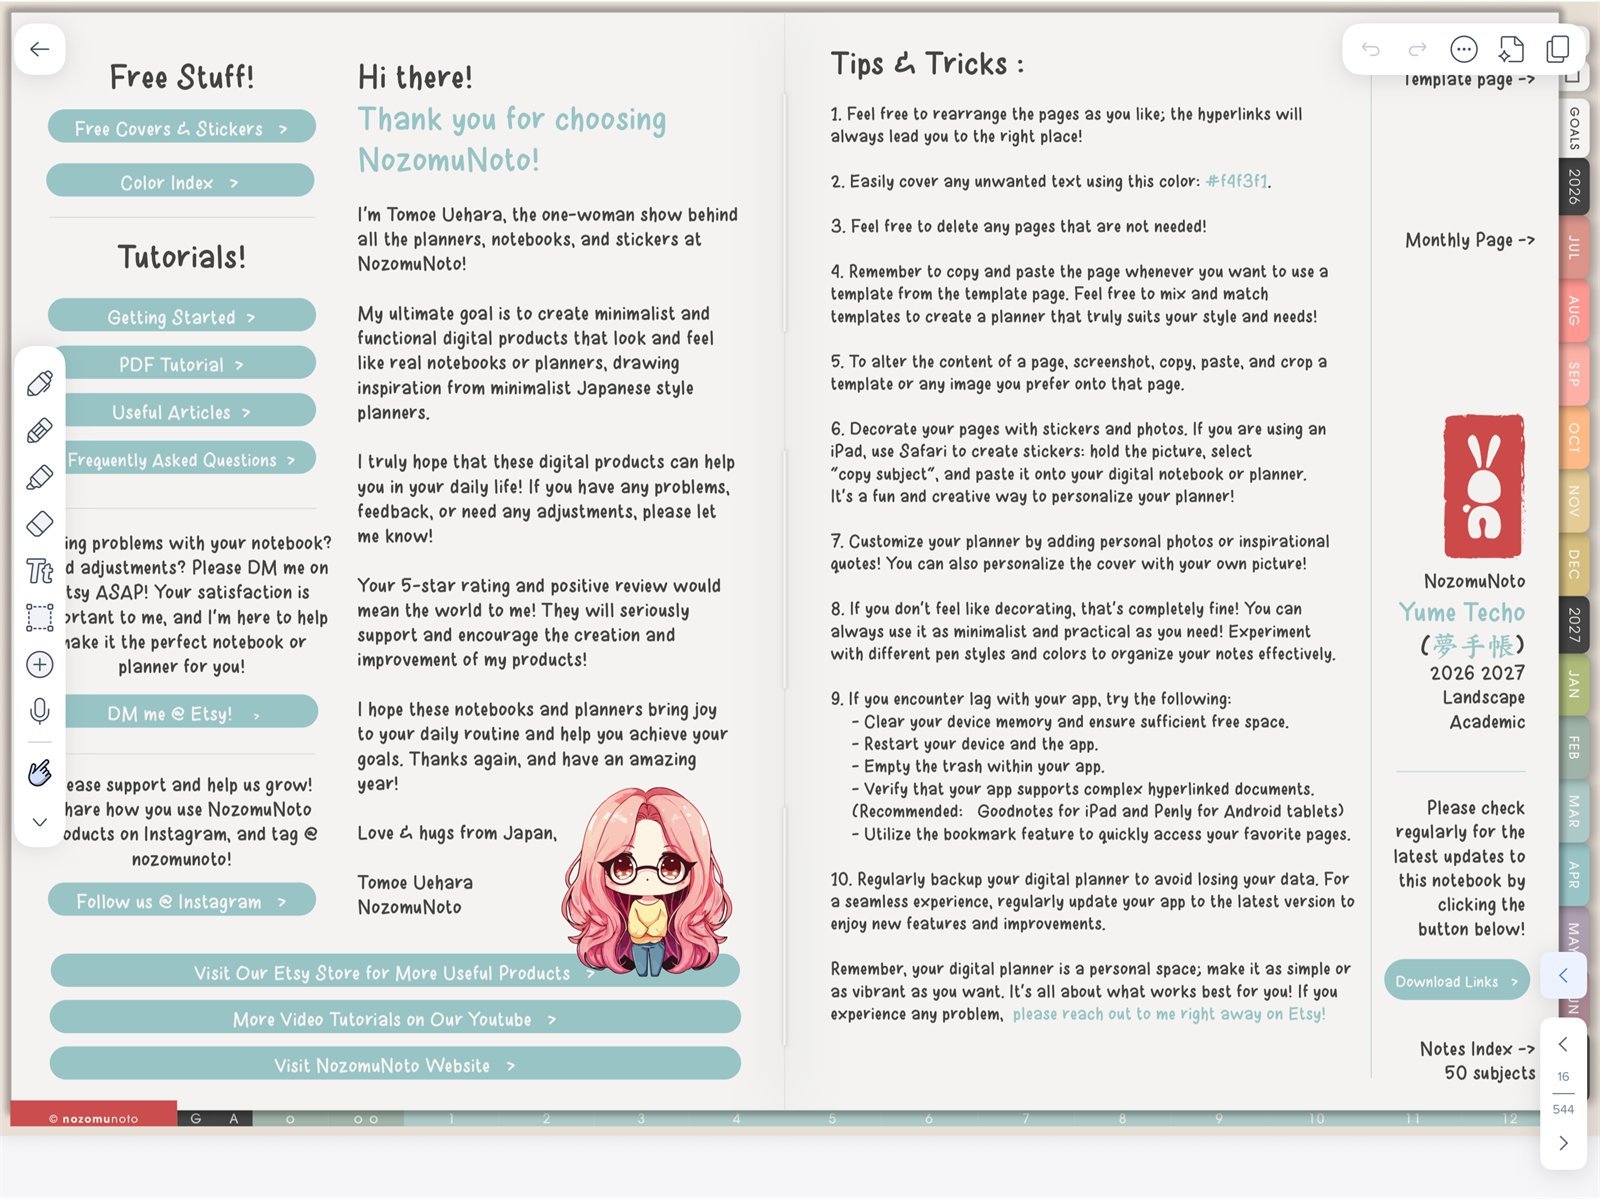
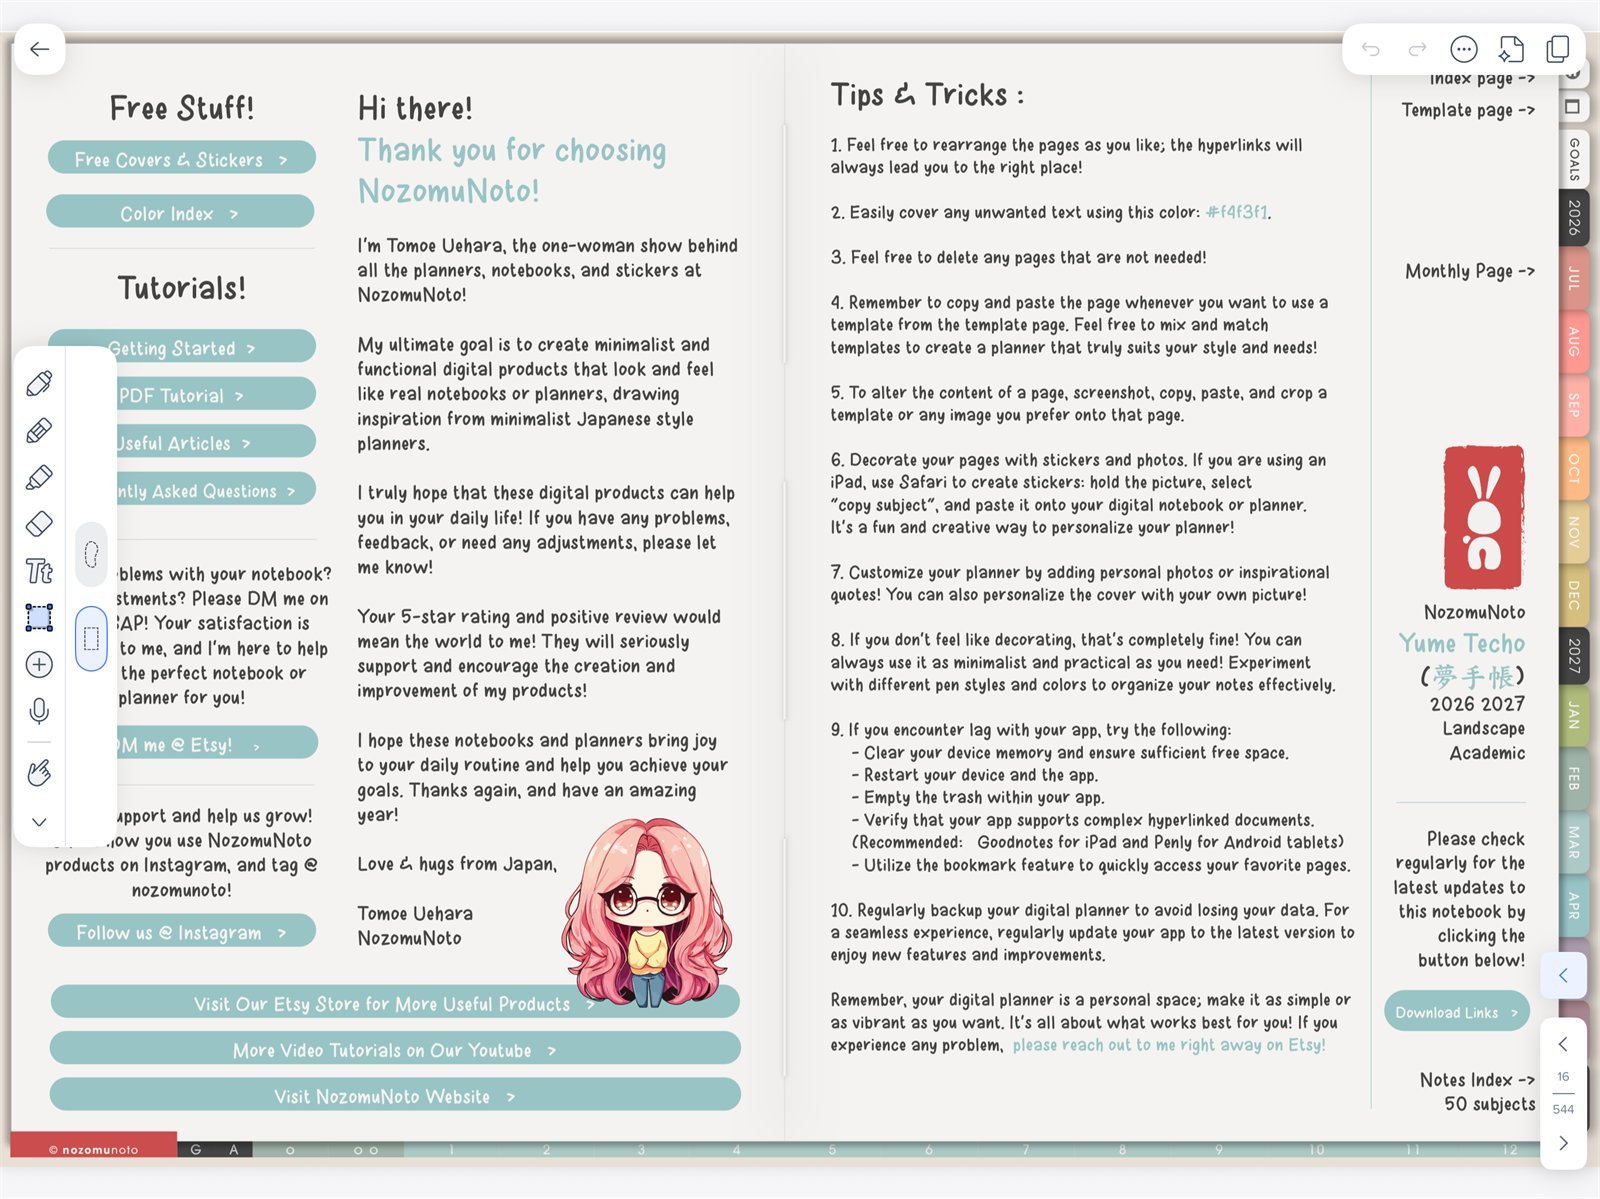
- Go to the Index page.
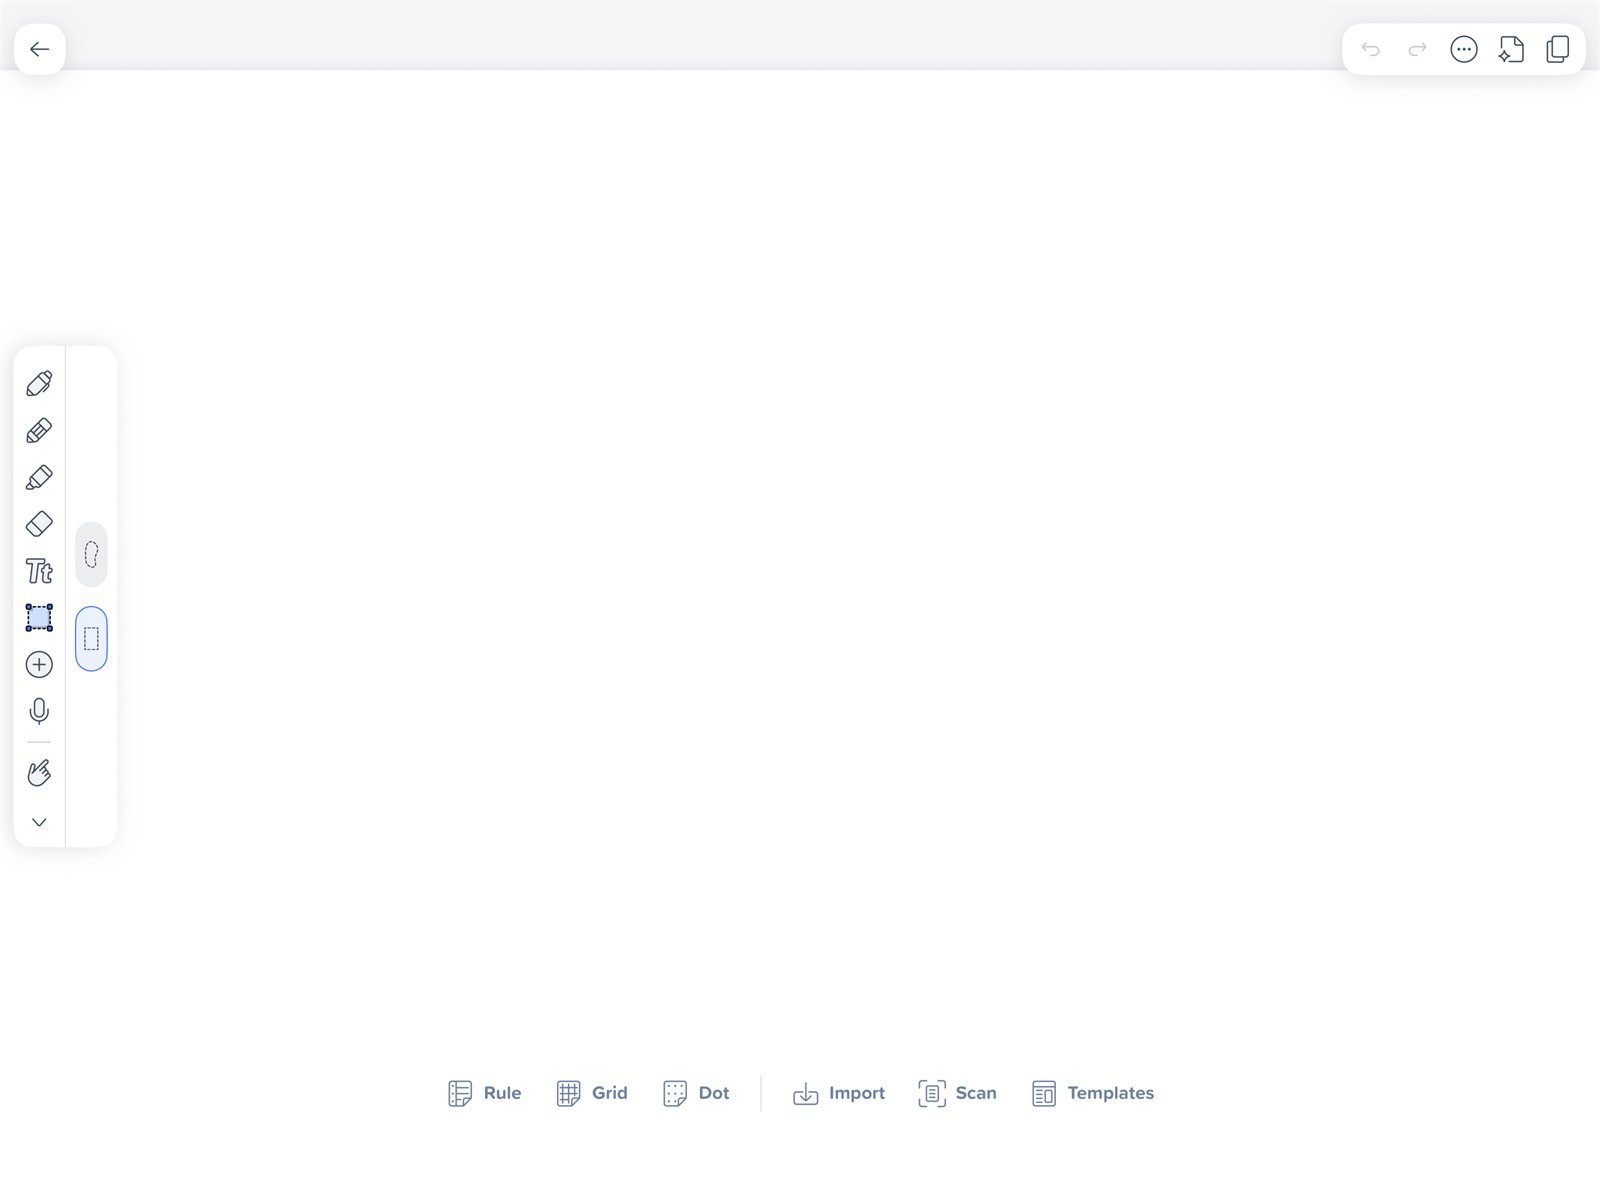
- Tap one link to test navigation with the hand tool.
- Write one small note or task.
- Try one real page you will use today.
Learn the planner by using one real page first. Bigger setup steps can wait until the basic workflow works.
Set up your first NozomuNoto planner in Notability
- Save the original NozomuNoto download outside Notability and extract the ZIP if needed.
- From the Notability Library, press and hold + New, tap Import, choose Files, and import the actual planner or notebook PDF.
Import the planner firstNotability on iPad. Start by importing the Yume Techo Academic 26-27 Landscape PDF as its own note. - Open the imported planner or notebook and rename it with the product name, year, orientation, week start, and color.
Test navigationUse the Notability hand tool before testing Yume Techo tabs, Index links, and dated page links. - Go to the Index page.
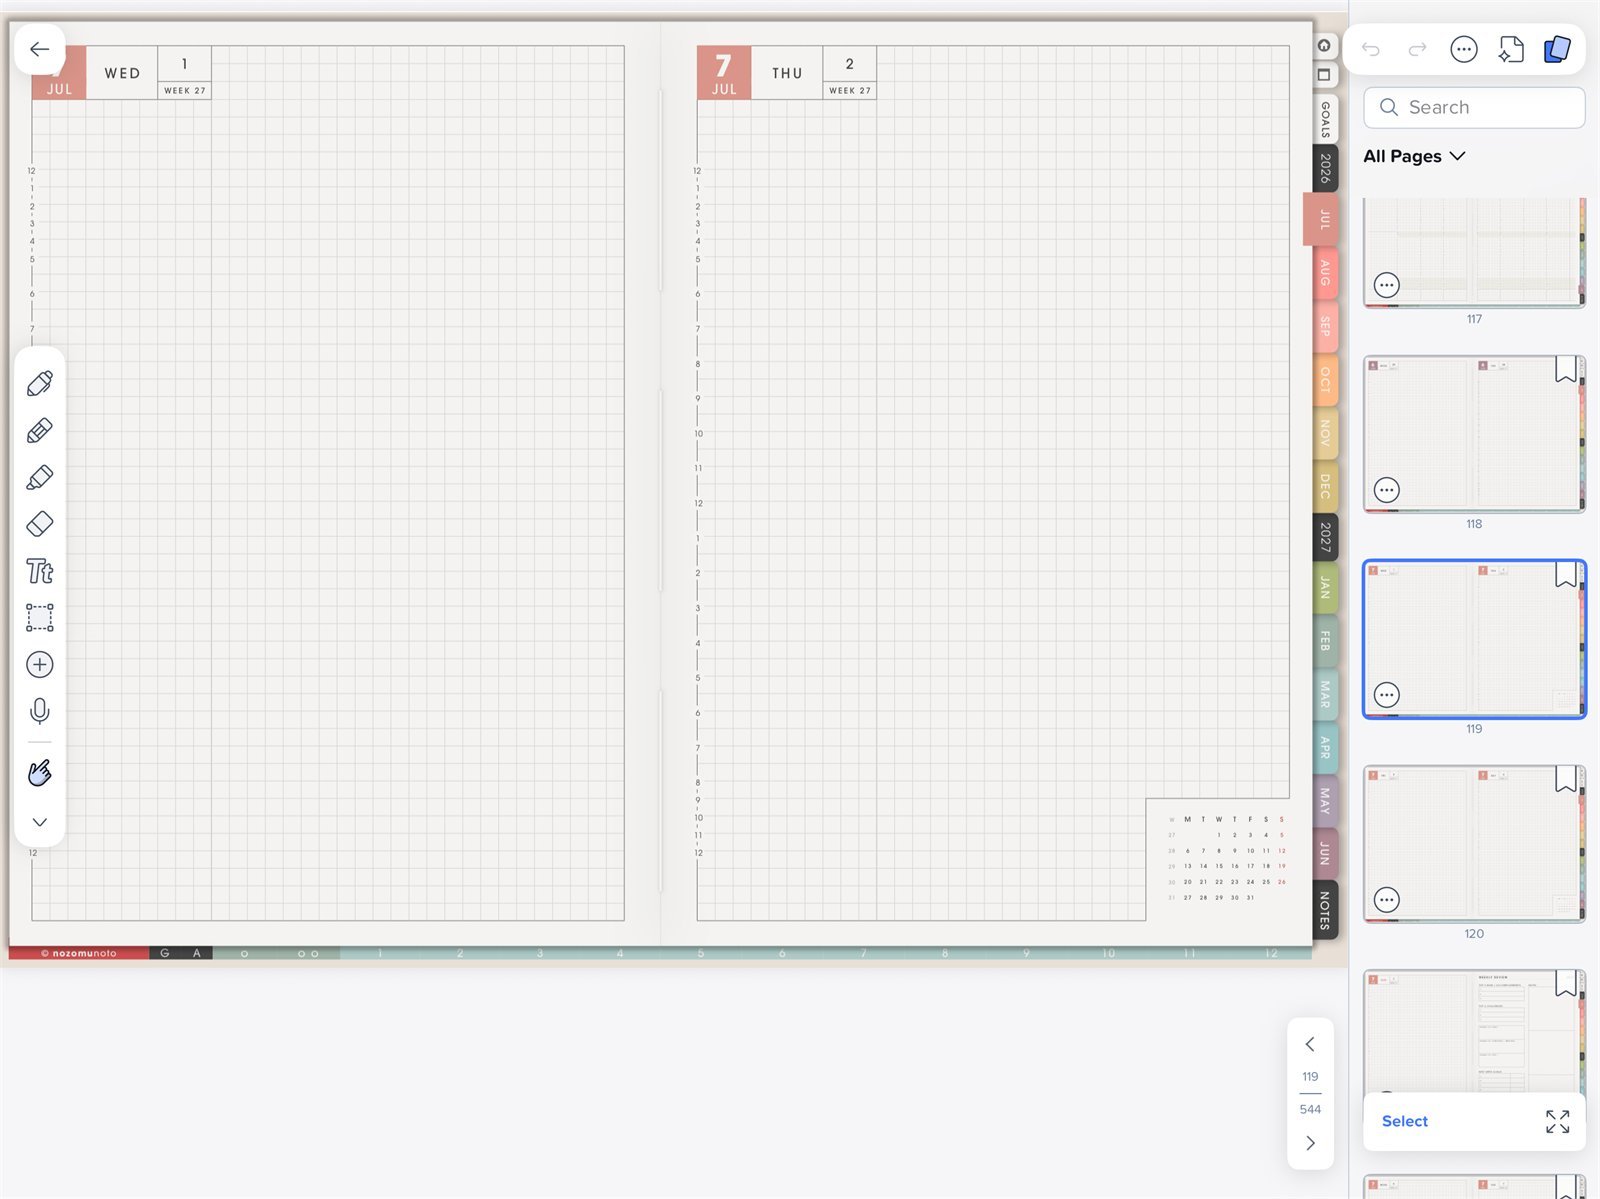
Check page thumbnailsNotability Content Manager showing page thumbnails for Yume Techo Academic 26-27 Landscape. - Choose the hand tool, then tap one Index link, one month tab, and one date or section link.
Keep the setup smallYume Techo Academic 26-27 Landscape in Notability. Start with Index, current month, current week, one notes page, and one copied template page. - Write one small note or task on a page you can find again.
- Try one real page you will use today, such as today, this week, one notes page, or one template copy.
- Save decorating, section organizing, cover changes, sticker setup, and many copied templates for later.
- Keep the first week small: Index, current month, current week, one notes page, and one active copied template page.
Good first-day setup in Notability
The first day is for proving that the PDF imports, links move, handwriting works, Index is findable, and one real page works. Skip decorating, organizing every section, copying every template, and setting up the whole planner on day one.
When Notability feels confusing
1. Links fail to move
What happens: tapping writes or selects instead of opening a planner link.
What to do: choose the hand tool, then test the same link again.
2. The planner feels too big
What happens: you try to set up every section at once and lose your place.
What to do: return to Index and use only one real page for today.
3. Template pages become messy
What happens: the clean template page was filled and there is no clean master left.
What to do: re-import a fresh copy of the original PDF and copy the clean template again.
4. Bookmarks are too crowded
What happens: every interesting page gets bookmarked, so Bookmarks becomes hard to use.
What to do: keep only Index, current month, current week, and active copied pages.