
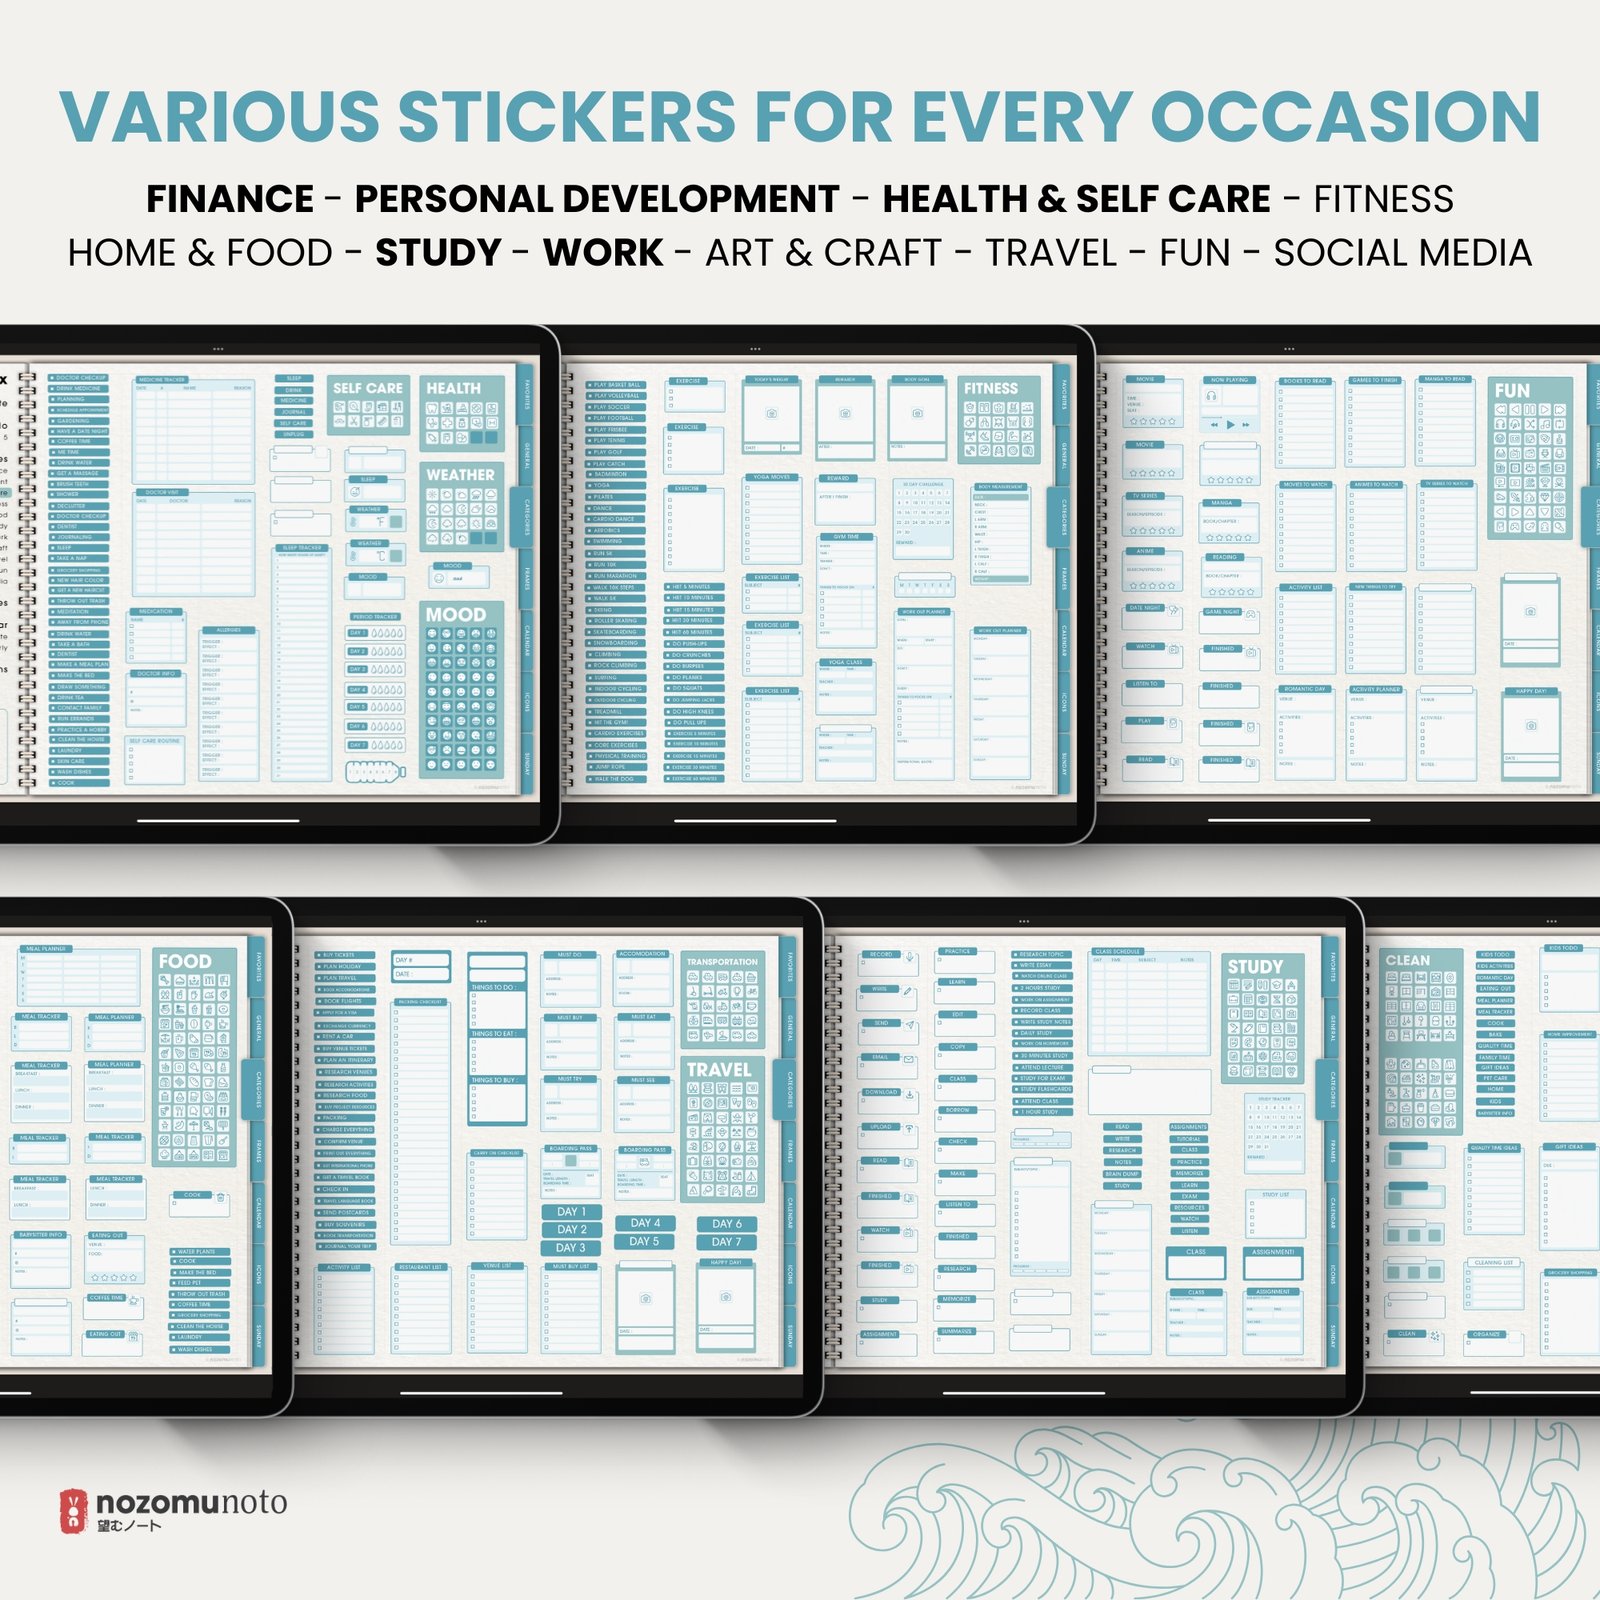
NozomuNoto digital stickers are image files, sticker pages, sticker books, or app-specific files that you can place inside a digital planner or notebook. Use them for labels, reminders, routines, task cues, tiny dashboards, decoration, or visual anchors that make a page easier to scan.
The best sticker setup is simple: extract the files, choose the sticker type you have, insert one original sticker as a test, keep it close to its intended size, then save favorites in your app if it has a sticker collection feature.

Quick answer
- Extract ZIP files first. Import the PNG, sticker PDF, app-specific GoodNotes file, or app-ready files inside the ZIP, not the ZIP itself.
- Use the original sticker file. Screenshots, preview images, and copied low-quality images can look blurry.
- Resize a little at a time. Stickers stay sharper when you keep them near their original size.
- Test one sticker first. Make sure the sticker can be moved, resized, selected, and saved before decorating a full spread.
Choose your sticker type first
- ZIP file: extract it first. The sticker files are usually inside the extracted folder.
- PNG stickers: insert them as individual image stickers, then place them on your planner or notebook page.
- Sticker sheets: open the sheet, select or crop one sticker, copy it, then paste it onto the planner page.
- Sticker book PDFs: import the sticker book as its own document, then copy stickers from there into your planner.
- App-specific files: use them only with the app named in the product file, such as a GoodNotes Elements file for GoodNotes.
- Widgets or larger decorative pieces: insert them like images, then resize and place them carefully so they stay away from writing areas.
Basic workflow
- Download and save the sticker files. Keep the original download somewhere safe so you can reinsert a sharp copy later.
- Extract the ZIP if needed. On iPad, tap the ZIP in Files. On Android, use Files, My Files, or the extract option your device shows.
- Open the planner or notebook page. Choose a page with enough white space so the first sticker test is easy to see.
- Import or insert one sticker first. Choose the PNG, sticker book, or app-specific file that matches your app, then place one sticker on the page.
- Resize from the corner. Keep the sticker close to its original size. Avoid stretching it wider or taller than intended.
- Move it, select it, and close/reopen the file. This checks whether the sticker saves correctly before you add many.
- Save favorites if your app has that feature. Create a small collection for the stickers you use most often.
If your app steps look different
Sticker tools are different in every app. Use this page for the file-type decision, then open the matching Device & App guide for exact buttons.
Useful sticker ideas
1. Task and reminder labels
Use small to-do, priority, deadline, bill, email, call, appointment, or progress stickers on weekly and daily pages. They work best when they point attention to something important, not when they cover the writing space.
2. Routine and habit cues
Use routine stickers for medication, skincare, exercise, reading, cleaning, study, prayer, sleep, water, meal prep, or work shutdown cues. A small visual cue can make a routine easier to notice on a full page.
3. Tracker and challenge pages
Use sticker labels on habit trackers, 30 day challenges, 100 day challenges, health logs, reading trackers, finance pages, or study trackers. Keep the sticker small so the tracker boxes remain usable.
4. Travel, event, and project pages
Use stickers for packing, itinerary, hotel, flight, food, photo, budget, shopping, errands, party planning, launch tasks, or craft steps. Place them near headings or checklists instead of covering notes.
5. Page anchors
Use one repeated sticker to mark a page type. For example, one small flower for weekly reset, one checklist sticker for errands, one heart for self-care, or one label sticker for important notes. This makes pages easier to scan later.
When this gets tricky
1. The ZIP will not import into the app
What happens: the app refuses the sticker file or says the file type is not accepted.
Why it happens: many apps read the sticker files inside the ZIP, not the ZIP folder itself.
What to do: extract the ZIP first, then import the PNG, sticker PDF, app-specific GoodNotes file, or app-ready sticker files inside the extracted folder.
2. The sticker looks blurry
What happens: the sticker becomes soft, pixelated, or fuzzy after resizing.
Example: a small sticker is enlarged to fill half the monthly page, so the edges lose sharpness.
What to do: reinsert the original PNG and resize less. Avoid using screenshots, marketplace preview images, or compressed copies. Use a larger sticker or widget when you need a large decoration.
3. The sticker has a white box behind it
What happens: the sticker appears with a solid white rectangle instead of a transparent background.
Why it happens: the file may be a screenshot, JPG, preview image, or flattened copy instead of a transparent PNG.
What to do: use the original PNG sticker file from the download. If the product includes both sheets and individual PNGs, use the individual PNG for the cleanest transparent result.
4. The sticker is hard to select after placing it
What happens: tapping the sticker writes on the page, selects handwriting, or moves the wrong thing.
What to do: zoom in, switch to the selection/lasso/image tool, then tap or drag around the sticker. If your app has object locking, lock only when you are finished moving it.
5. The pen eraser does not erase part of the sticker
What happens: the pen eraser removes handwriting, but the sticker stays as one image.
Why it happens: most digital stickers are image objects, not pen strokes.
What to do: select, crop, resize, or replace the sticker with the app’s image or lasso tool. If you need a smaller piece, use the original PNG or crop from the sticker sheet again.
6. The page becomes crowded
What happens: the planner looks cute but becomes harder to read or write in.
Example: stickers cover time blocks, checklist boxes, or the notes area you needed for real planning.
What to do: use stickers as cues. Put them near headings, margins, empty corners, or section labels. Keep the main writing area clear.