

Browse help topics
Getting Started
Need help choosing?
Need help after purchase?
Download & Import
Using your notebook/planner
- How to change or reuse template pages on planner landing pages
- Why stickers look blurry when enlarged
- What to check if a product does not work on your device
- How to use NozomuNoto index pages
- How to use NozomuNoto template pages
- How to change a digital planner cover
- How to install and use digital stickers
Product Tutorials
- How to use Yume Techo Landscape tutorial pages
- How to use Yume Techo Portrait tutorial pages
- How to use Shibui Techo Weeks tutorial pages
- How to use Shibui Techo Months tutorial pages
- How to use Yume Noto V1 Landscape tutorial pages
- How to use Yume Noto V1 Portrait tutorial pages
- How to use Yume Noto V2 Landscape tutorial pages
- How to use Yume Noto V2 Portrait tutorial pages
- How to use Yume Noto V3 Portrait tutorial pages
- How to use NozomuNoto Ultimate Digital Stickers
- How to use NozomuNoto Digital Covers
- Which NozomuNoto instruction or tutorial file should I open first?
Device & App
iOS / iPadOS
GoodNotes
Notability
Noteshelf
Noteful
StarNote
Flexcil
Kilonotes
Android
StarNote
Samsung Notes
Penly
Flexcil
Noteshelf
Xodo
E-reader Devices
Boox devices
reMarkable
Bigme
Supernote
How to Use NozomuNoto Digital Stickers in Penly
Learn how to use NozomuNoto digital stickers in Penly, including PNG stickers, sticker books, ZIP folders, resizing, and organizing favorites.
On this page
Use these steps to work with NozomuNoto PDF planners, notebooks, stickers, covers, and template pages in Penly. The official links below are for downloads, updates, and current help pages.
Choose your sticker method first
Before adding stickers to Penly, check what type of sticker file you have.
- ZIP file: extract it first so the PNG stickers are visible.
- PNG stickers: import or copy one individual PNG sticker, then place it on your planner or notebook page.
- Sticker book or sticker sheet: open the sheet first, copy the sticker you want, and paste it onto your planner page.
- Resize check: resize stickers a little at a time. If a sticker becomes blurry, it may have been enlarged too much.
Reference links
Use these for current app or device help, downloads, updates, vendor help, and manual references.
Use NozomuNoto digital stickers in Penly
- Check the sticker file type before opening Penly.
- If you have a ZIP file, extract it first so the PNG sticker files are visible.
- Open the planner page where you want the sticker.
- Tap the image tool on the Penly toolbar.
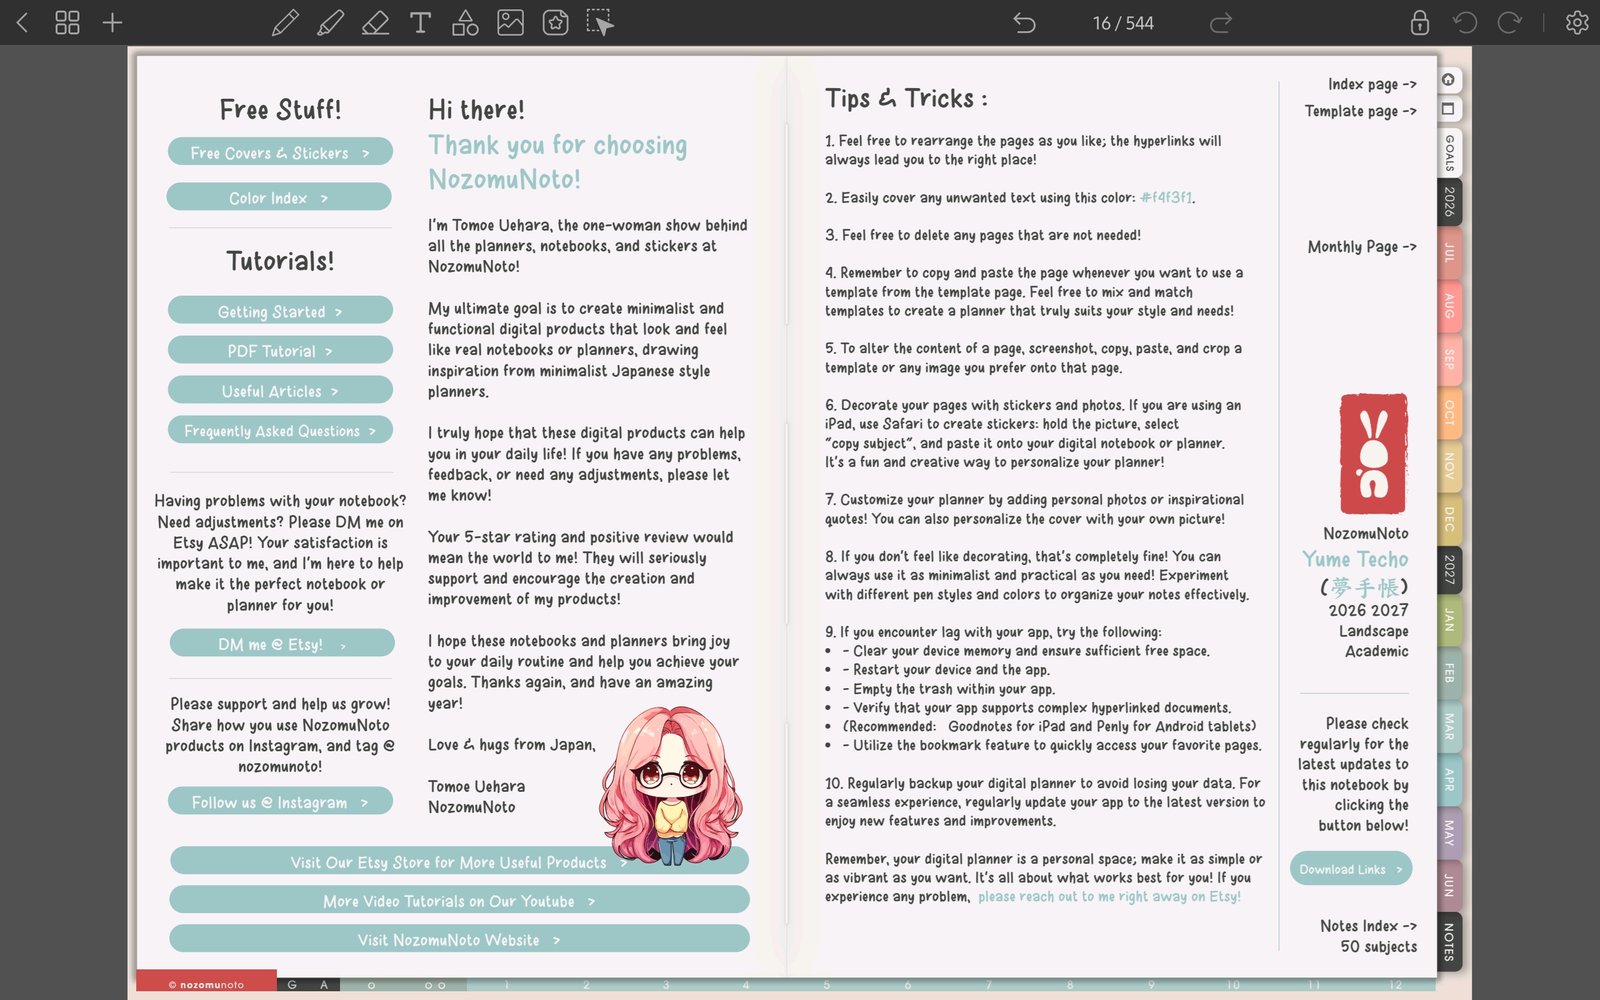
Full Penly toolbar screenFull screen view first, then use the cropped highlight below to see the exact area. 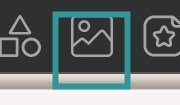
Image toolTap the image tool before choosing a PNG sticker or image. - Choose one PNG sticker from Photos, Collections, or the folder where you saved the extracted PNG files.
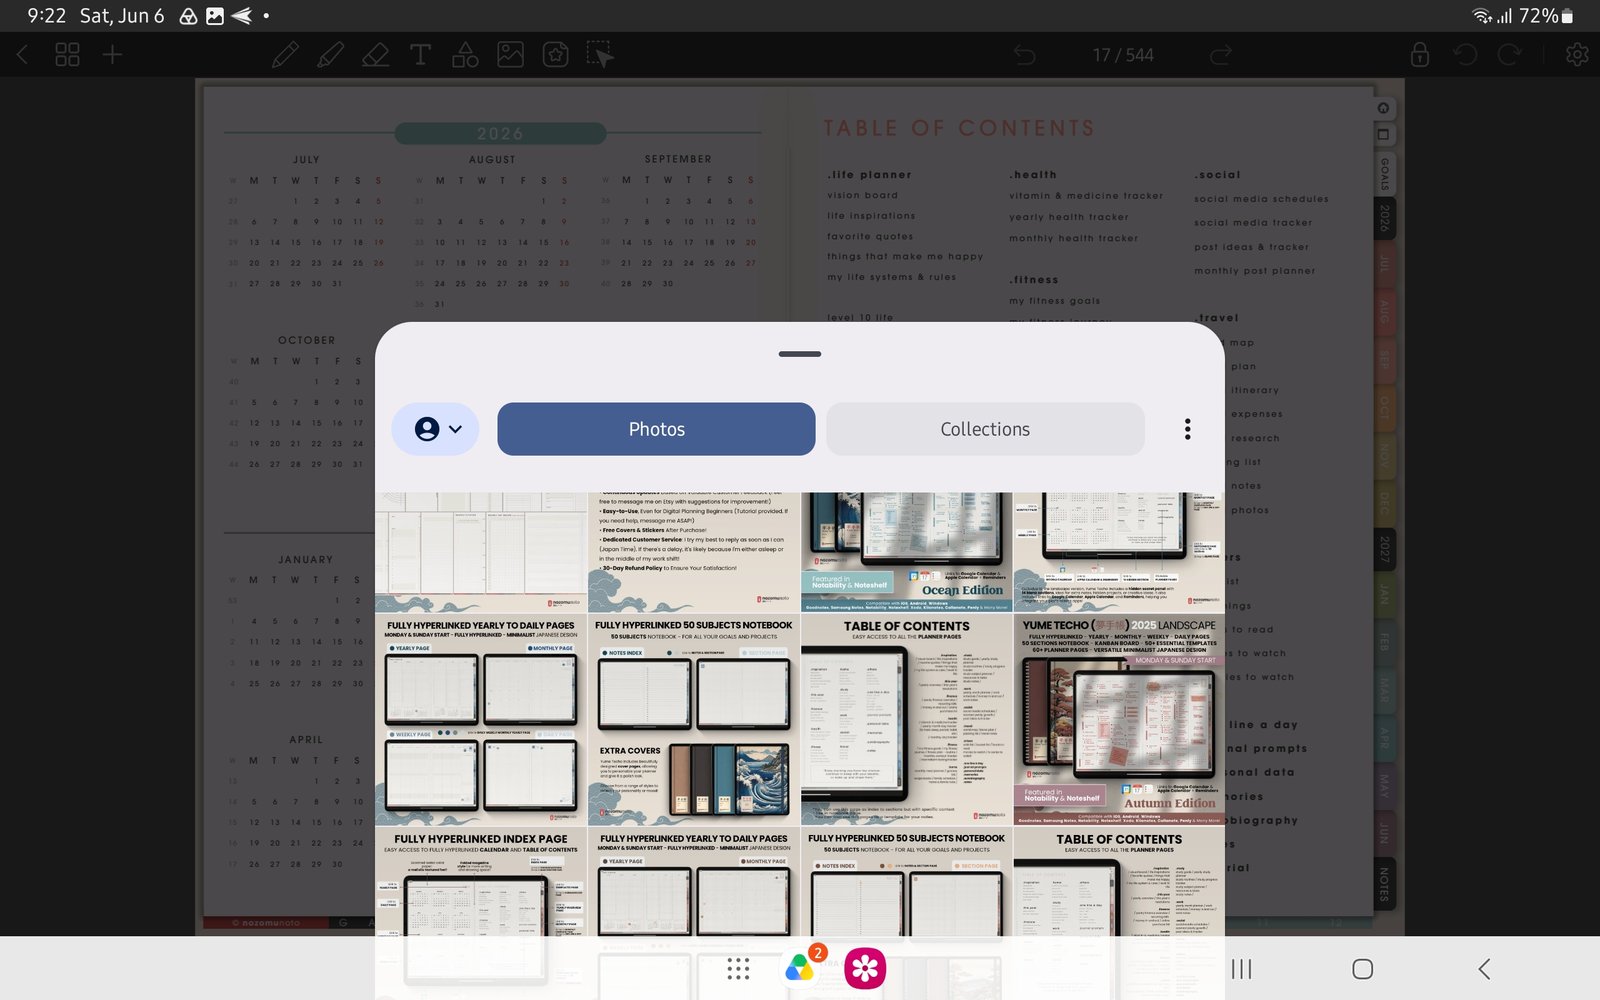
Full image import screenFull screen view first, then use the cropped highlight below to see the exact area. 
Photos and CollectionsUse Photos or Collections to choose the PNG image or saved sticker collection. - If you have a sticker book or sticker sheet, open it first, copy the sticker you want, and paste it onto your planner page.
- Resize one sticker a little at a time. If it becomes blurry, insert the original PNG again at a smaller size.
- Keep favorite stickers in a clear folder or Penly collection so you can reuse them later.
Penly sticker checks
1. Use the right sticker file
NozomuNoto sticker products may include PNG stickers, a sticker book, a sticker sheet, or a ZIP folder. Extract ZIP files first, then use the PNG files or copy pieces from the sticker book or sheet.
2. Avoid blurry stickers
PNG stickers look clearest near their original size. If a sticker becomes blurry after resizing, delete that copy and insert the original PNG again at a smaller size.
3. Keep favorites easy to find
Start with a small favorite folder or Penly collection instead of adding every sticker on day one. A smaller set is easier to reuse while planning.
Next Penly sticker links
Still need help?
Send your order number, product name, device, app, and a screenshot or short screen recording if the issue is visual.