
Browse help topics
Getting Started
Need help choosing?
Need help after purchase?
Download & Import
Using your notebook/planner
- How to change or reuse template pages on planner landing pages
- Why stickers look blurry when enlarged
- What to check if a product does not work on your device
- How to use NozomuNoto index pages
- How to use NozomuNoto template pages
- How to change a digital planner cover
- How to install and use digital stickers
Product Tutorials
- How to use Yume Techo Landscape tutorial pages
- How to use Yume Techo Portrait tutorial pages
- How to use Shibui Techo Weeks tutorial pages
- How to use Shibui Techo Months tutorial pages
- How to use Yume Noto V1 Landscape tutorial pages
- How to use Yume Noto V1 Portrait tutorial pages
- How to use Yume Noto V2 Landscape tutorial pages
- How to use Yume Noto V2 Portrait tutorial pages
- How to use Yume Noto V3 Portrait tutorial pages
- How to use NozomuNoto Ultimate Digital Stickers
- How to use NozomuNoto Digital Covers
- Which NozomuNoto instruction or tutorial file should I open first?
Device & App
iOS / iPadOS
GoodNotes
Notability
Noteshelf
Noteful
StarNote
Flexcil
Kilonotes
Android
StarNote
Samsung Notes
Penly
Flexcil
Noteshelf
Xodo
E-reader Devices
Boox devices
reMarkable
Bigme
Supernote
Kindle Scribe
Other e-reader devices
How to handle stickers in StarNote
Check the safest sticker or image workflow for StarNote before moving sticker files into your planner setup.
On this page
Use these steps to work with NozomuNoto PDF planners, notebooks, stickers, covers, and template pages in StarNote. The official links below are for downloads, updates, and current help pages.
Before you start
- Extract sticker ZIP files first and test one sticker before building a full decorated spread.
- If the file is a ZIP, extract it before importing the PDF, PNG sticker, cover, or other app-supported file.
- After the first step, test one Index link, one writing mark, and one page action before setting up the whole planner.
Reference links
Use these for current app or device help, downloads, updates, vendor support, and manual references.
Install and use stickers in StarNote
- Extract the NozomuNoto sticker ZIP so the PNG images are visible in Files or Photos.
- Open the planner in StarNote and switch to the writing toolbar.
- Tap the image icon on the toolbar.
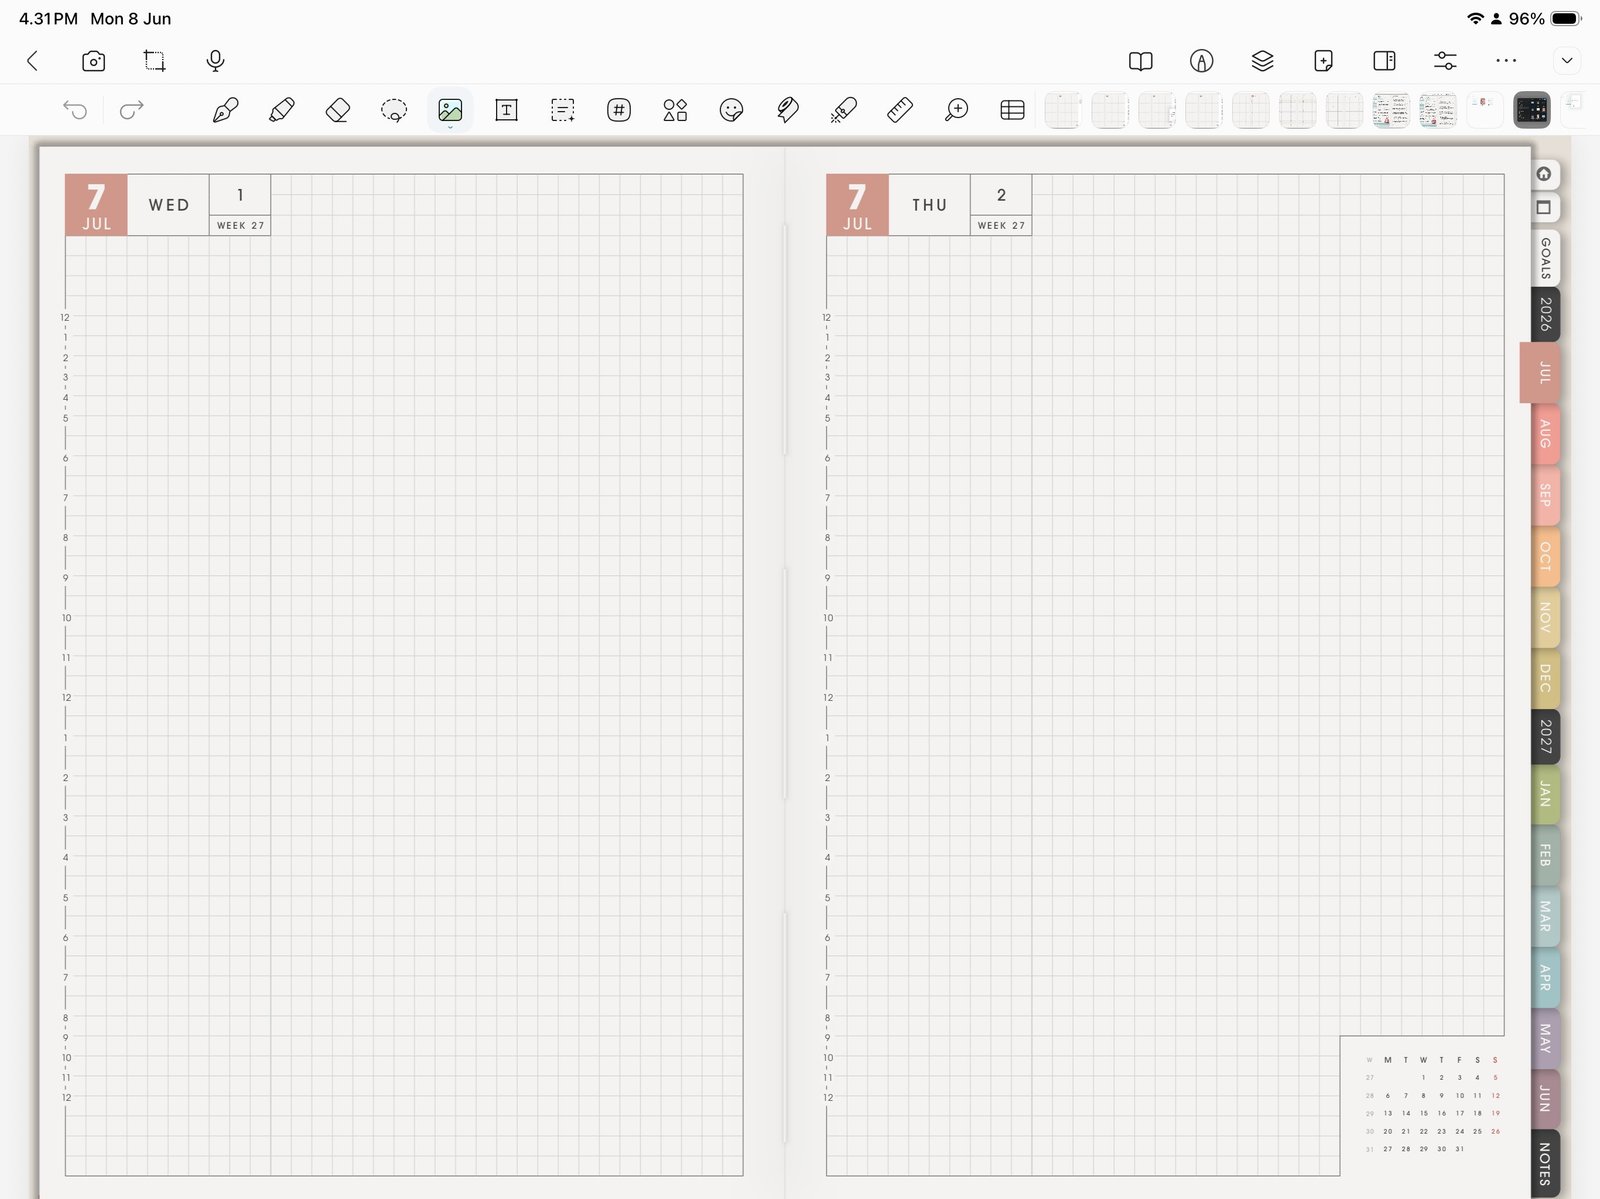
Image toolTap the image icon to add one PNG sticker or image test. Product shown: Yume Techo Academic 26-27 Landscape. - Choose one PNG sticker or image from the available photo/file picker.
- Place one PNG sticker on a test page first.
- Resize and move the sticker before adding many images to the planner.
Sticker test first
One image test is enough for the first setup. After the image stays clear, saves correctly, and does not make the planner feel heavy, decorate more pages.
Still need help?
Send your order number, product name, device, app, and a screenshot or short screen recording if the issue is visual.