
Browse help topics
Getting Started
Need help choosing?
Need help after purchase?
Download & Import
Using your notebook/planner
- How to change or reuse template pages on planner landing pages
- Why stickers look blurry when enlarged
- What to check if a product does not work on your device
- How to use NozomuNoto index pages
- How to use NozomuNoto template pages
- How to change a digital planner cover
- How to install and use digital stickers
Product Tutorials
- How to use Yume Techo Landscape tutorial pages
- How to use Yume Techo Portrait tutorial pages
- How to use Shibui Techo Weeks tutorial pages
- How to use Shibui Techo Months tutorial pages
- How to use Yume Noto V1 Landscape tutorial pages
- How to use Yume Noto V1 Portrait tutorial pages
- How to use Yume Noto V2 Landscape tutorial pages
- How to use Yume Noto V2 Portrait tutorial pages
- How to use Yume Noto V3 Portrait tutorial pages
- How to use NozomuNoto Ultimate Digital Stickers
- How to use NozomuNoto Digital Covers
- Which NozomuNoto instruction or tutorial file should I open first?
Device & App
iOS / iPadOS
GoodNotes
Notability
Noteshelf
Noteful
StarNote
Flexcil
Kilonotes
Android
StarNote
Samsung Notes
Penly
Flexcil
Noteshelf
Xodo
E-reader Devices
Boox devices
reMarkable
Bigme
Supernote
Kindle Scribe
Other e-reader devices
How to set up your first NozomuNoto planner in other e-reader devices
Set up your first NozomuNoto planner or notebook in other e-reader devices from a clean backup copy.
On this page
Use these steps to work with NozomuNoto PDF planners and notebooks on other e-reader devices. E-readers are best for calm writing, reading, bookmarks, page review, and light annotation, so this guide keeps the setup simple and points out where a tablet app may still be better.
Before you start
- Start with a small setup: Index, current month, current week, one notes page, and one template copy.
- If the product arrives in a ZIP, extract it first, then transfer the PDF file your e-reader can open.
- After the first step, test one Index link, one writing mark, and one page action before setting up the whole planner.
Reference links
Use these for current app or device help, downloads, updates, vendor support, and manual references.
Set up your first e-reader planner or notebook
- Keep the original NozomuNoto download unchanged on your computer, cloud storage, or main file backup.
- Transfer one clean PDF working copy to other e-reader devices using the official transfer method for that device.
- Open the file as a PDF document and check the cover, Index, one monthly page, one weekly or notes page, and the page overview or contents list.
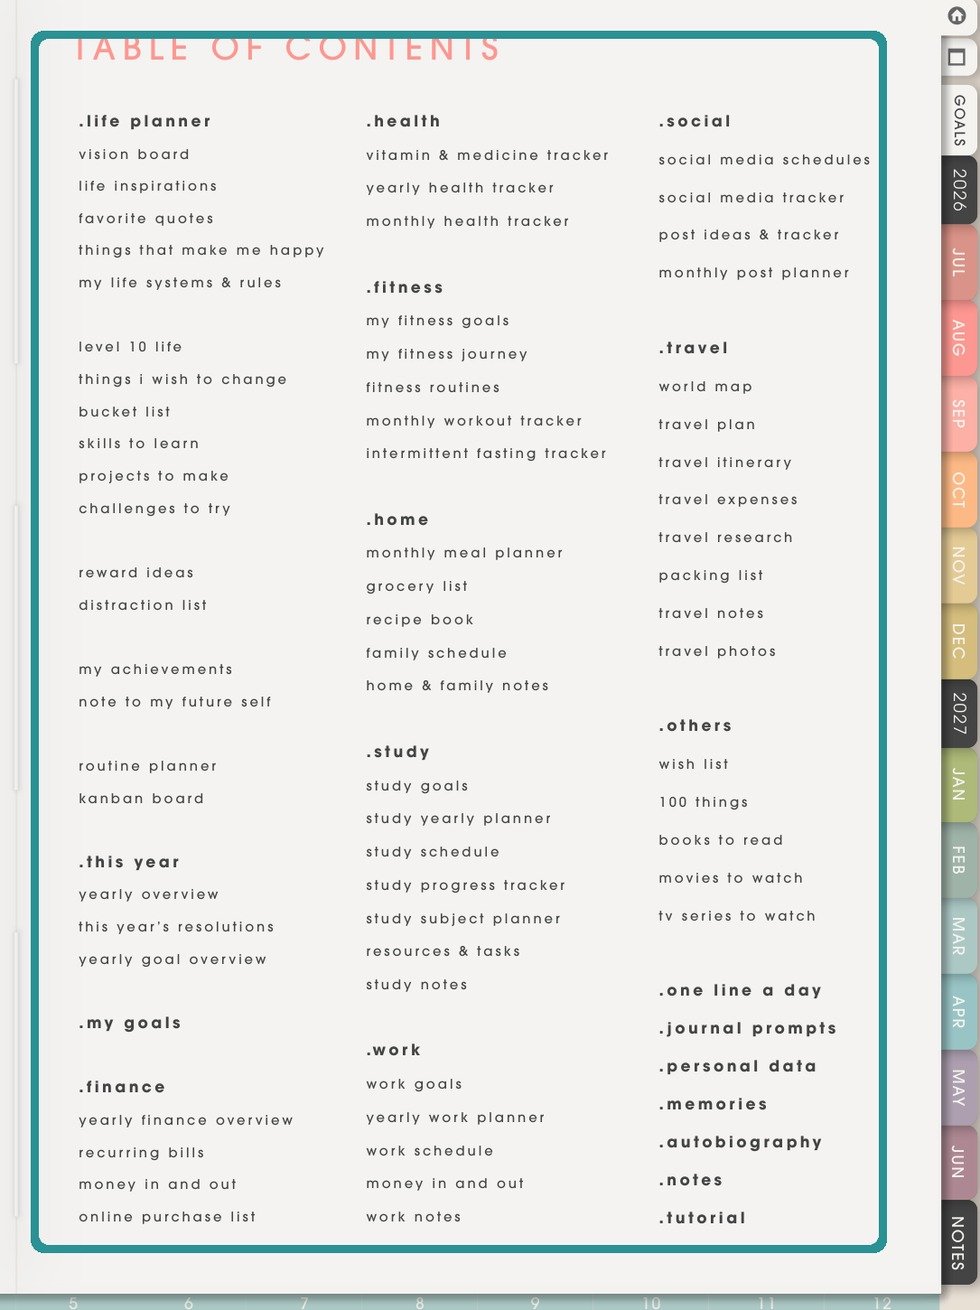
NozomuNoto Index pageAfter transfer, test page turning, writing or annotations, saving, and the printed Index page. - Test writing on one blank or notes page, then close and reopen the file to confirm your handwriting saves.
- Test one navigation path: Index, contents, bookmarks, page overview, or a printed tab inside the planner.
- Set up the return tool named in this device guide: bookmarks, favorites, page overview, contents, folders, page numbers, or the printed NozomuNoto Index.
- Use the e-reader for the calm daily flow first: read, write, review, and return to important pages.
- Keep stickers, frequent page duplication, and heavy page rearranging in a tablet app or prepare those changes in the PDF before transfer.
- Start with the current month or week first. Add more pages only after the basic writing and navigation flow feels reliable.
Before you use it every day
- The PDF opens from the right folder or library.
- You can write on one test page and the writing stays after reopening.
- You know how to return to the Index, current month, and current week.
- You have one untouched backup outside the e-reader.
Good first e-reader setup
Use a small setup first: Index, current month, current week, one notes page, and bookmarks or page overview. Add more only when the device feels comfortable.
Still need help?
Send your order number, product name, device, app, and a screenshot or short screen recording if the issue is visual.