
Use these steps to work with NozomuNoto PDF planners, notebooks, stickers, covers, and template pages in GoodNotes. The official links below are for downloads, updates, and current help pages.
First-day setup
Keep your first setup small. Prove that the planner imports, links move, writing saves, and one real page works before building the whole system.
- Save the original download as your clean backup.
- Import the actual planner or notebook PDF into GoodNotes.
- Open the planner or notebook.
- Go to the Index page.
- Tap one link to test navigation.
- Write one small note or task.
- Try one real page you will use today.
Decorating, section organizing, template copying, cover changes, and sticker setup can wait until the basic workflow feels easy. Learn the planner by using one real page first.
Reference links
Use these for current app or device help, downloads, updates, vendor help, and manual references.
- GoodNotes: Import files into Goodnotes
- GoodNotes: Navigate PDF Hyperlinks
- GoodNotes: PDF hyperlink issue guide
- GoodNotes: Use Favorites and Bookmarks
- GoodNotes: Copy or move pages from one document to another
- GoodNotes: Elements Tool
- GoodNotes: Change a notebook cover
- GoodNotes: Export documents or pages
- GoodNotes: Templates & Notebook Covers
Set up your first GoodNotes planner
- Save the original NozomuNoto download in Files, iCloud Drive, Google Drive, or another folder you can find again. If the download is a ZIP, tap the ZIP in Files to extract it first.
- Open GoodNotes in Library View, tap + New, then tap Import.
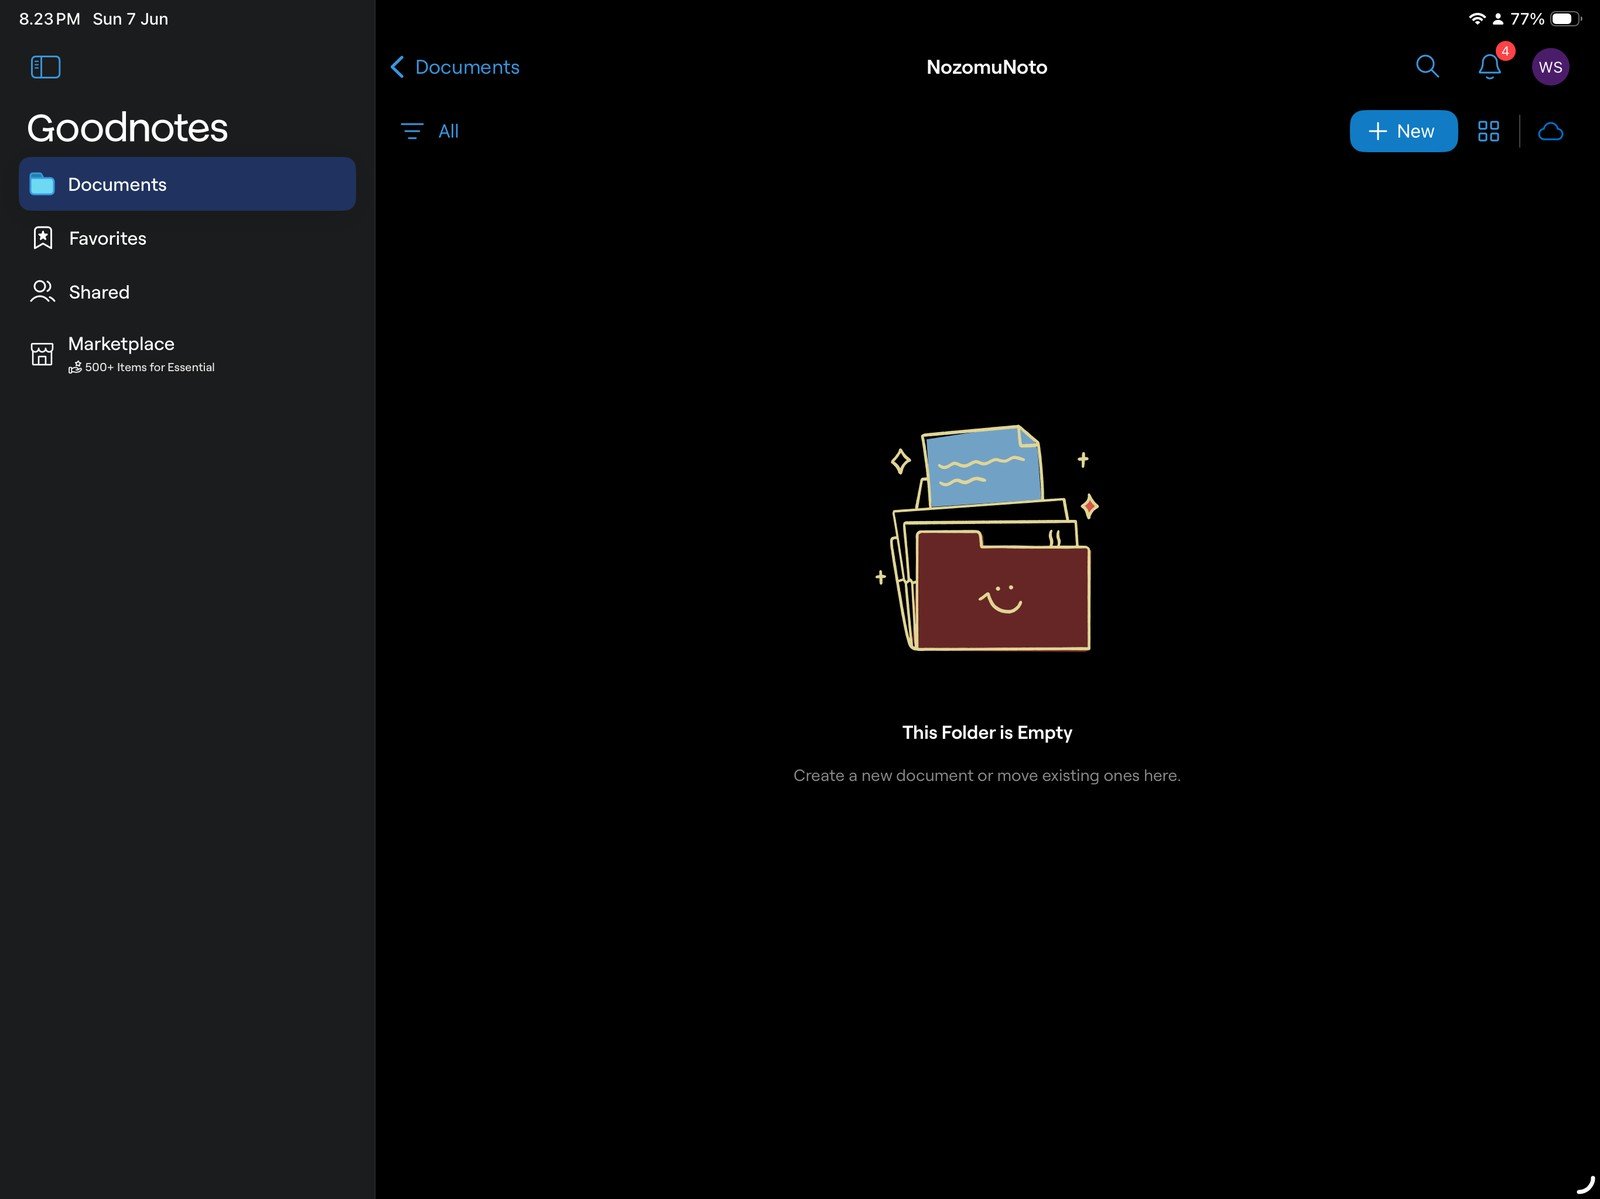
Full GoodNotes library screenFull screen view first, then use the cropped highlight below to see the exact area. 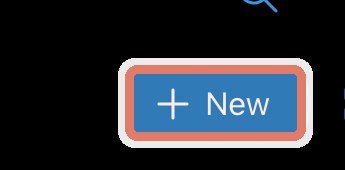
+ NewStart in the GoodNotes library and tap New. 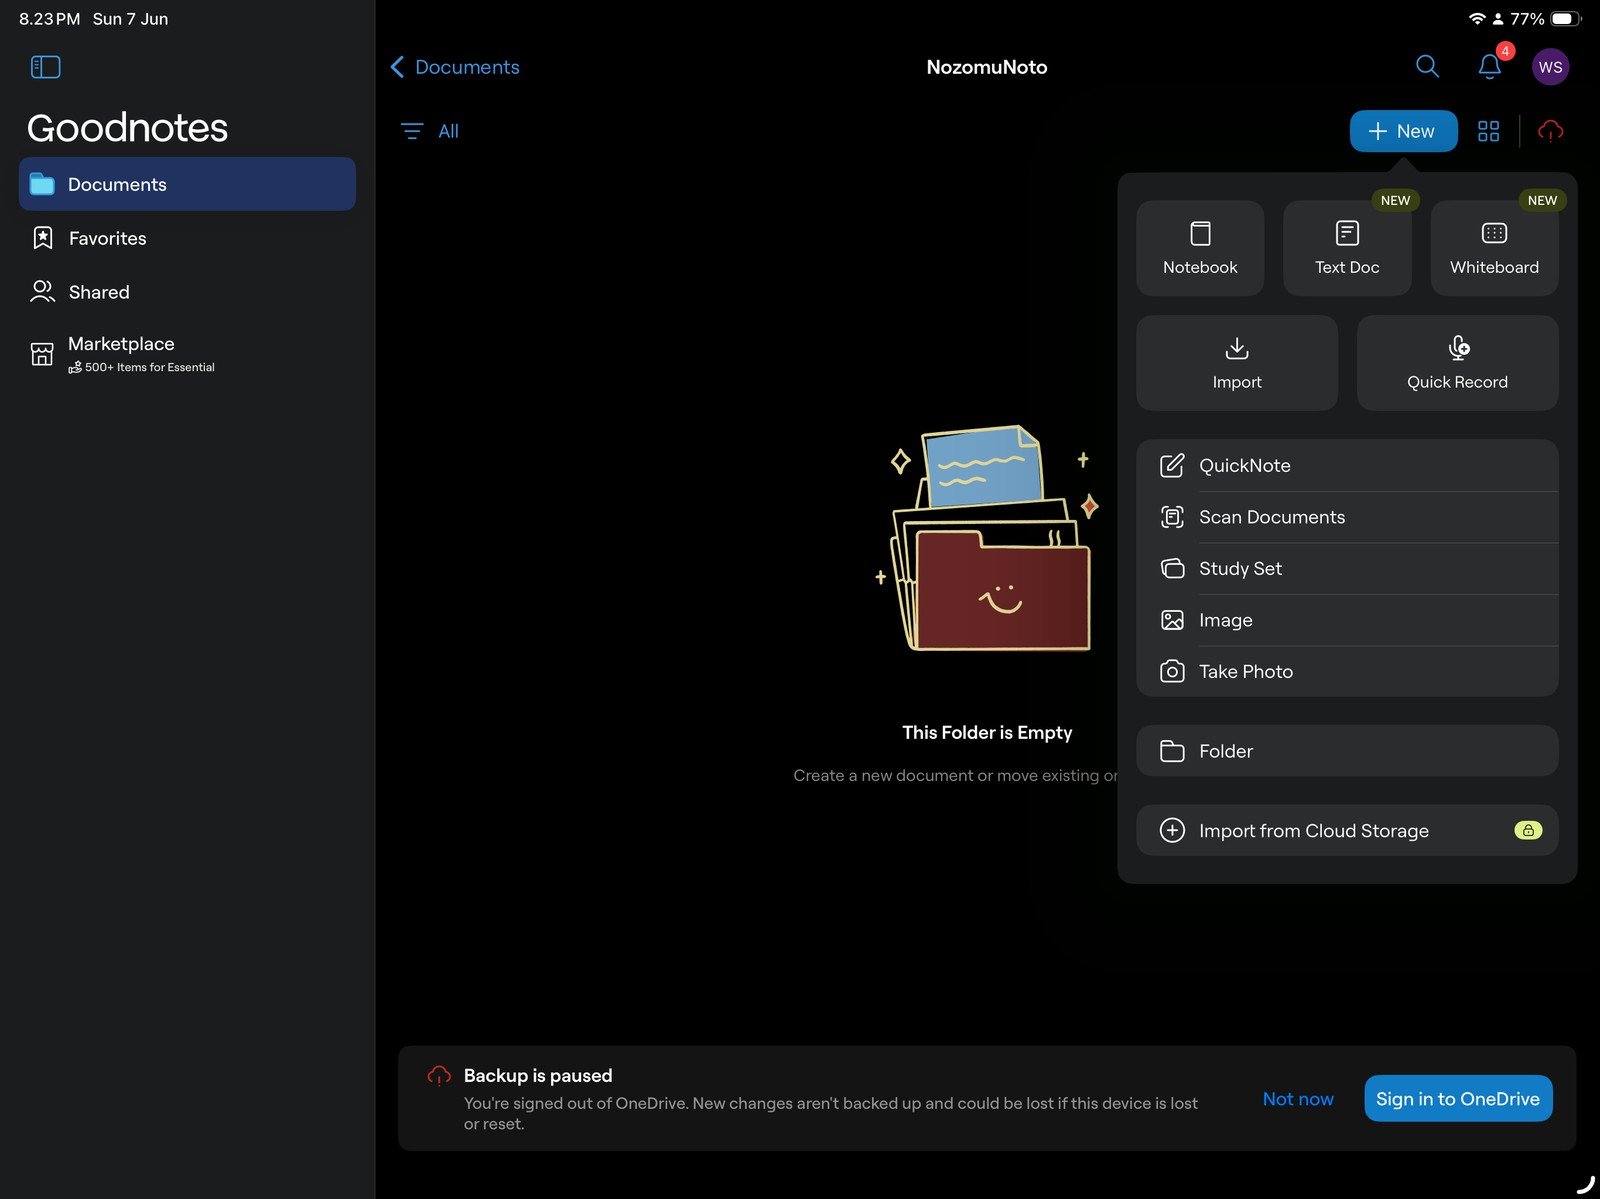
Full GoodNotes import menuFull screen view first, then use the cropped highlight below to see the exact area. 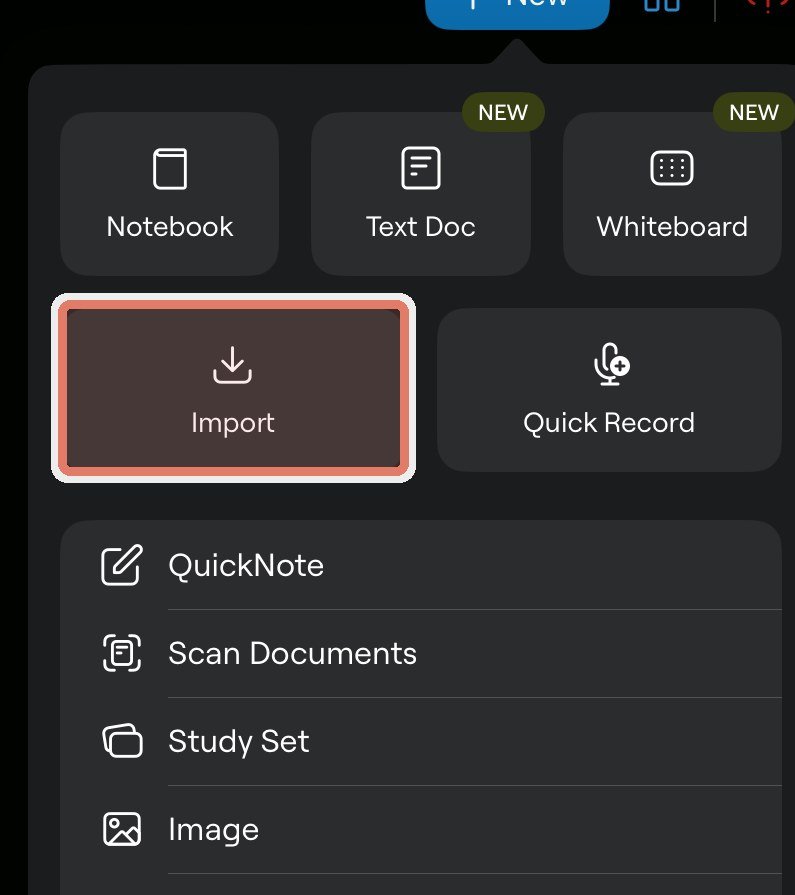
ImportChoose Import to add the extracted NozomuNoto PDF as a GoodNotes document. - Choose the NozomuNoto planner or notebook PDF, then tap Open. Use the PDF file for planners and notebooks; use PNG files for stickers and GoodNotes-specific files only when the product includes one.
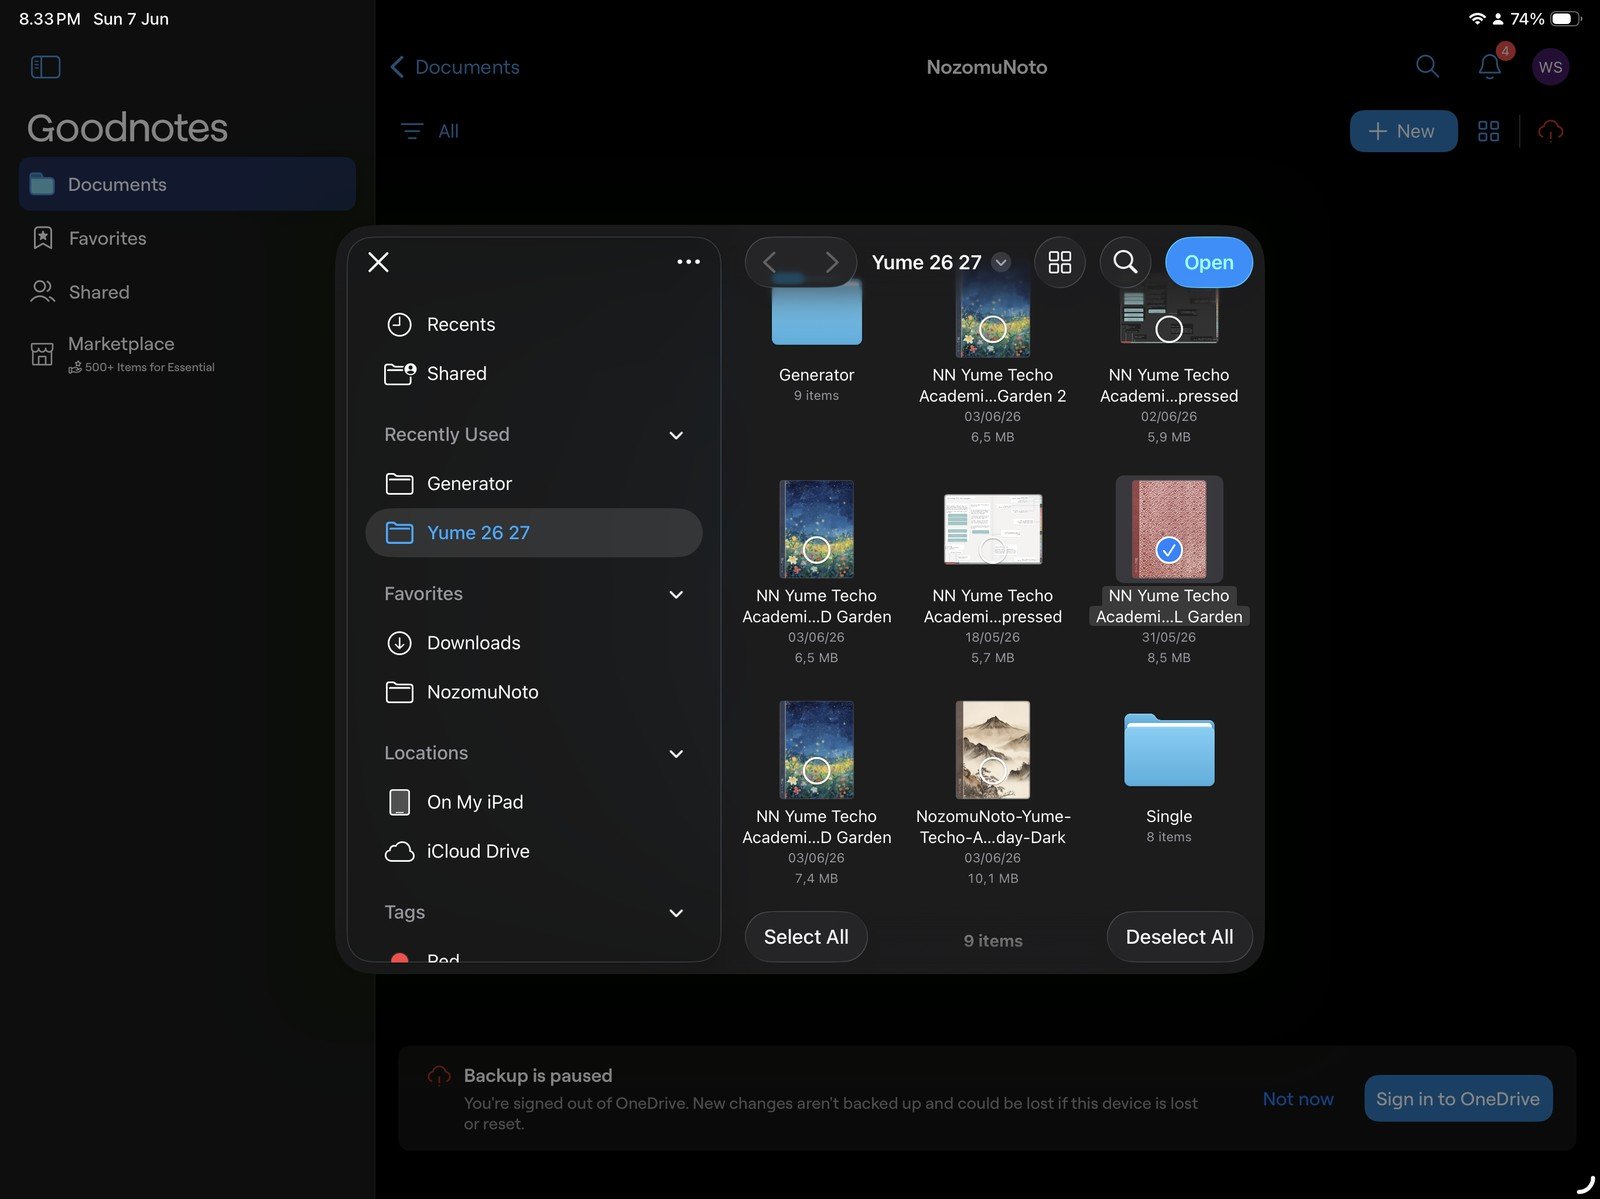
Full file picker screenFull screen view first, then use the cropped highlight below to see the exact area. 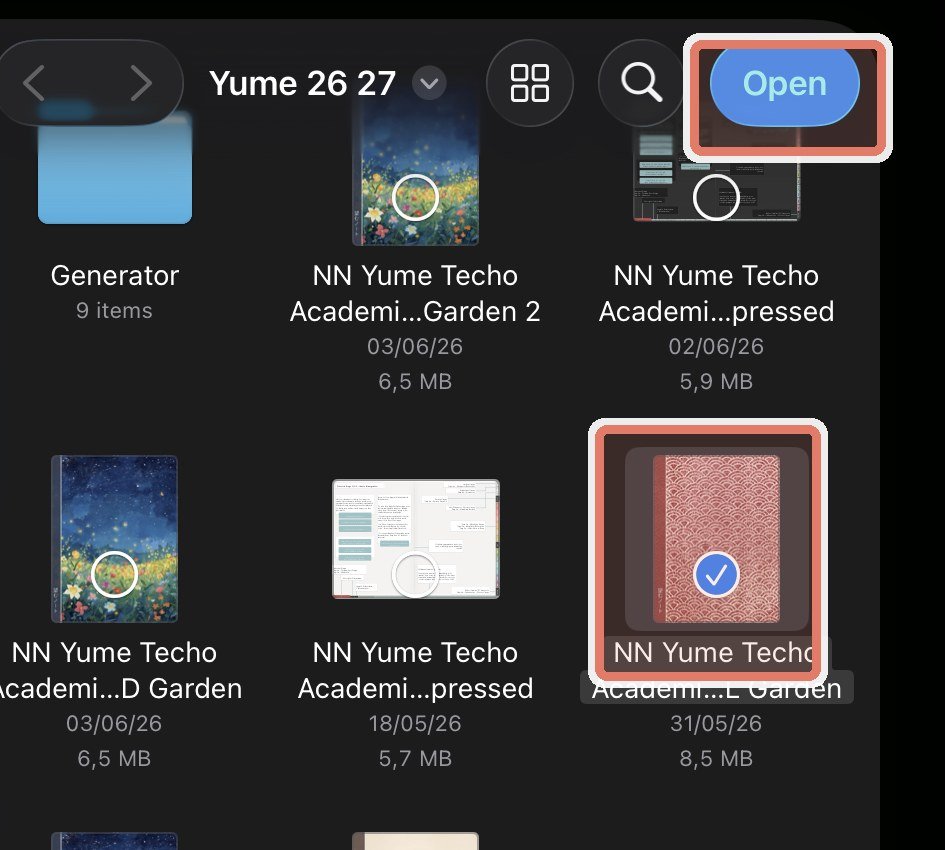
Choose PDF and openSelect the planner PDF, then tap Open. Skip the ZIP file. - Rename the imported document with the product name, year, orientation, week start, and color. A clear name like Yume Techo 26-27 Landscape Monday Garden helps you avoid opening an older copy later.
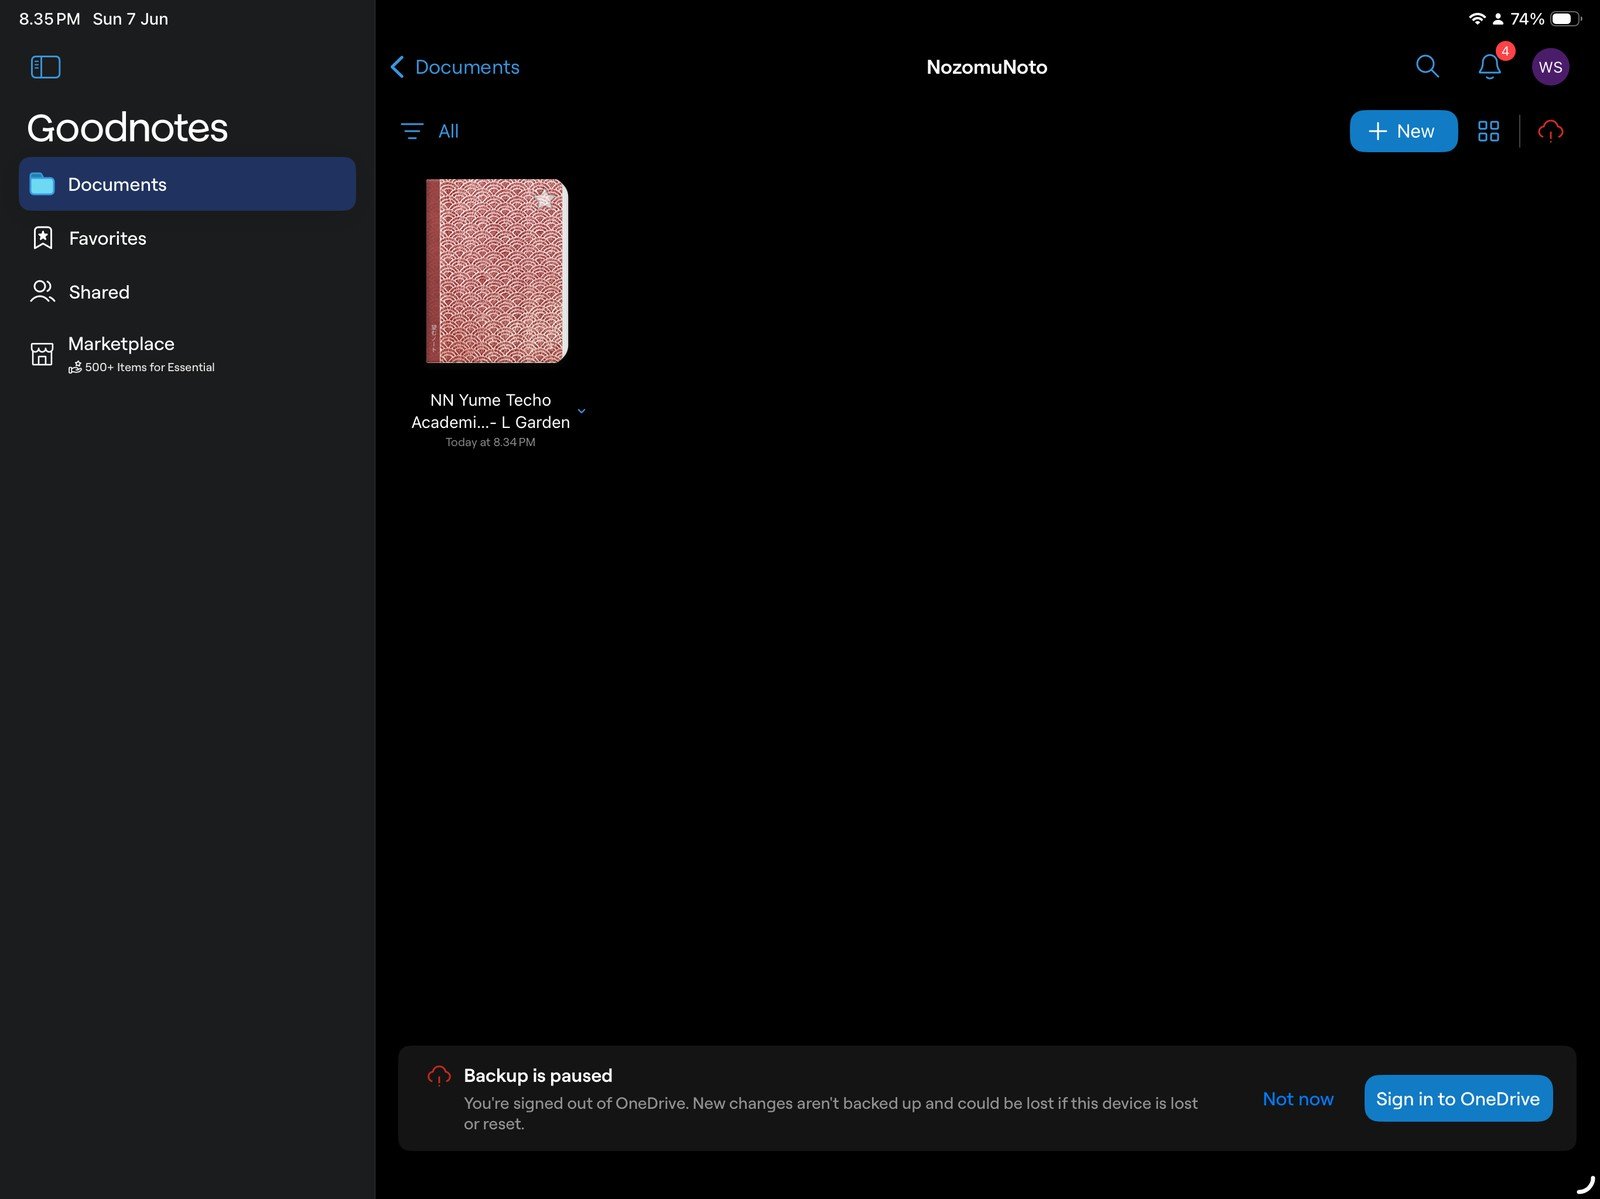
Full imported document screenFull screen view first, then use the cropped highlight below to see the exact area. 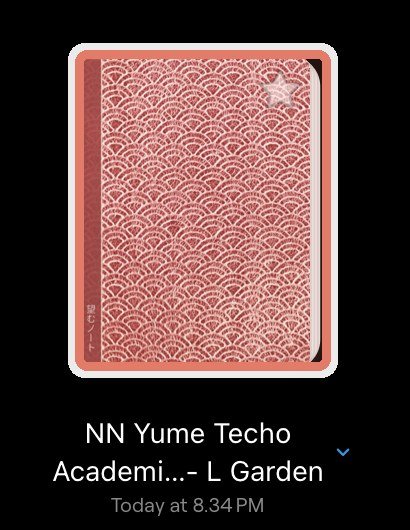
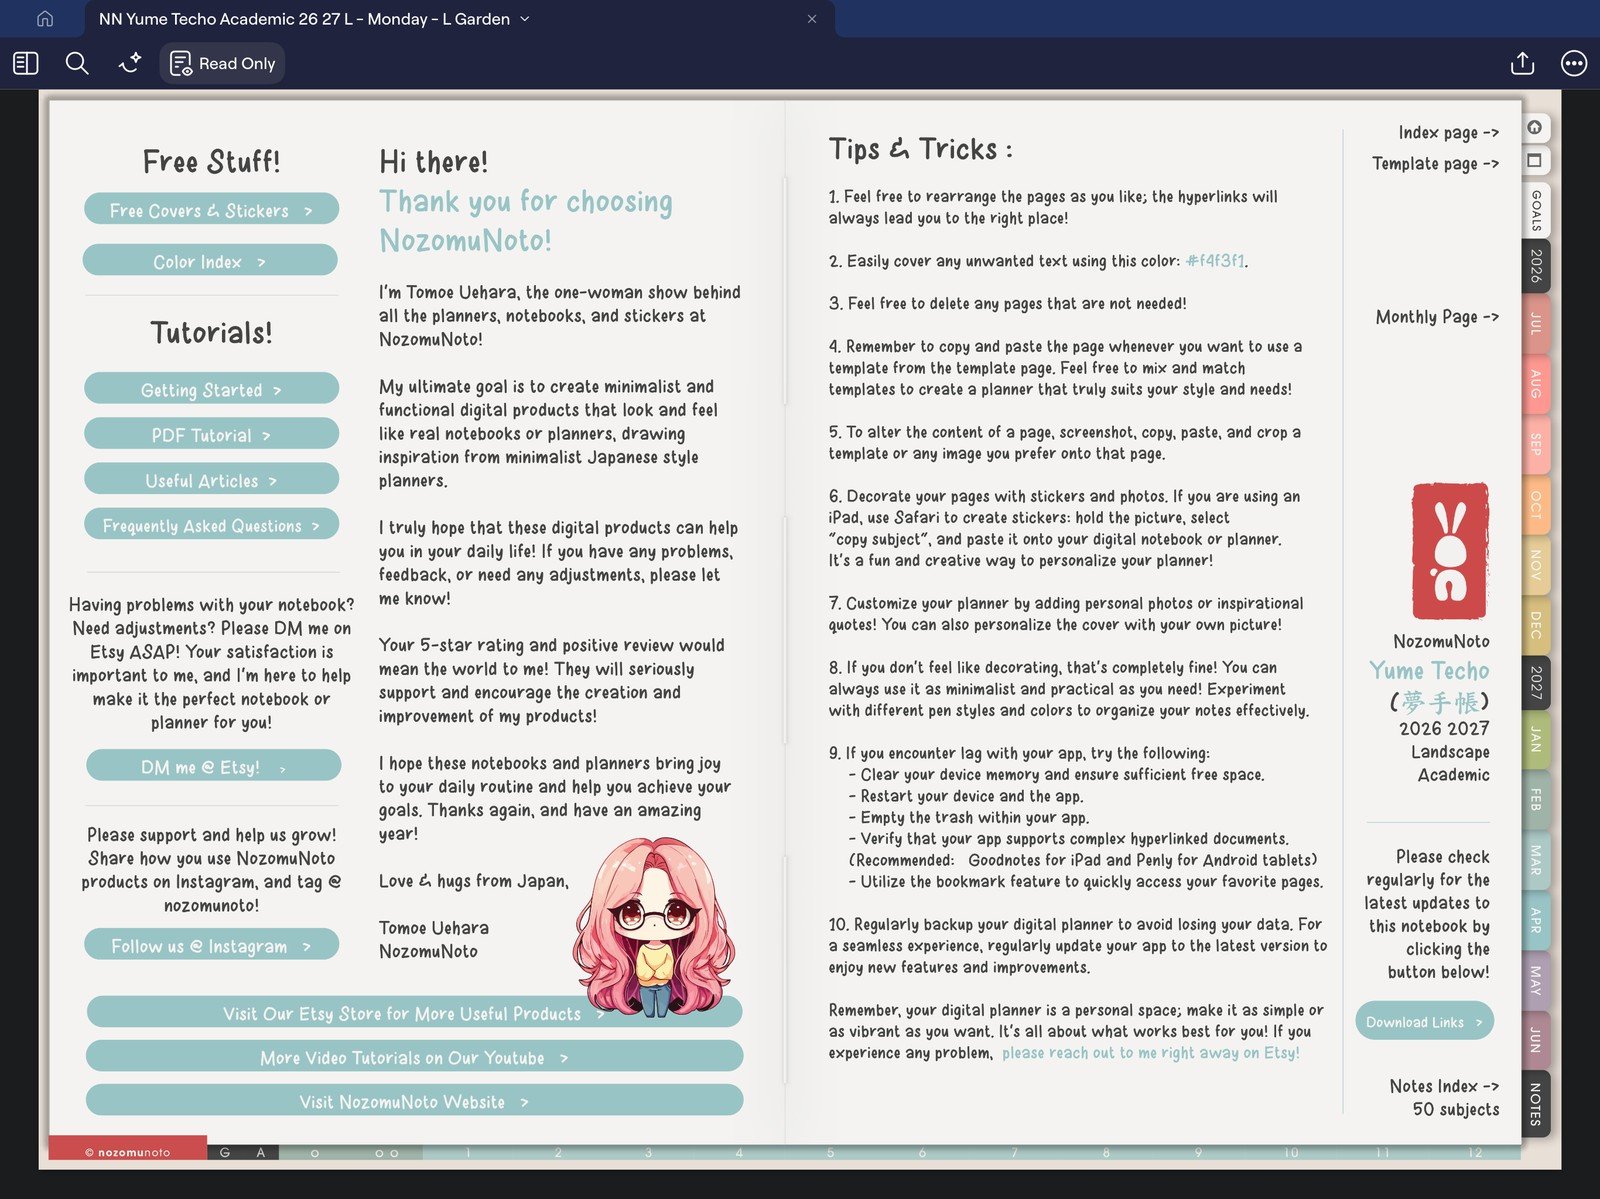
Imported documentAfter import, confirm the planner appears in the GoodNotes library. - Before writing, test one month tab, one Index link, and one date or section link. Tap Read Only, then tap the link with your finger. In edit mode, long-press the linked area and choose Open Link.
Full GoodNotes toolbar screenFull screen view first, then use the cropped highlight below to see the exact area. 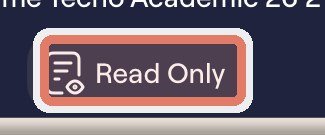
Read OnlyUse Read Only before testing planner links. 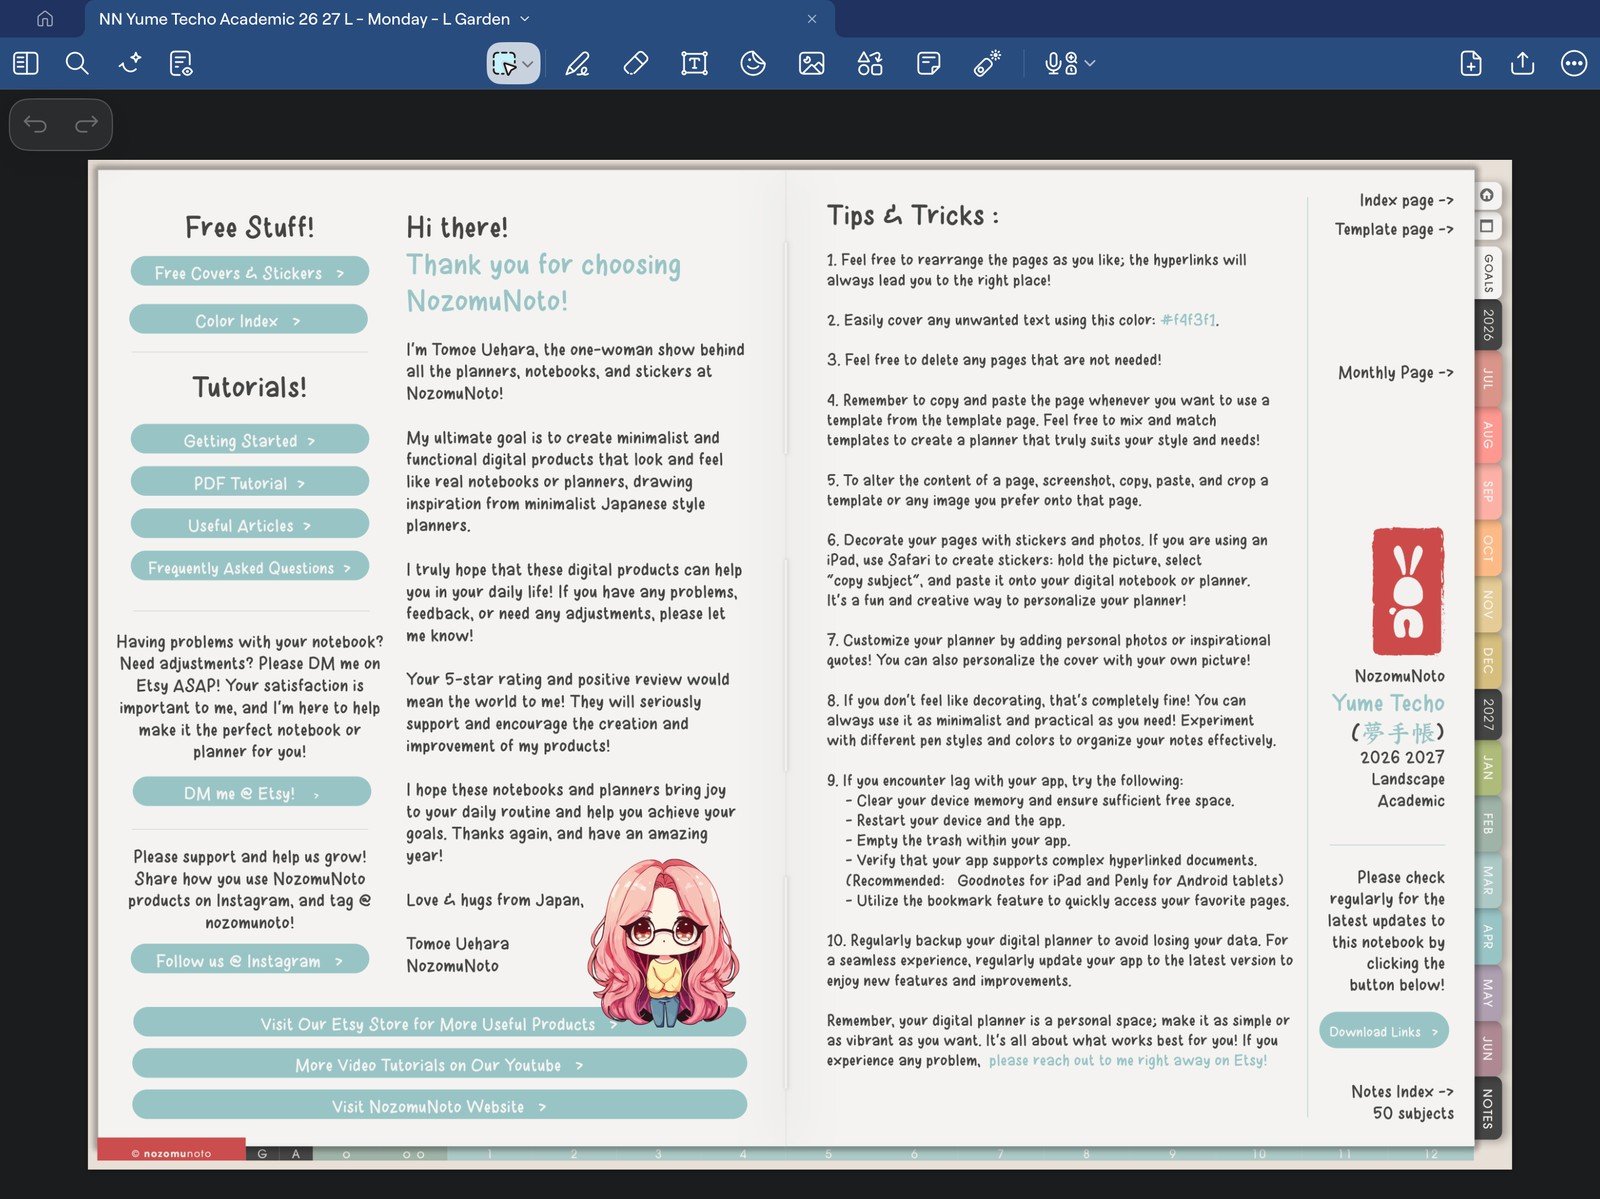
Full planner navigation screenFull screen view first, then use the cropped highlight below to see the exact area. 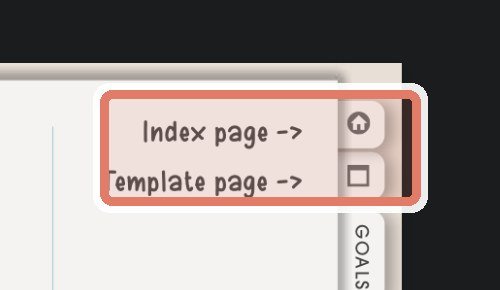
Index and Template linksTest one Index or Template page link while Read Only is active. - For day one, use one real page first. After the basics work, open Pages, find one clean template page, then copy it before writing on the copy.
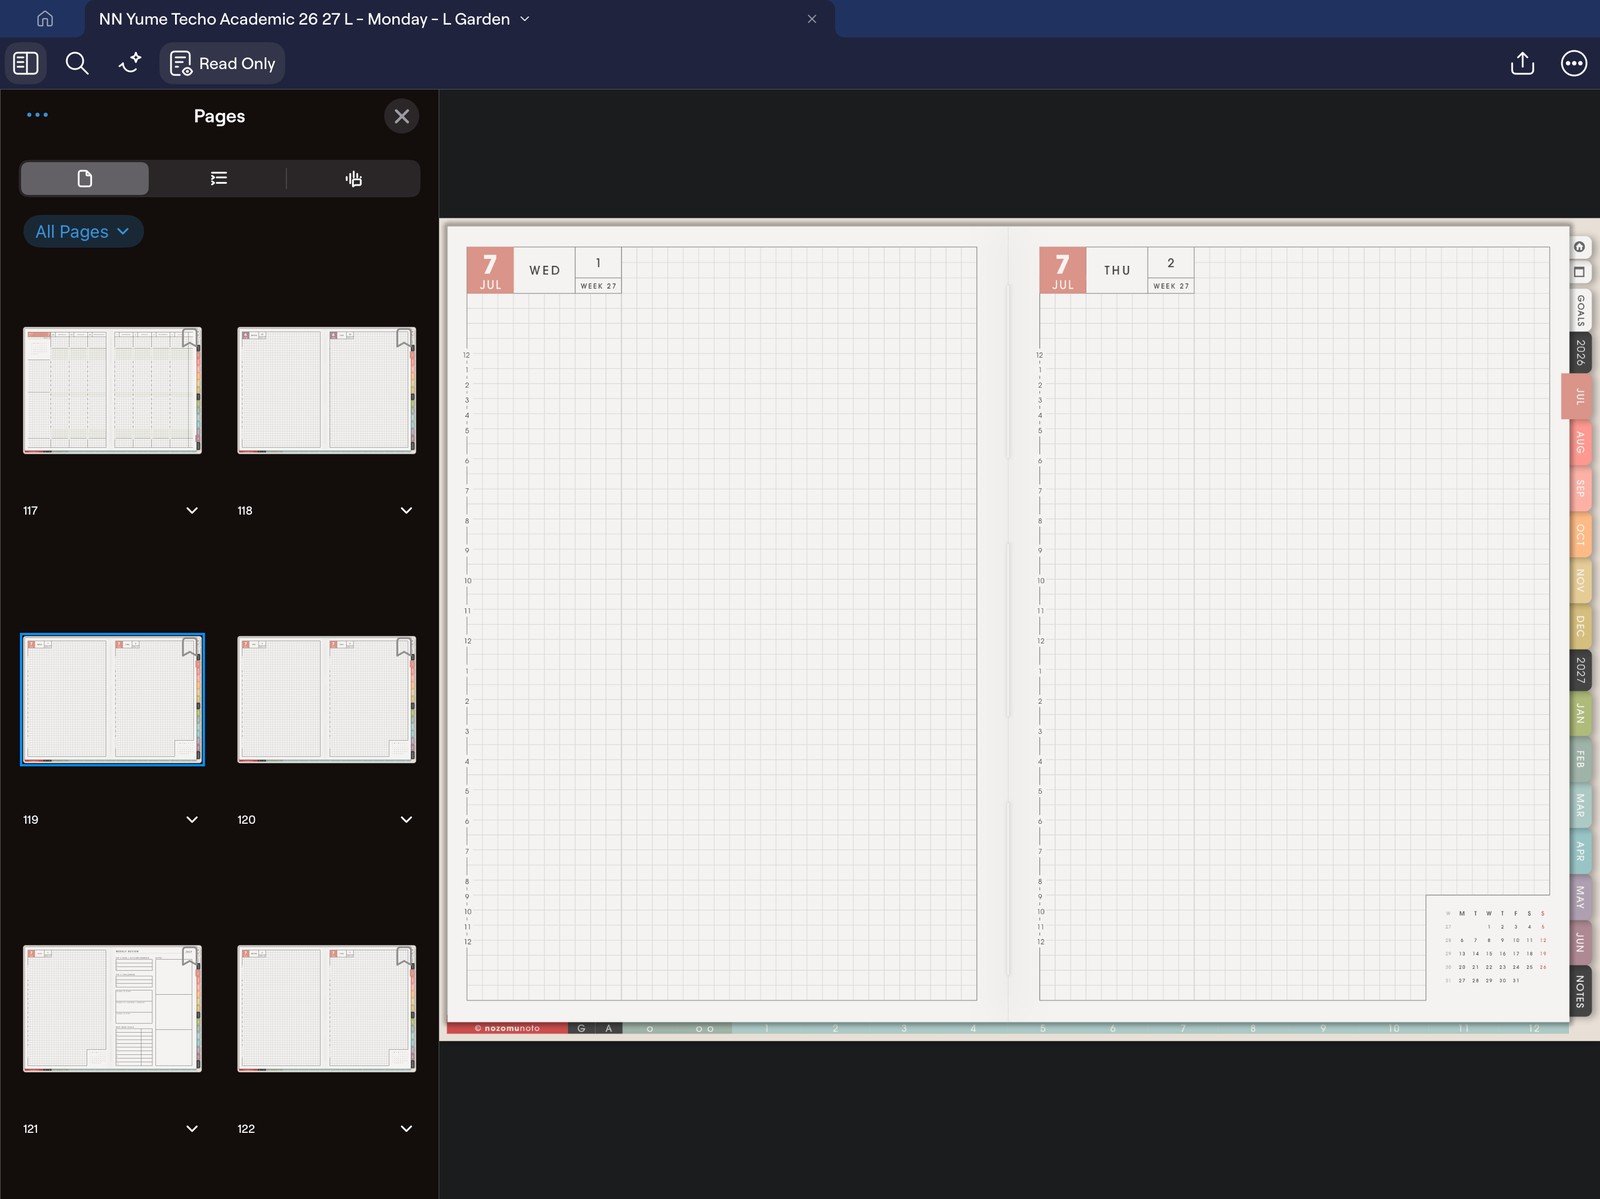
Full Pages panel screenFull screen view first, then use the cropped highlight below to see the exact area. 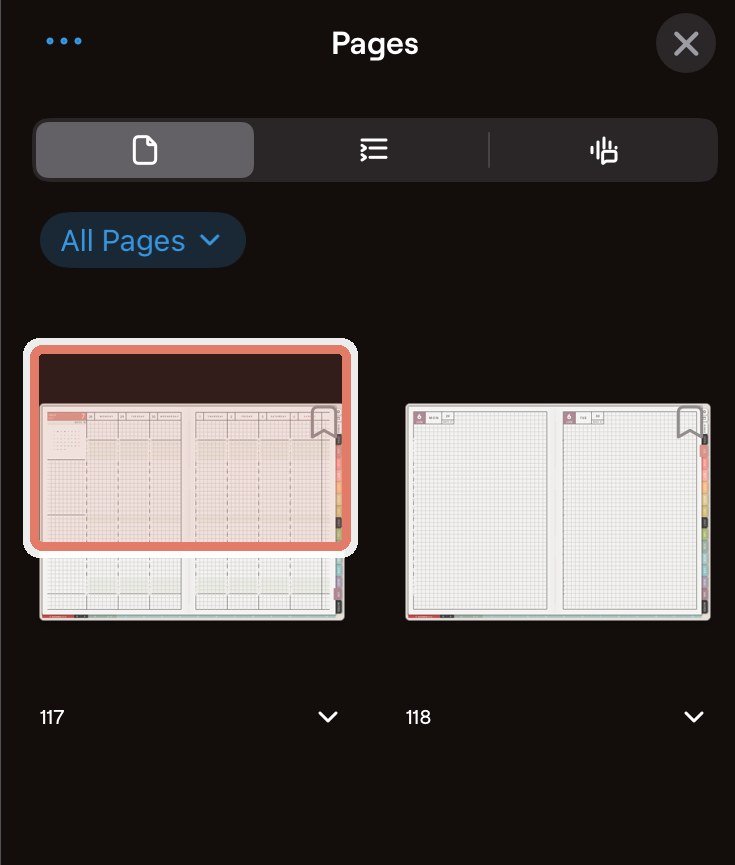
Pages panelOpen Pages to find clean template pages before copying them. 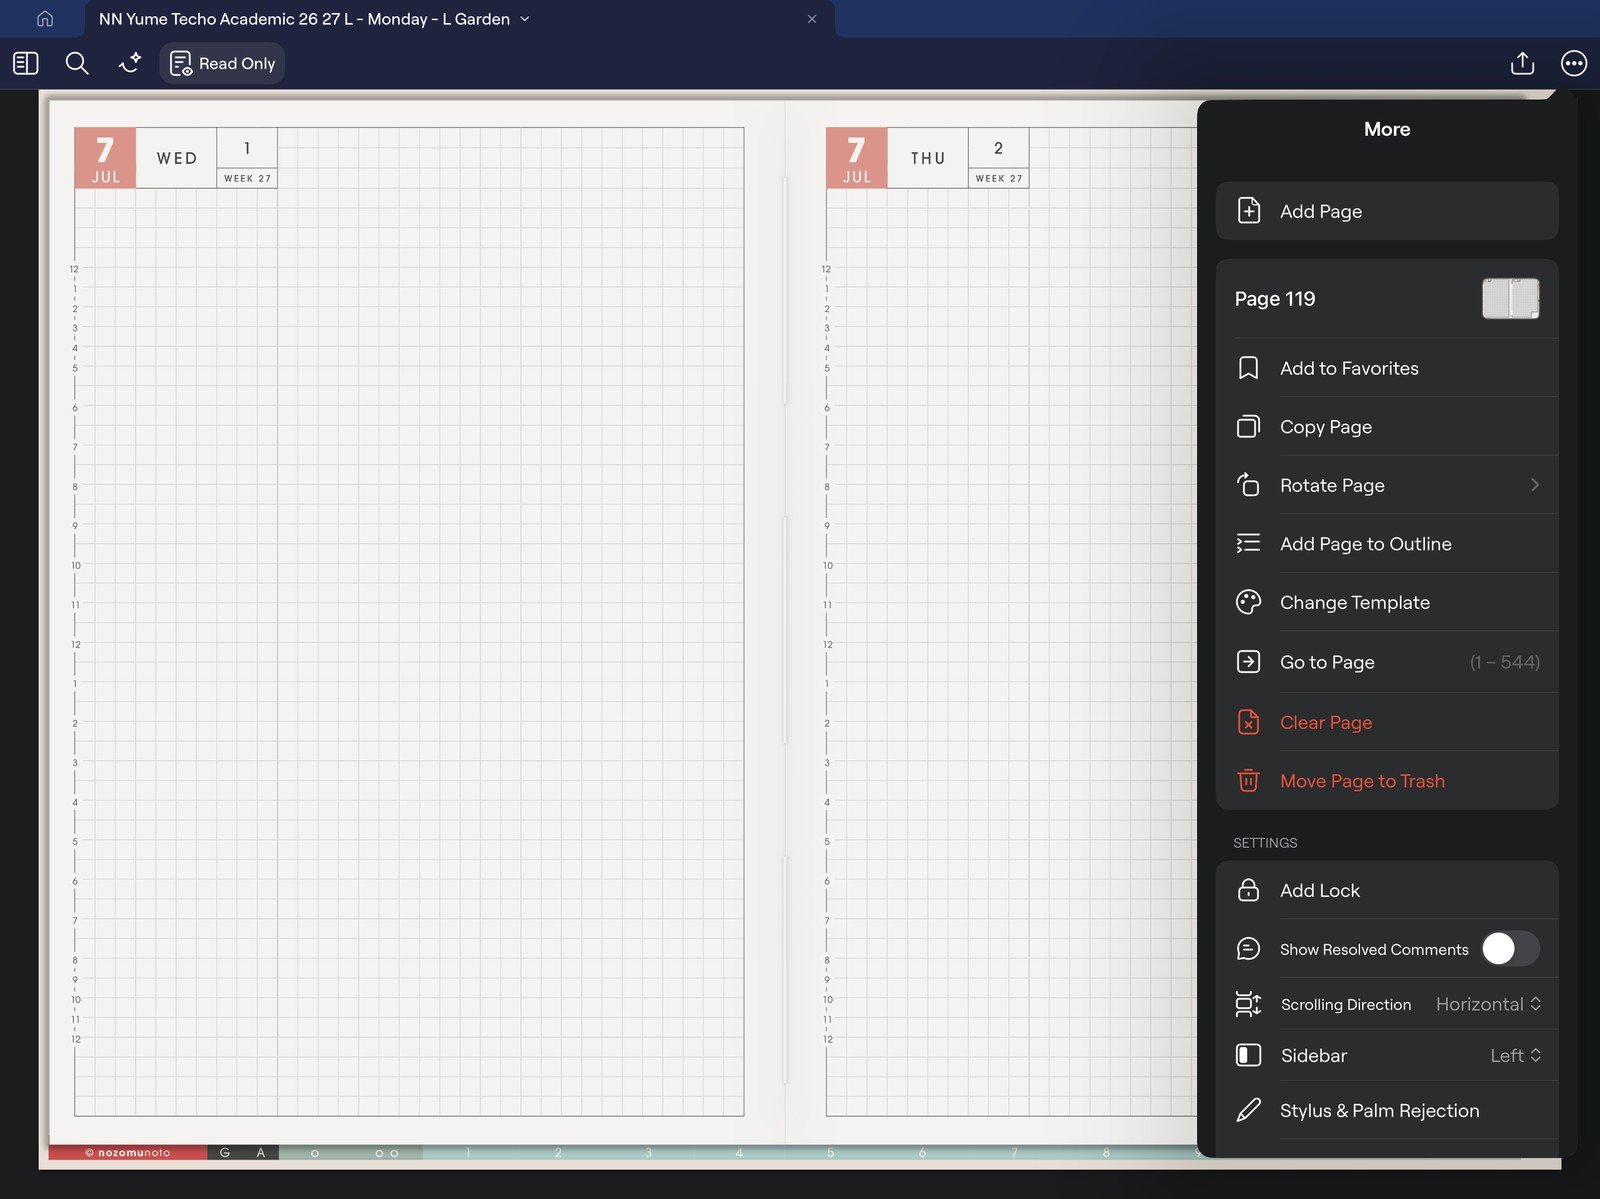
Full page actions menuFull screen view first, then use the cropped highlight below to see the exact area. 
Page actionsUse Copy Page before writing on a reusable template page. - After you know which pages you return to, use Add to Favorites for Index, current month, current week, or one active page. In Pages, use Bookmarks Only when you need to find saved pages again.
Full bookmark menuFull screen view first, then use the cropped highlight below to see the exact area. 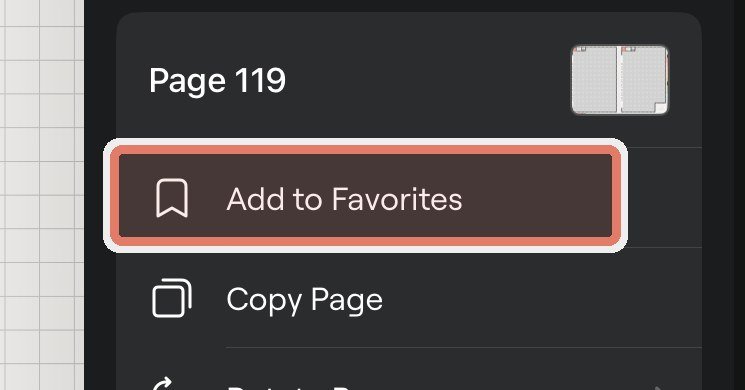
Add to FavoritesUse Add to Favorites for pages you return to often. 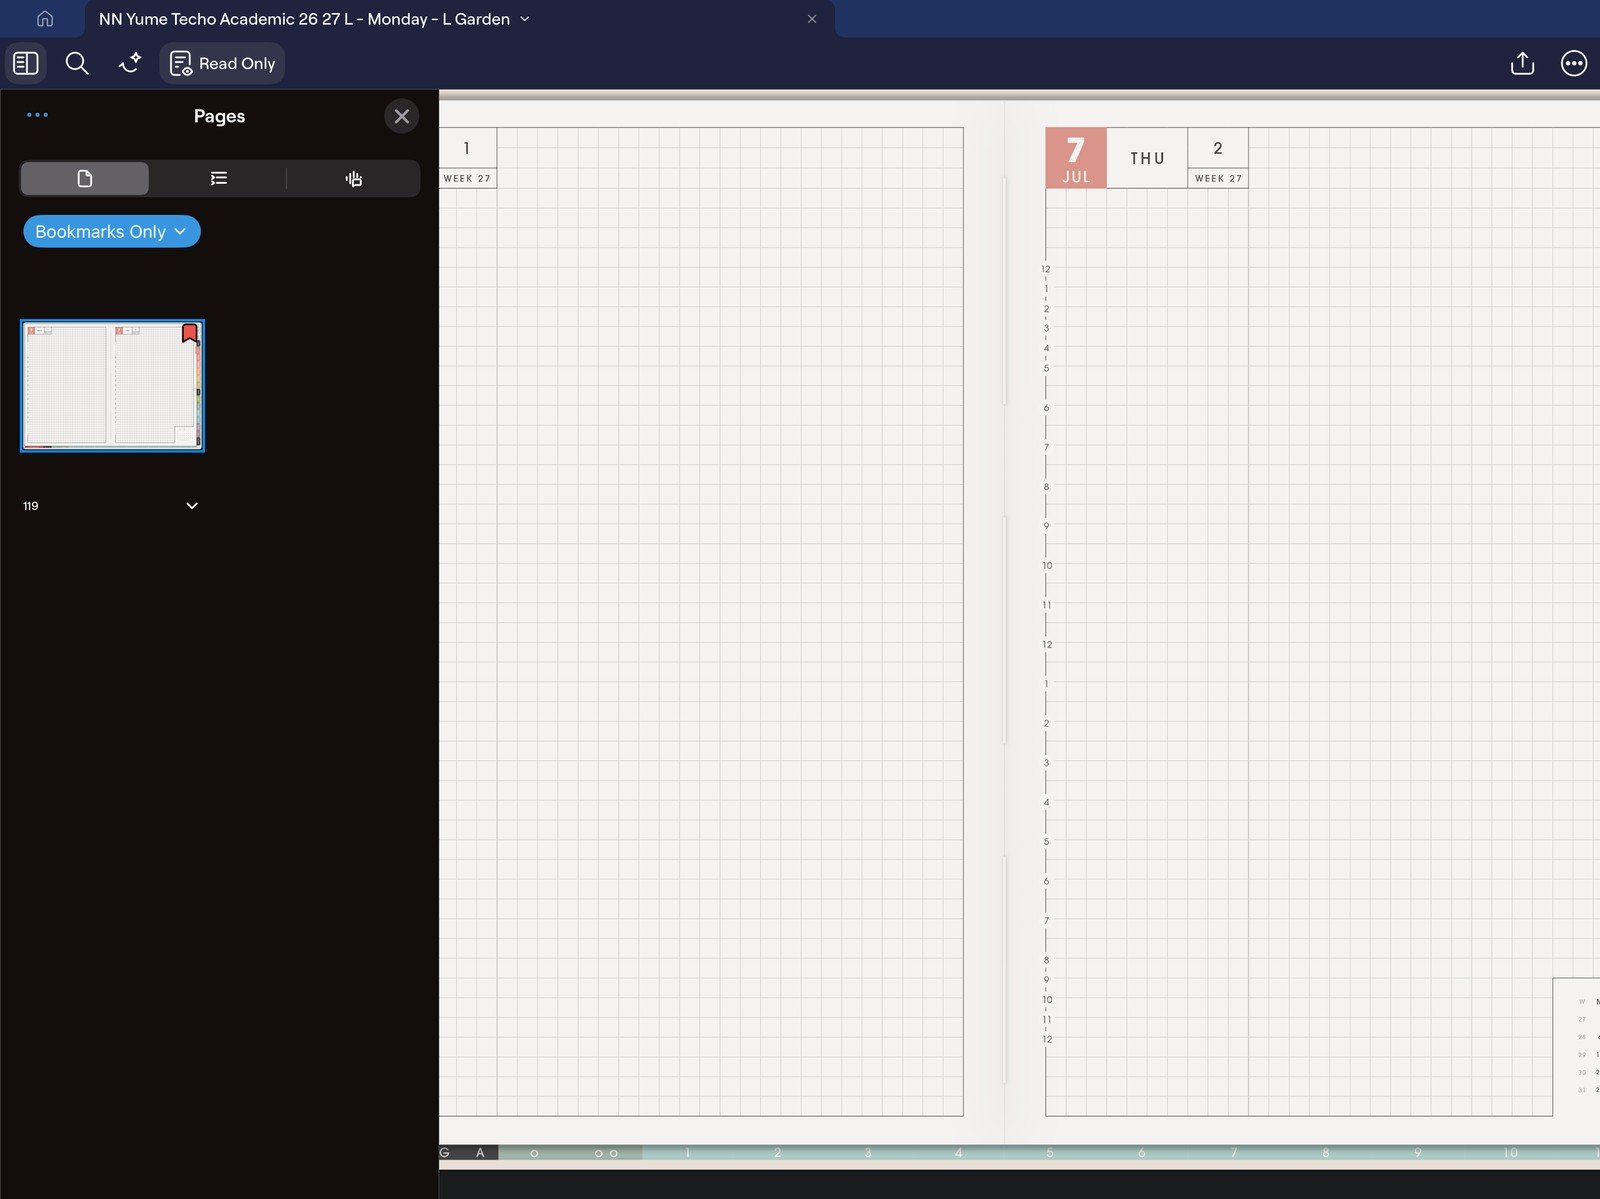
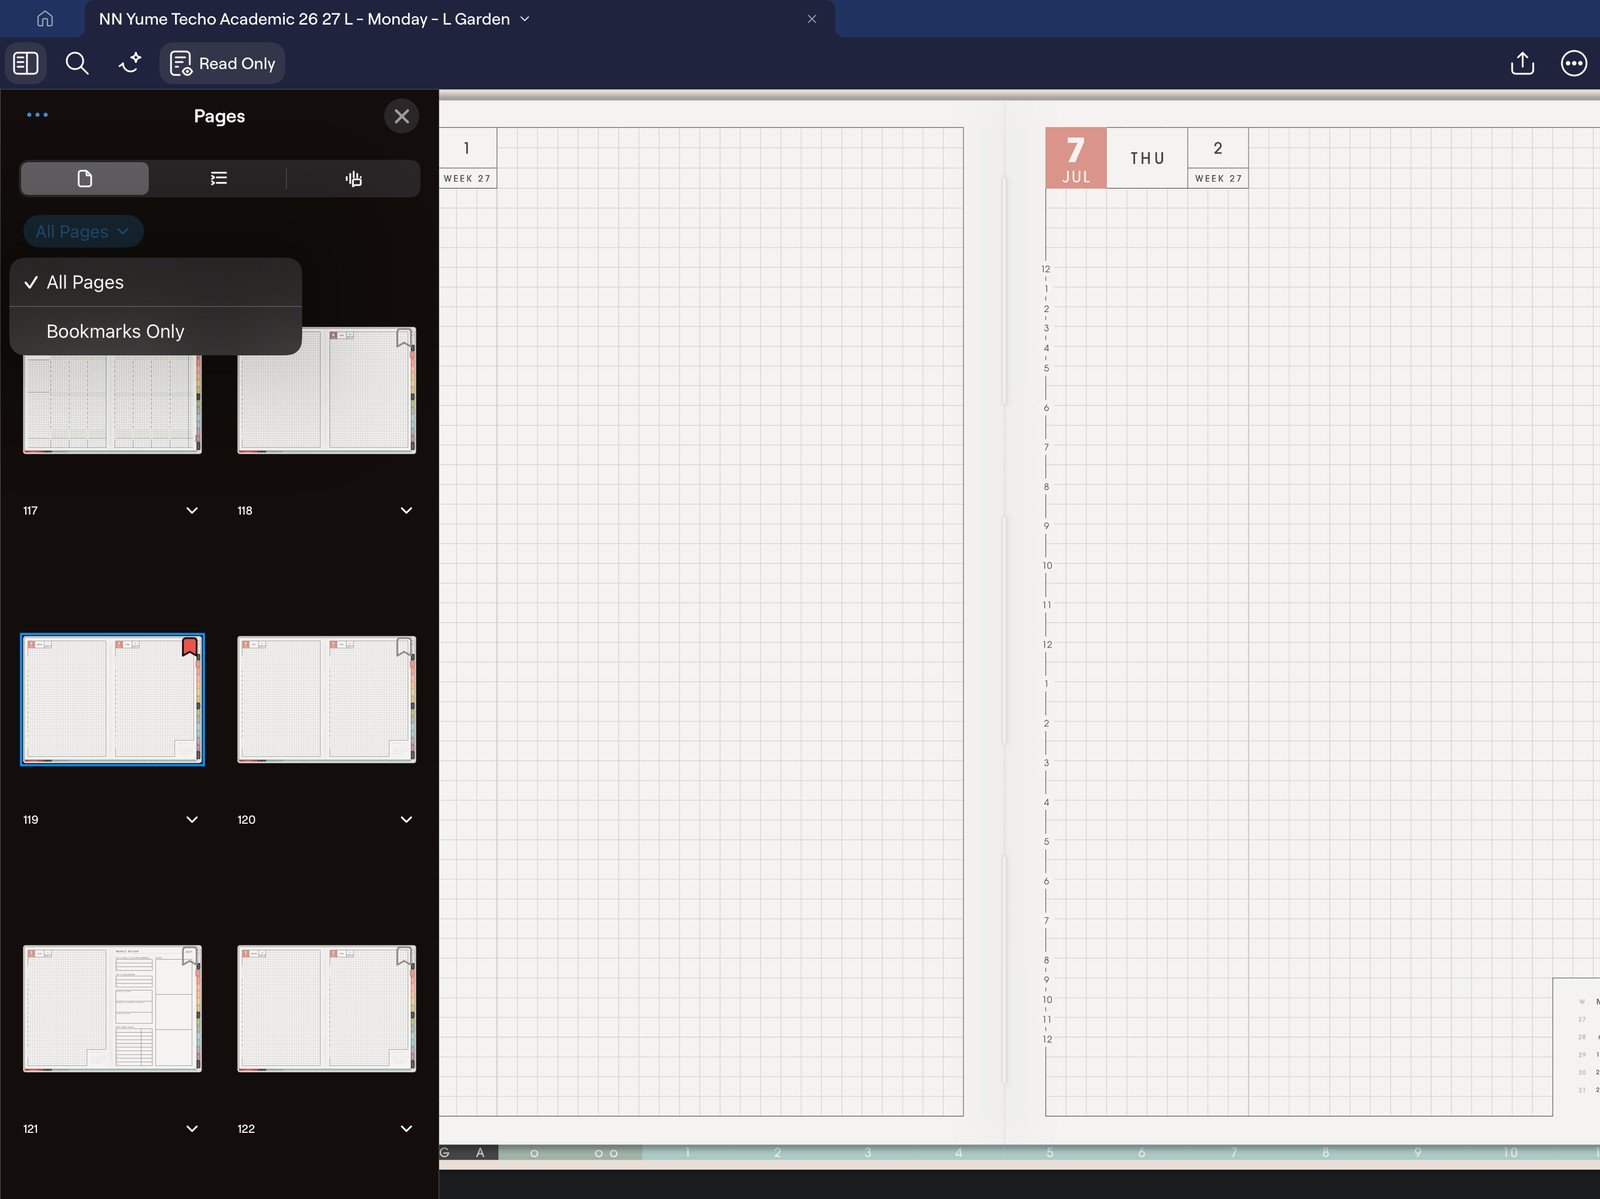
Full bookmark list screenFull screen view first, then use the cropped highlight below to see the exact area. 
Bookmarks OnlyUse Bookmarks Only in Pages when you want to see saved pages. - Save cover changes for later, after import, links, writing, and one copied page work. This keeps cover changes from hiding a setup problem.
- Add stickers later too. Use Elements after the planner itself works; import one PNG sticker or one GoodNotes Elements collection, then test size and sharpness before decorating many pages.
- Keep the first week small: Index, current month, current week, one Notes page, and one copied template page if you need extra space. Add more pages after the basic GoodNotes workflow feels easy.
Good first-day setup in GoodNotes
For the first day, prove that the file is saved, imported, link-tested, writable, and easy to find again.
- Use Index as the home base. Bookmark it first so you can always return to the planner map.
- Use the current month for fixed dates. Add birthdays, bills, school dates, deadlines, appointments, and launch dates.
- Use the current week for action. Add only the tasks, routines, and reminders that matter this week.
- Use one copied template for extra space. Try a tracker, routine, project page, class page, or blank notes page after duplicating a clean template.
When GoodNotes feels confusing
1. The file does not appear after import
What happens: the PDF was downloaded, but GoodNotes does not show the planner in the library.
What to do: go back to Files, confirm the ZIP is extracted, then import the PDF from GoodNotes Library View with + New > Import. Choose the planner or notebook PDF inside the extracted folder.
2. Links do not move
What happens: tapping a tab writes, selects ink, or nothing useful happens.
What to do: tap the link once on iPad/iPhone. In edit mode, long-press the linked area and choose Open Link. Test the same original PDF in Apple Files before moving pages or exporting.
3. Template pages get messy
What happens: the clean template page was filled, so there is no clean copy left for next time.
What to do: use Thumbnail View, open the page actions menu, duplicate the template first, and write on the copy. Keep the original NozomuNoto download unchanged so you can start again with a clean file.